

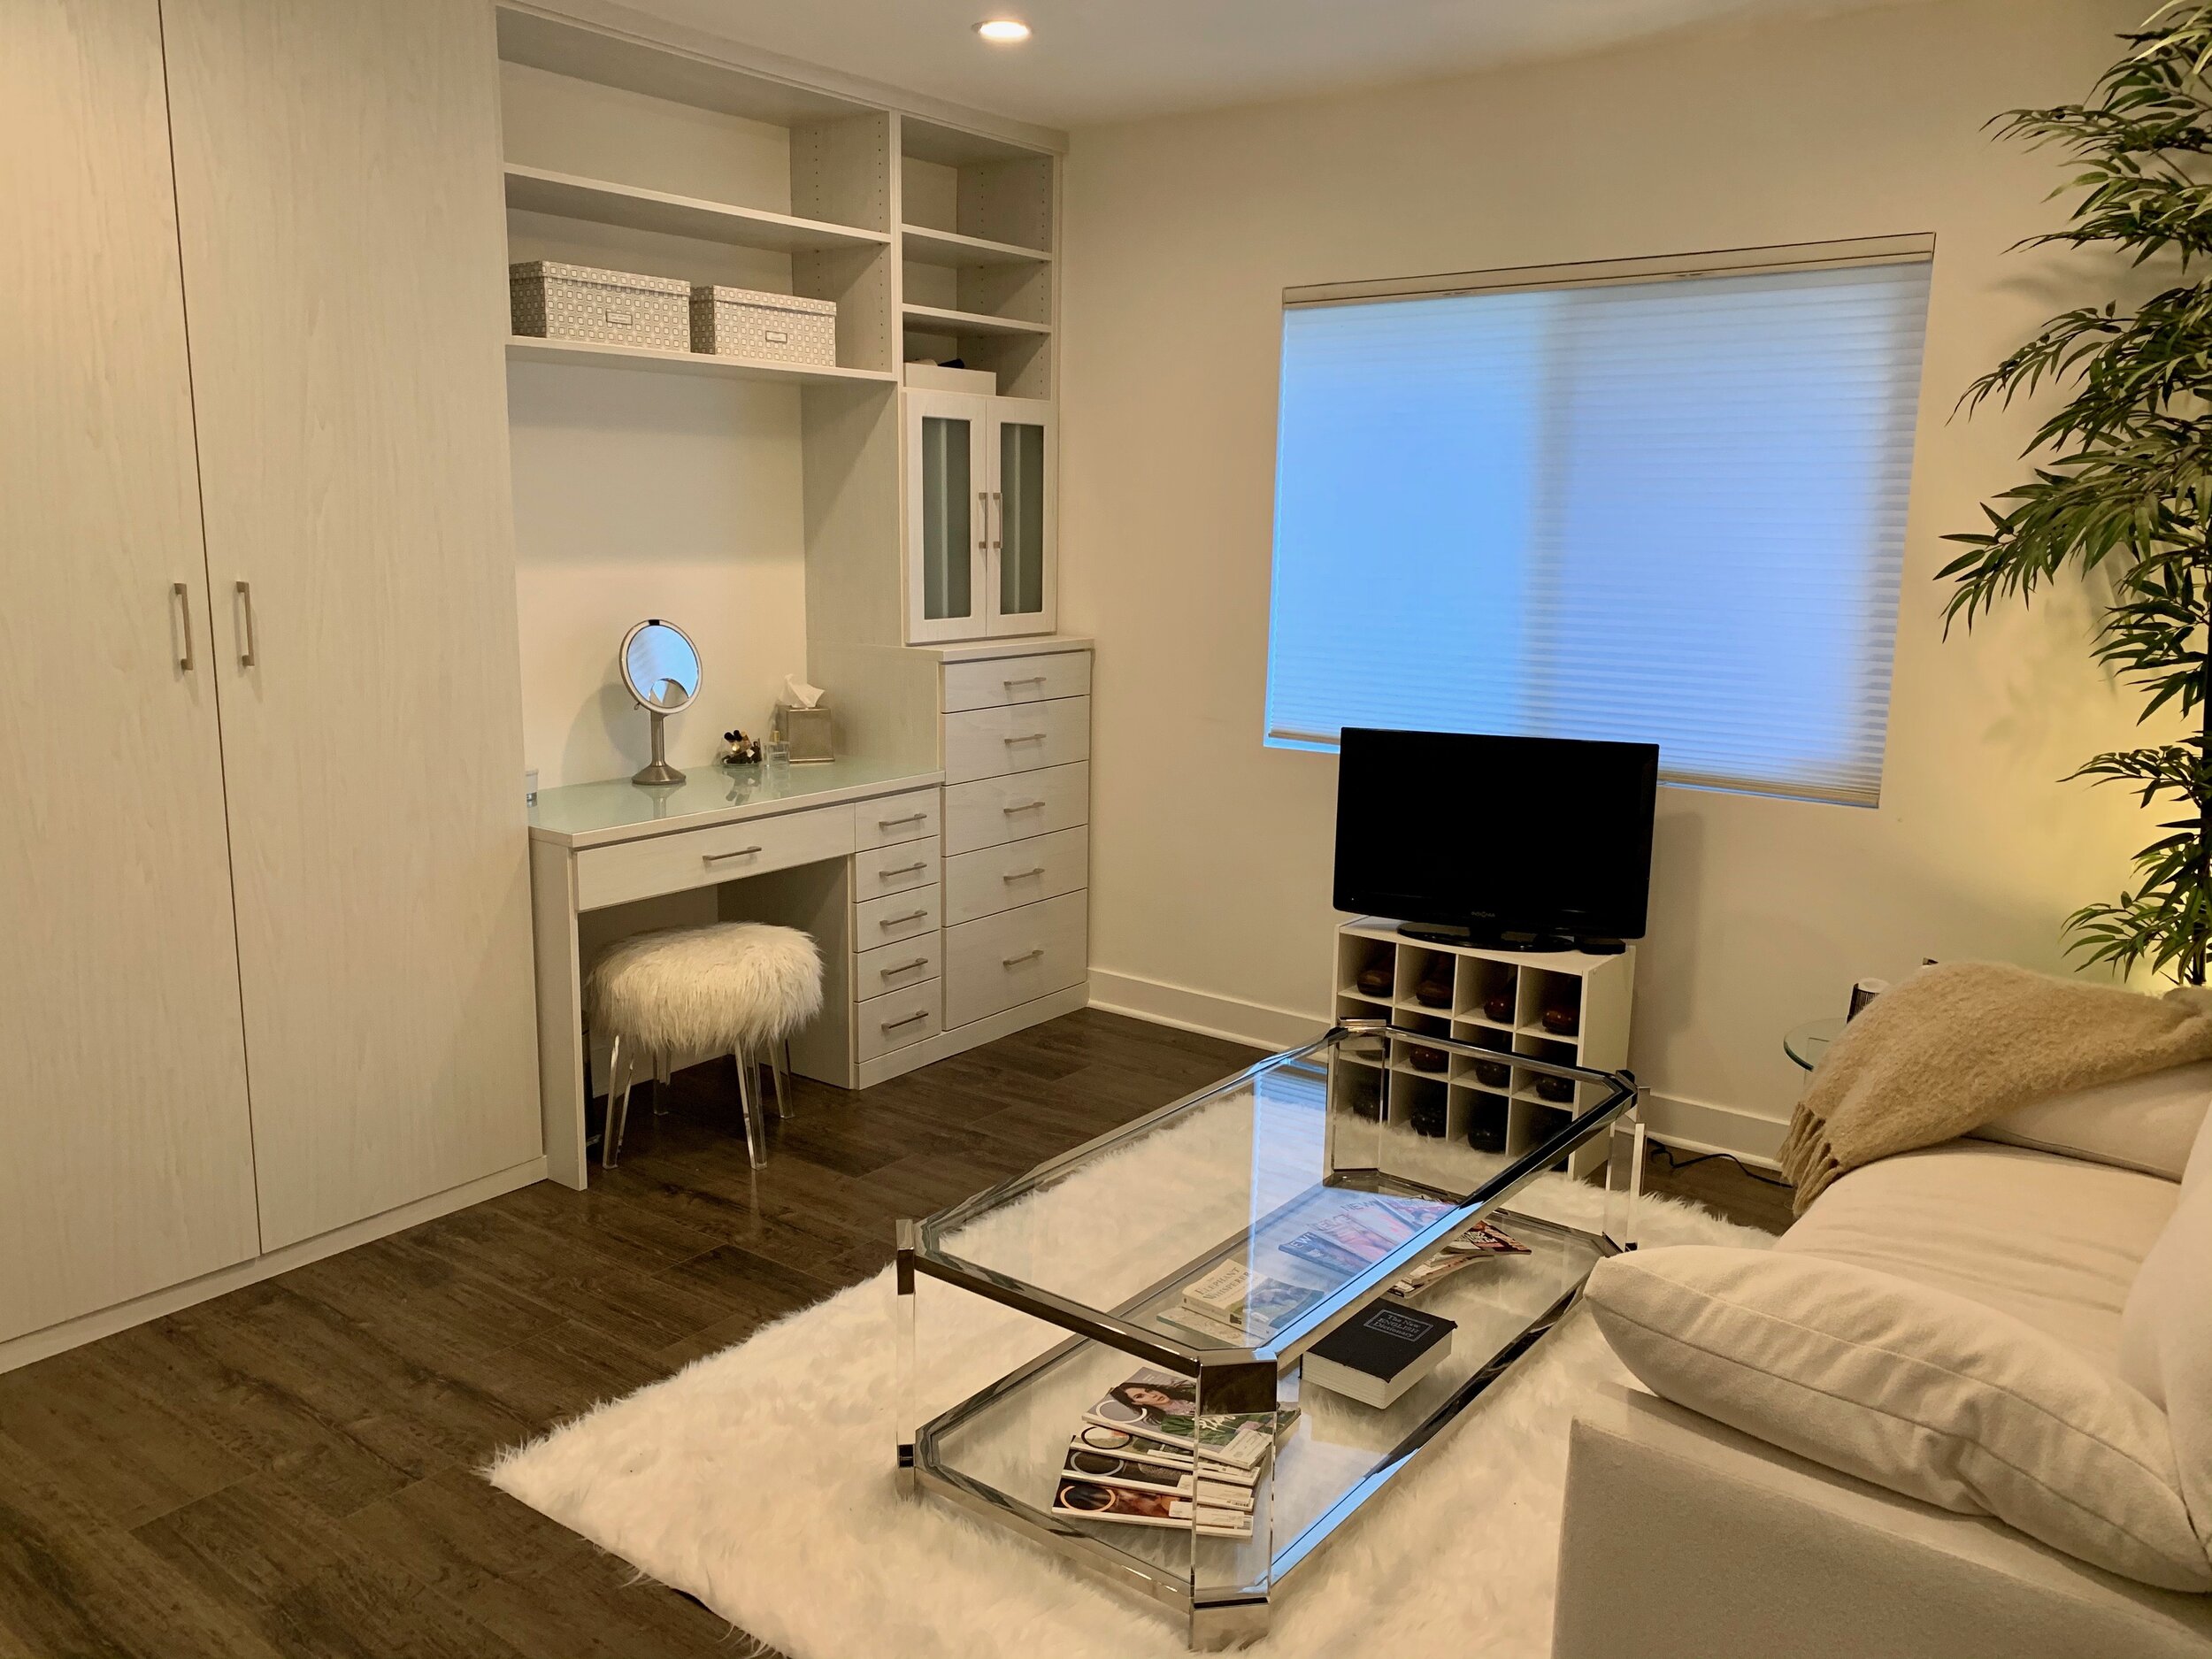
As a professional organizer in Los Angeles, I get to work with some amazing people and spaces. I couldn’t wait to design this dressing room for my client. I’ve been working with her for years and she was moving into a bigger home and we were able to use one of the rooms as a dressing room. At first, we were initially thinking of a stand-alone vanity and armoire but, as I thought it over, I had a vision of a kind of walk-in closet. I was familiar with all of her stuff and knew she would need more space for her accessories and shoes.
Here are the 3 steps I used to create the dressing room of her dreams.
First, you want to declutter. I sound like a broken record because I say this all the time but it is so important to have only what you need, use, and love. Everything else will get in the way of your vision. Start by sorting like with like and then pick the best and get rid of the rest.
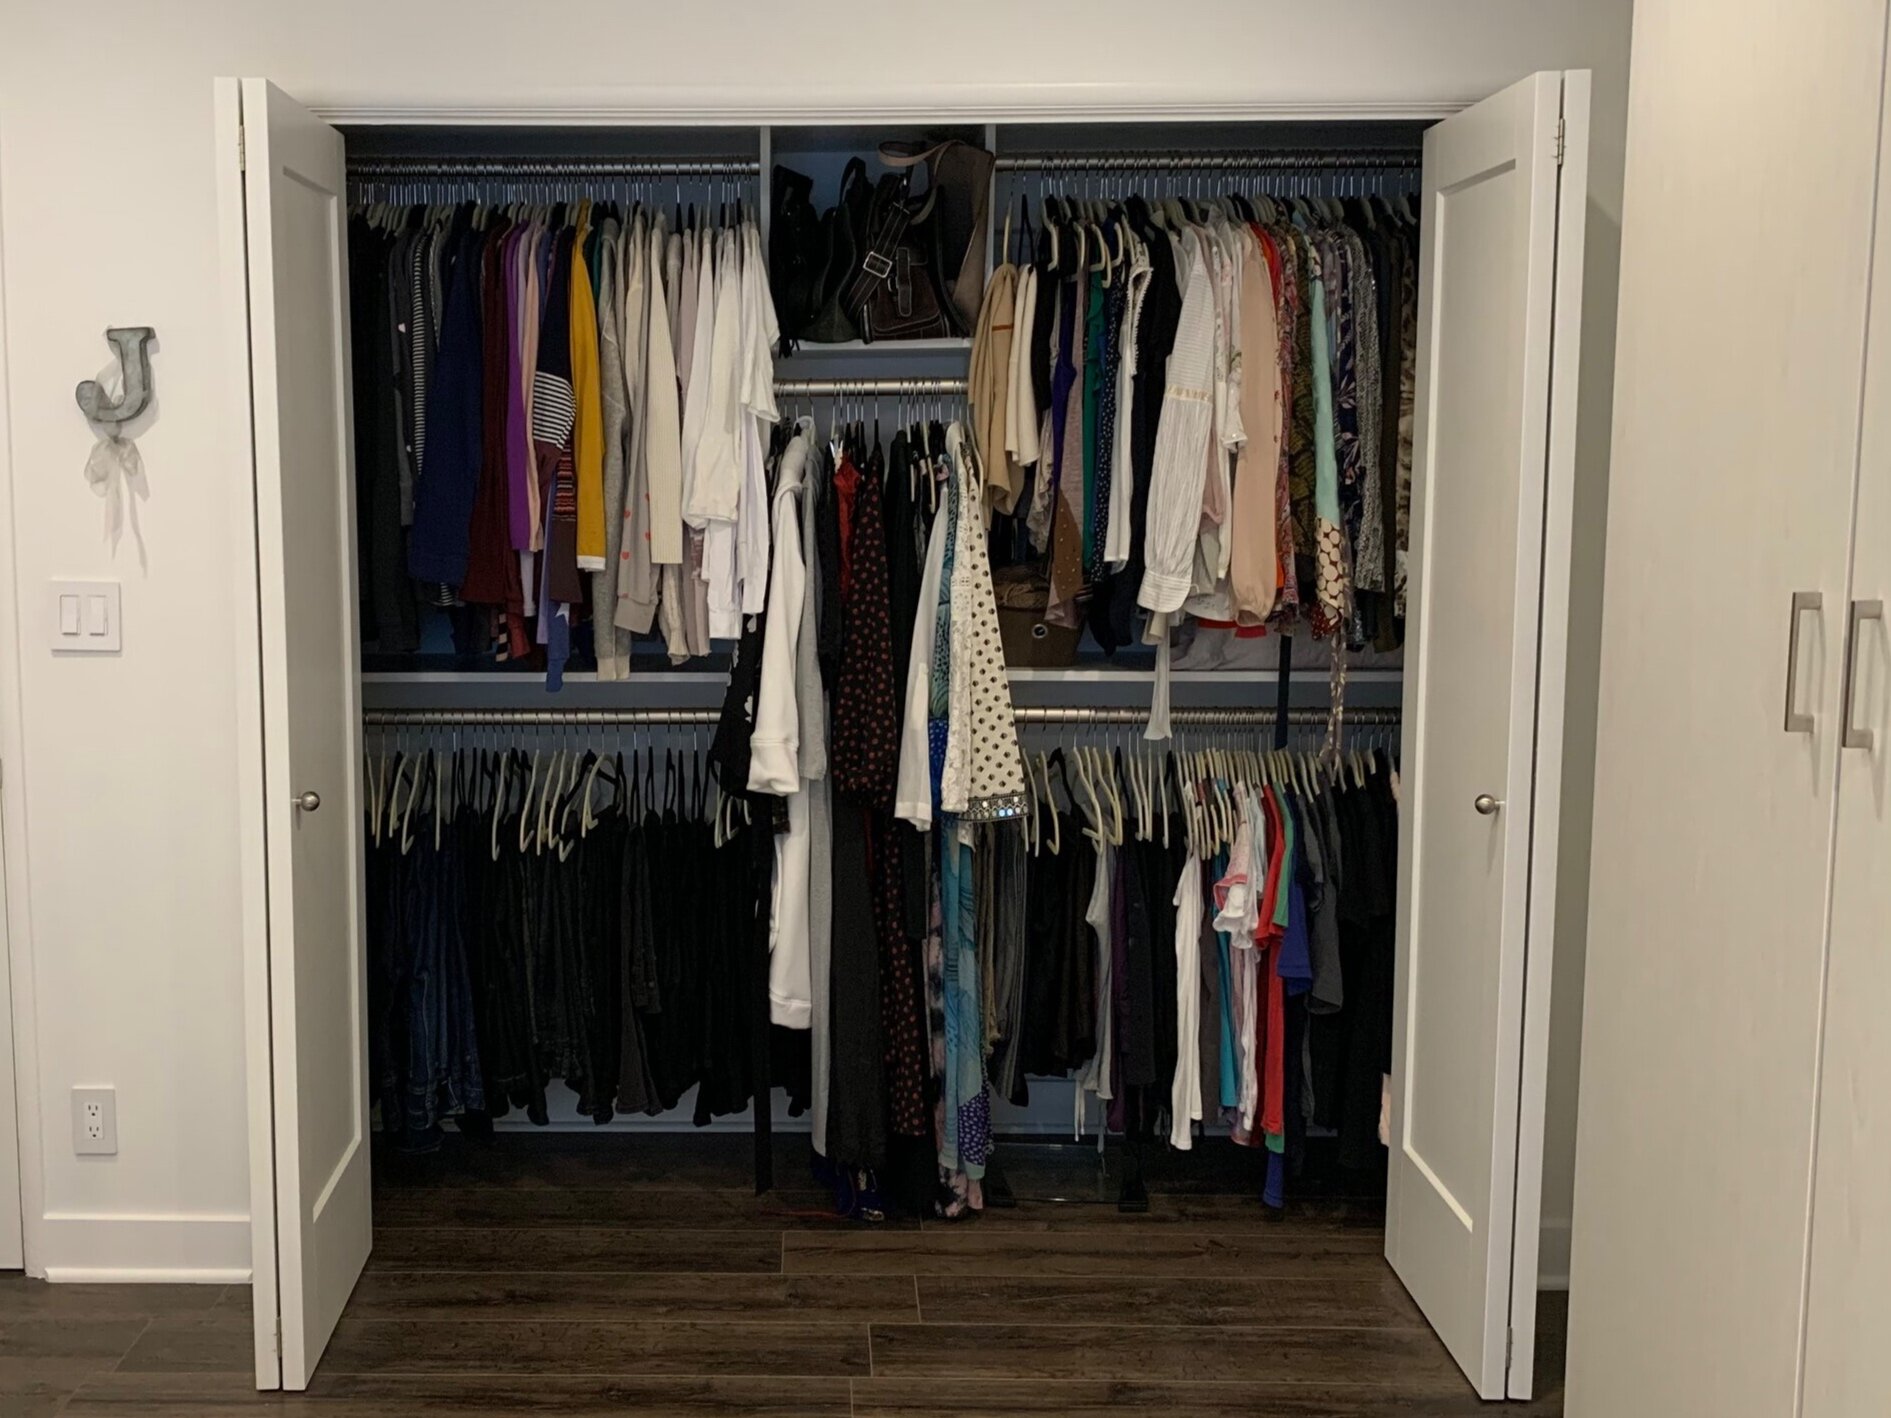
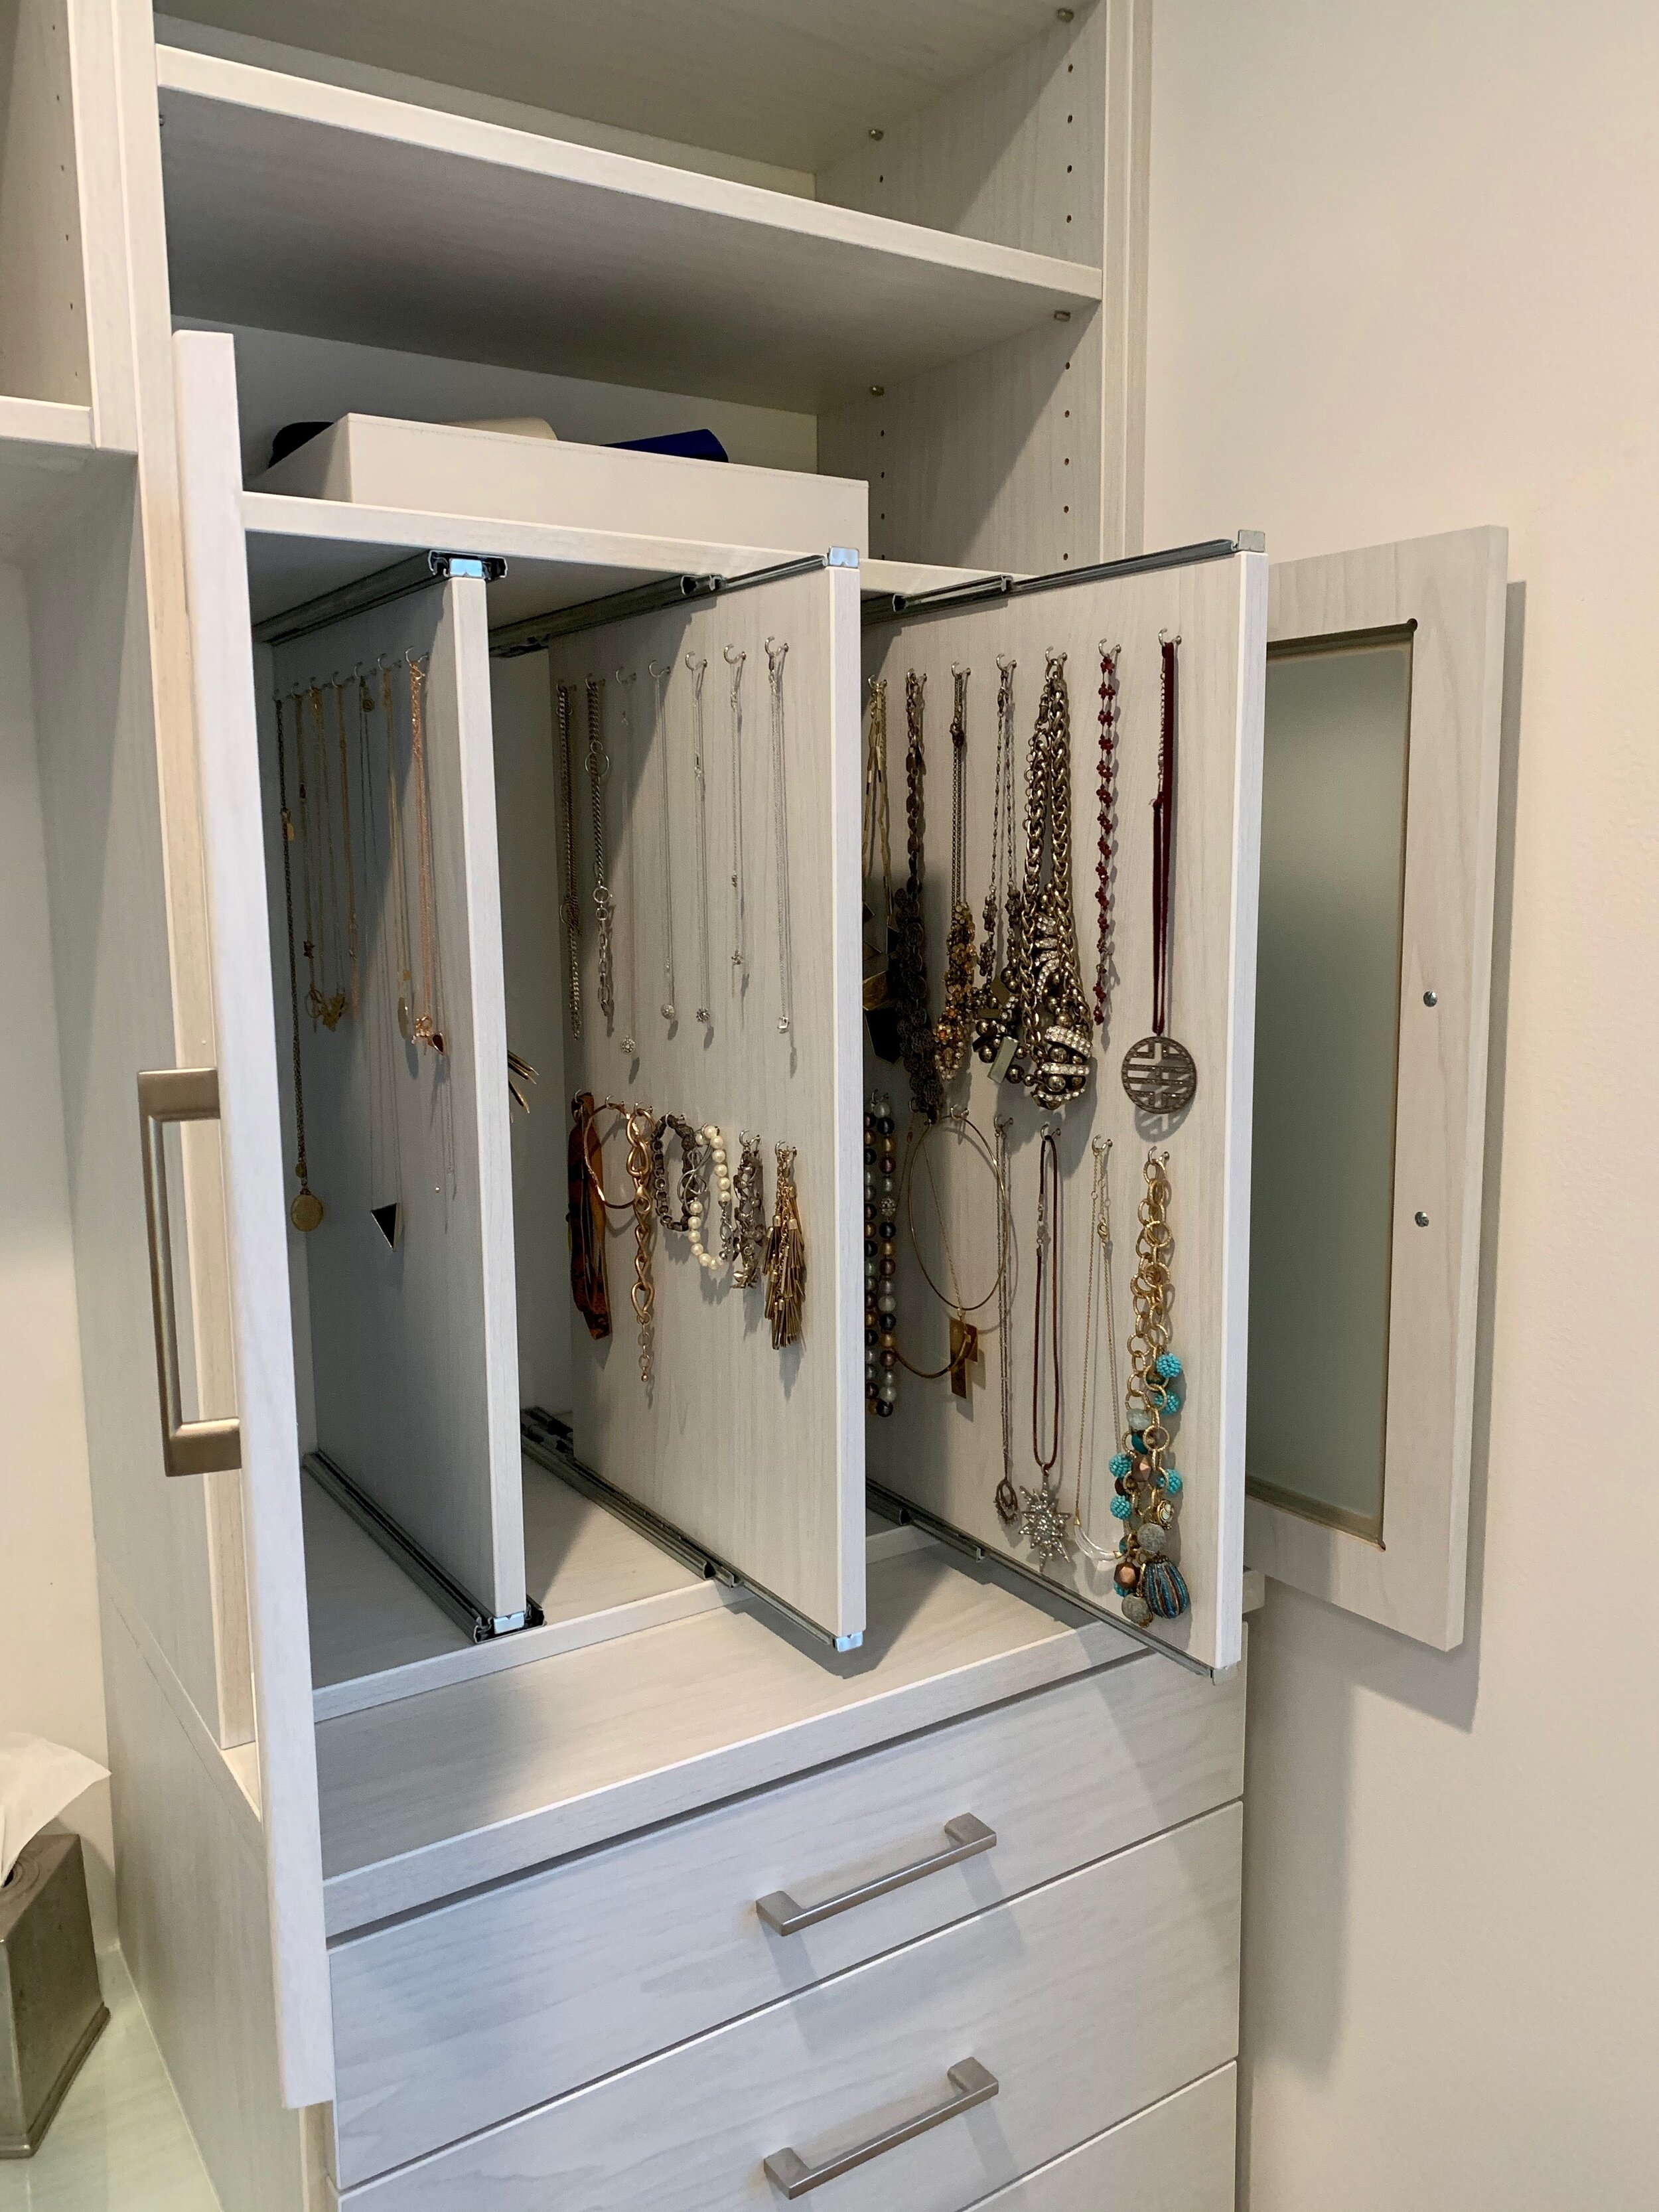
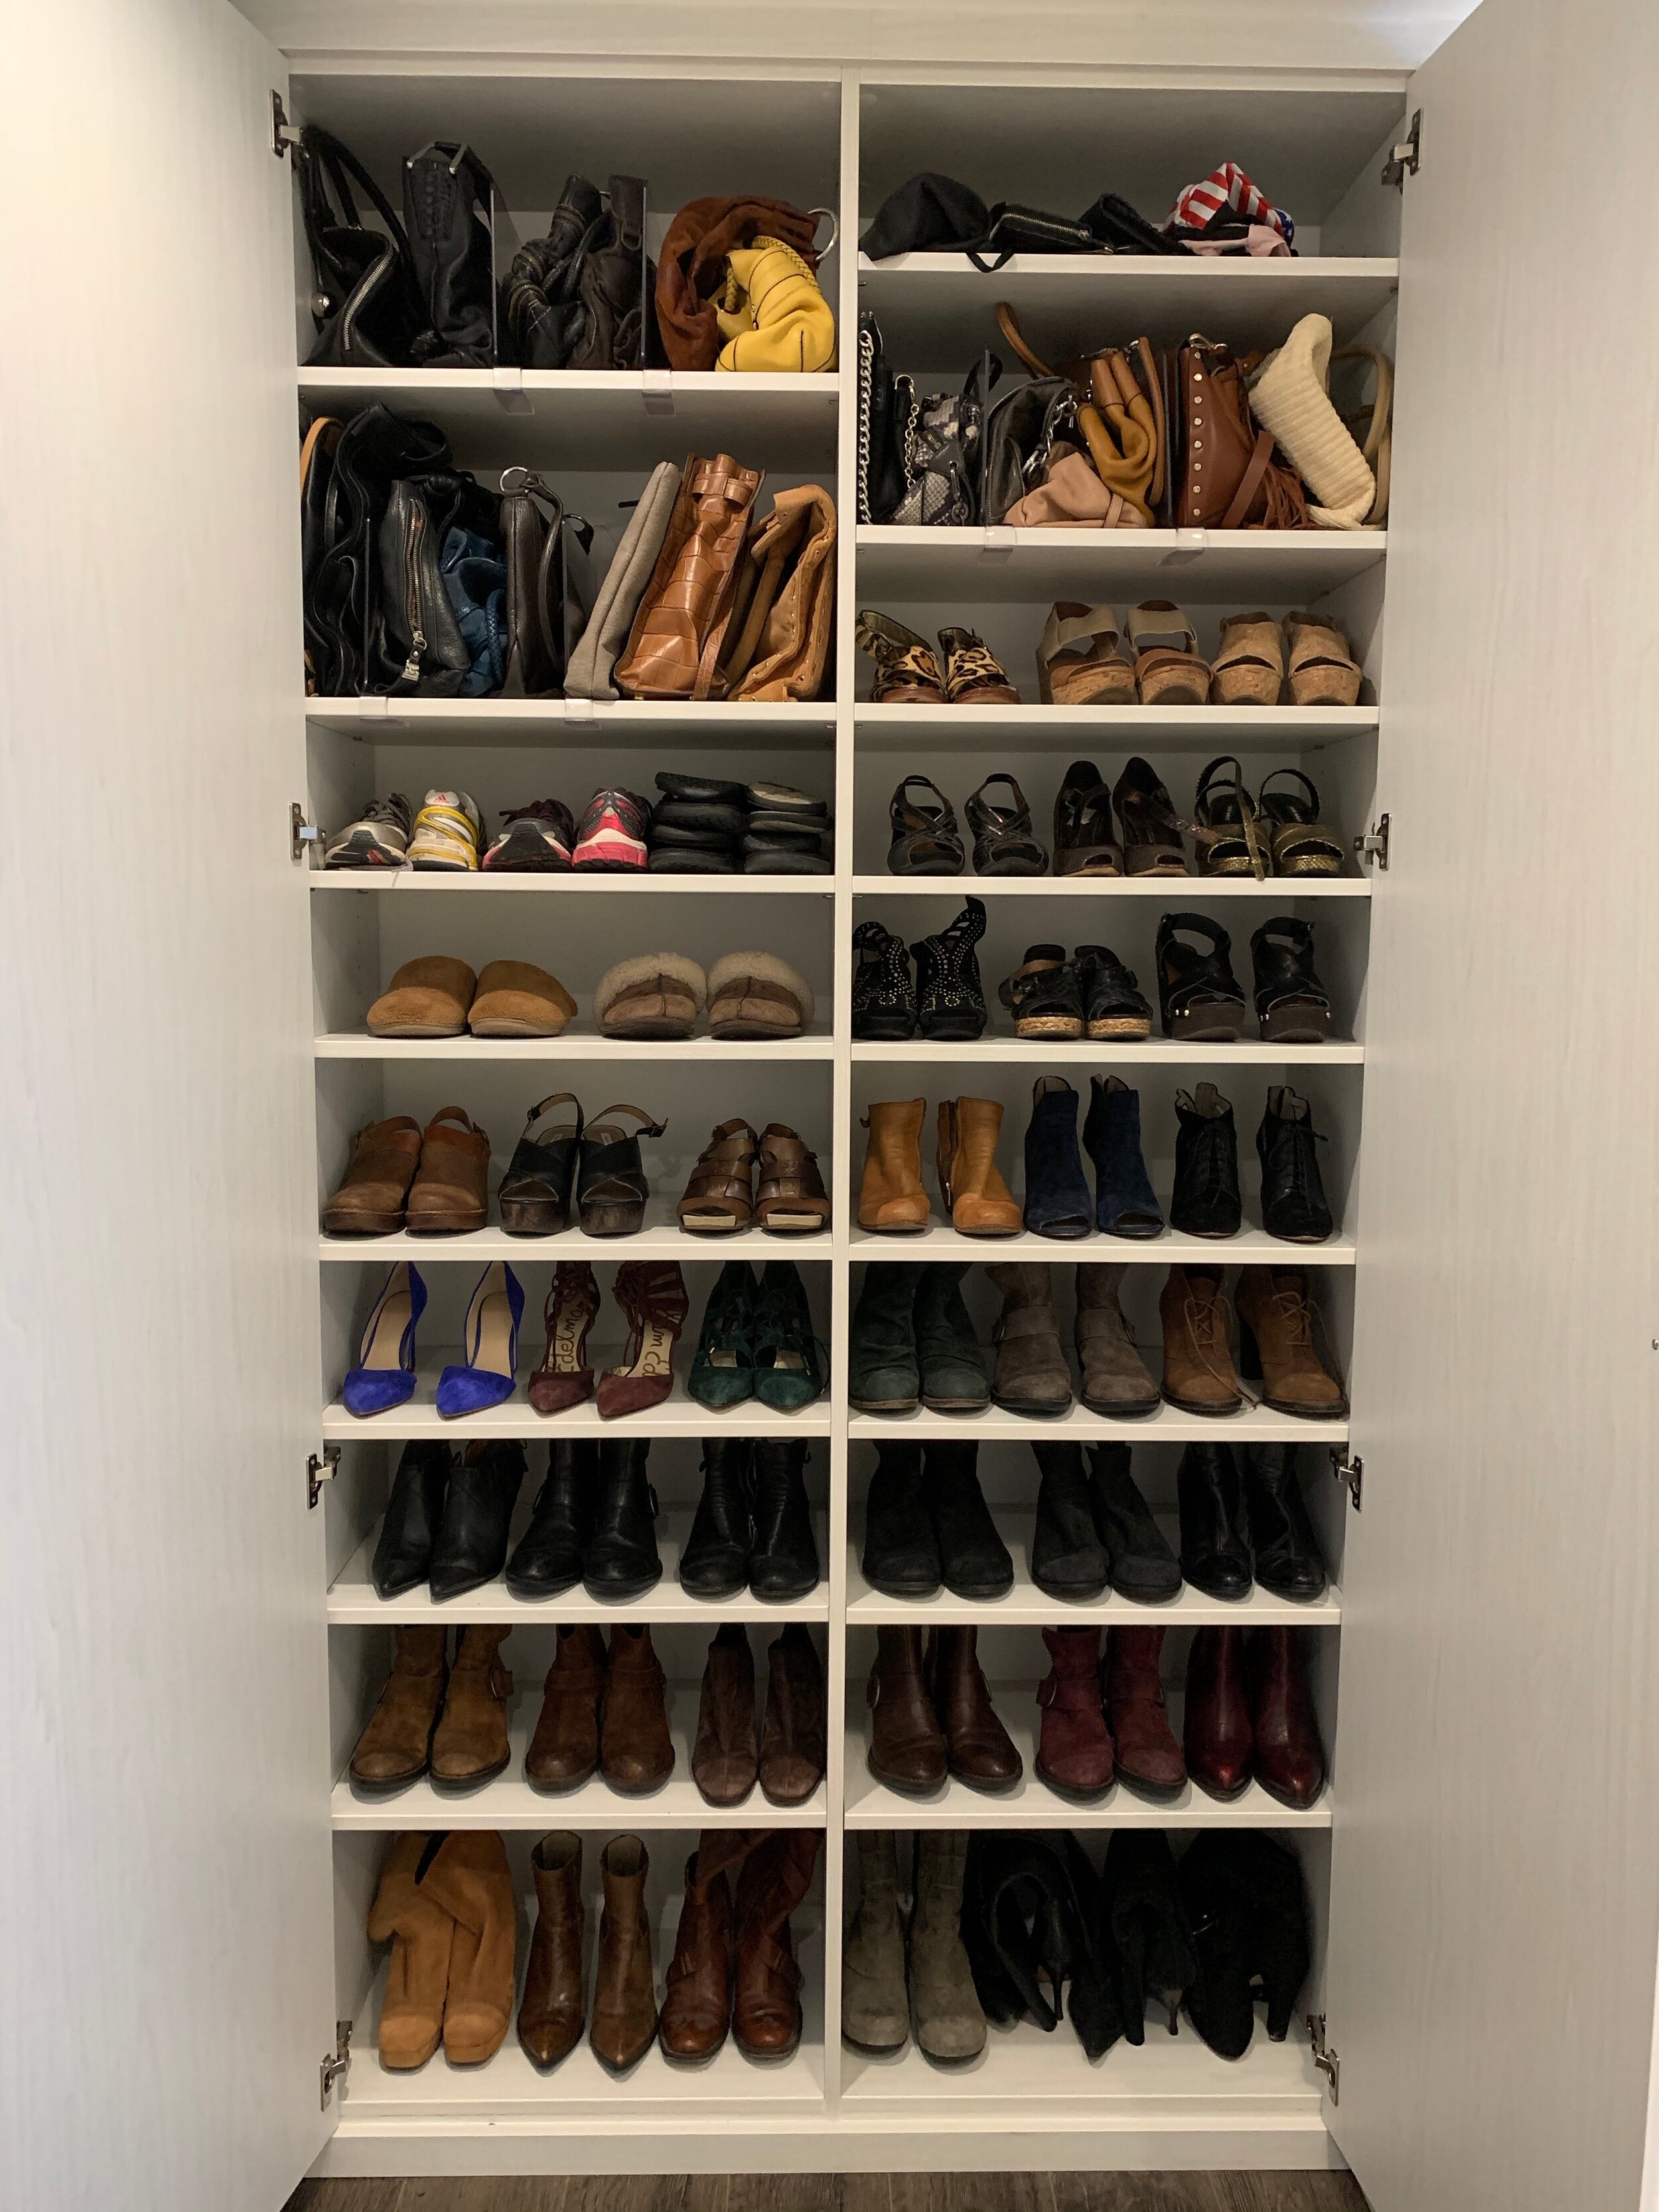
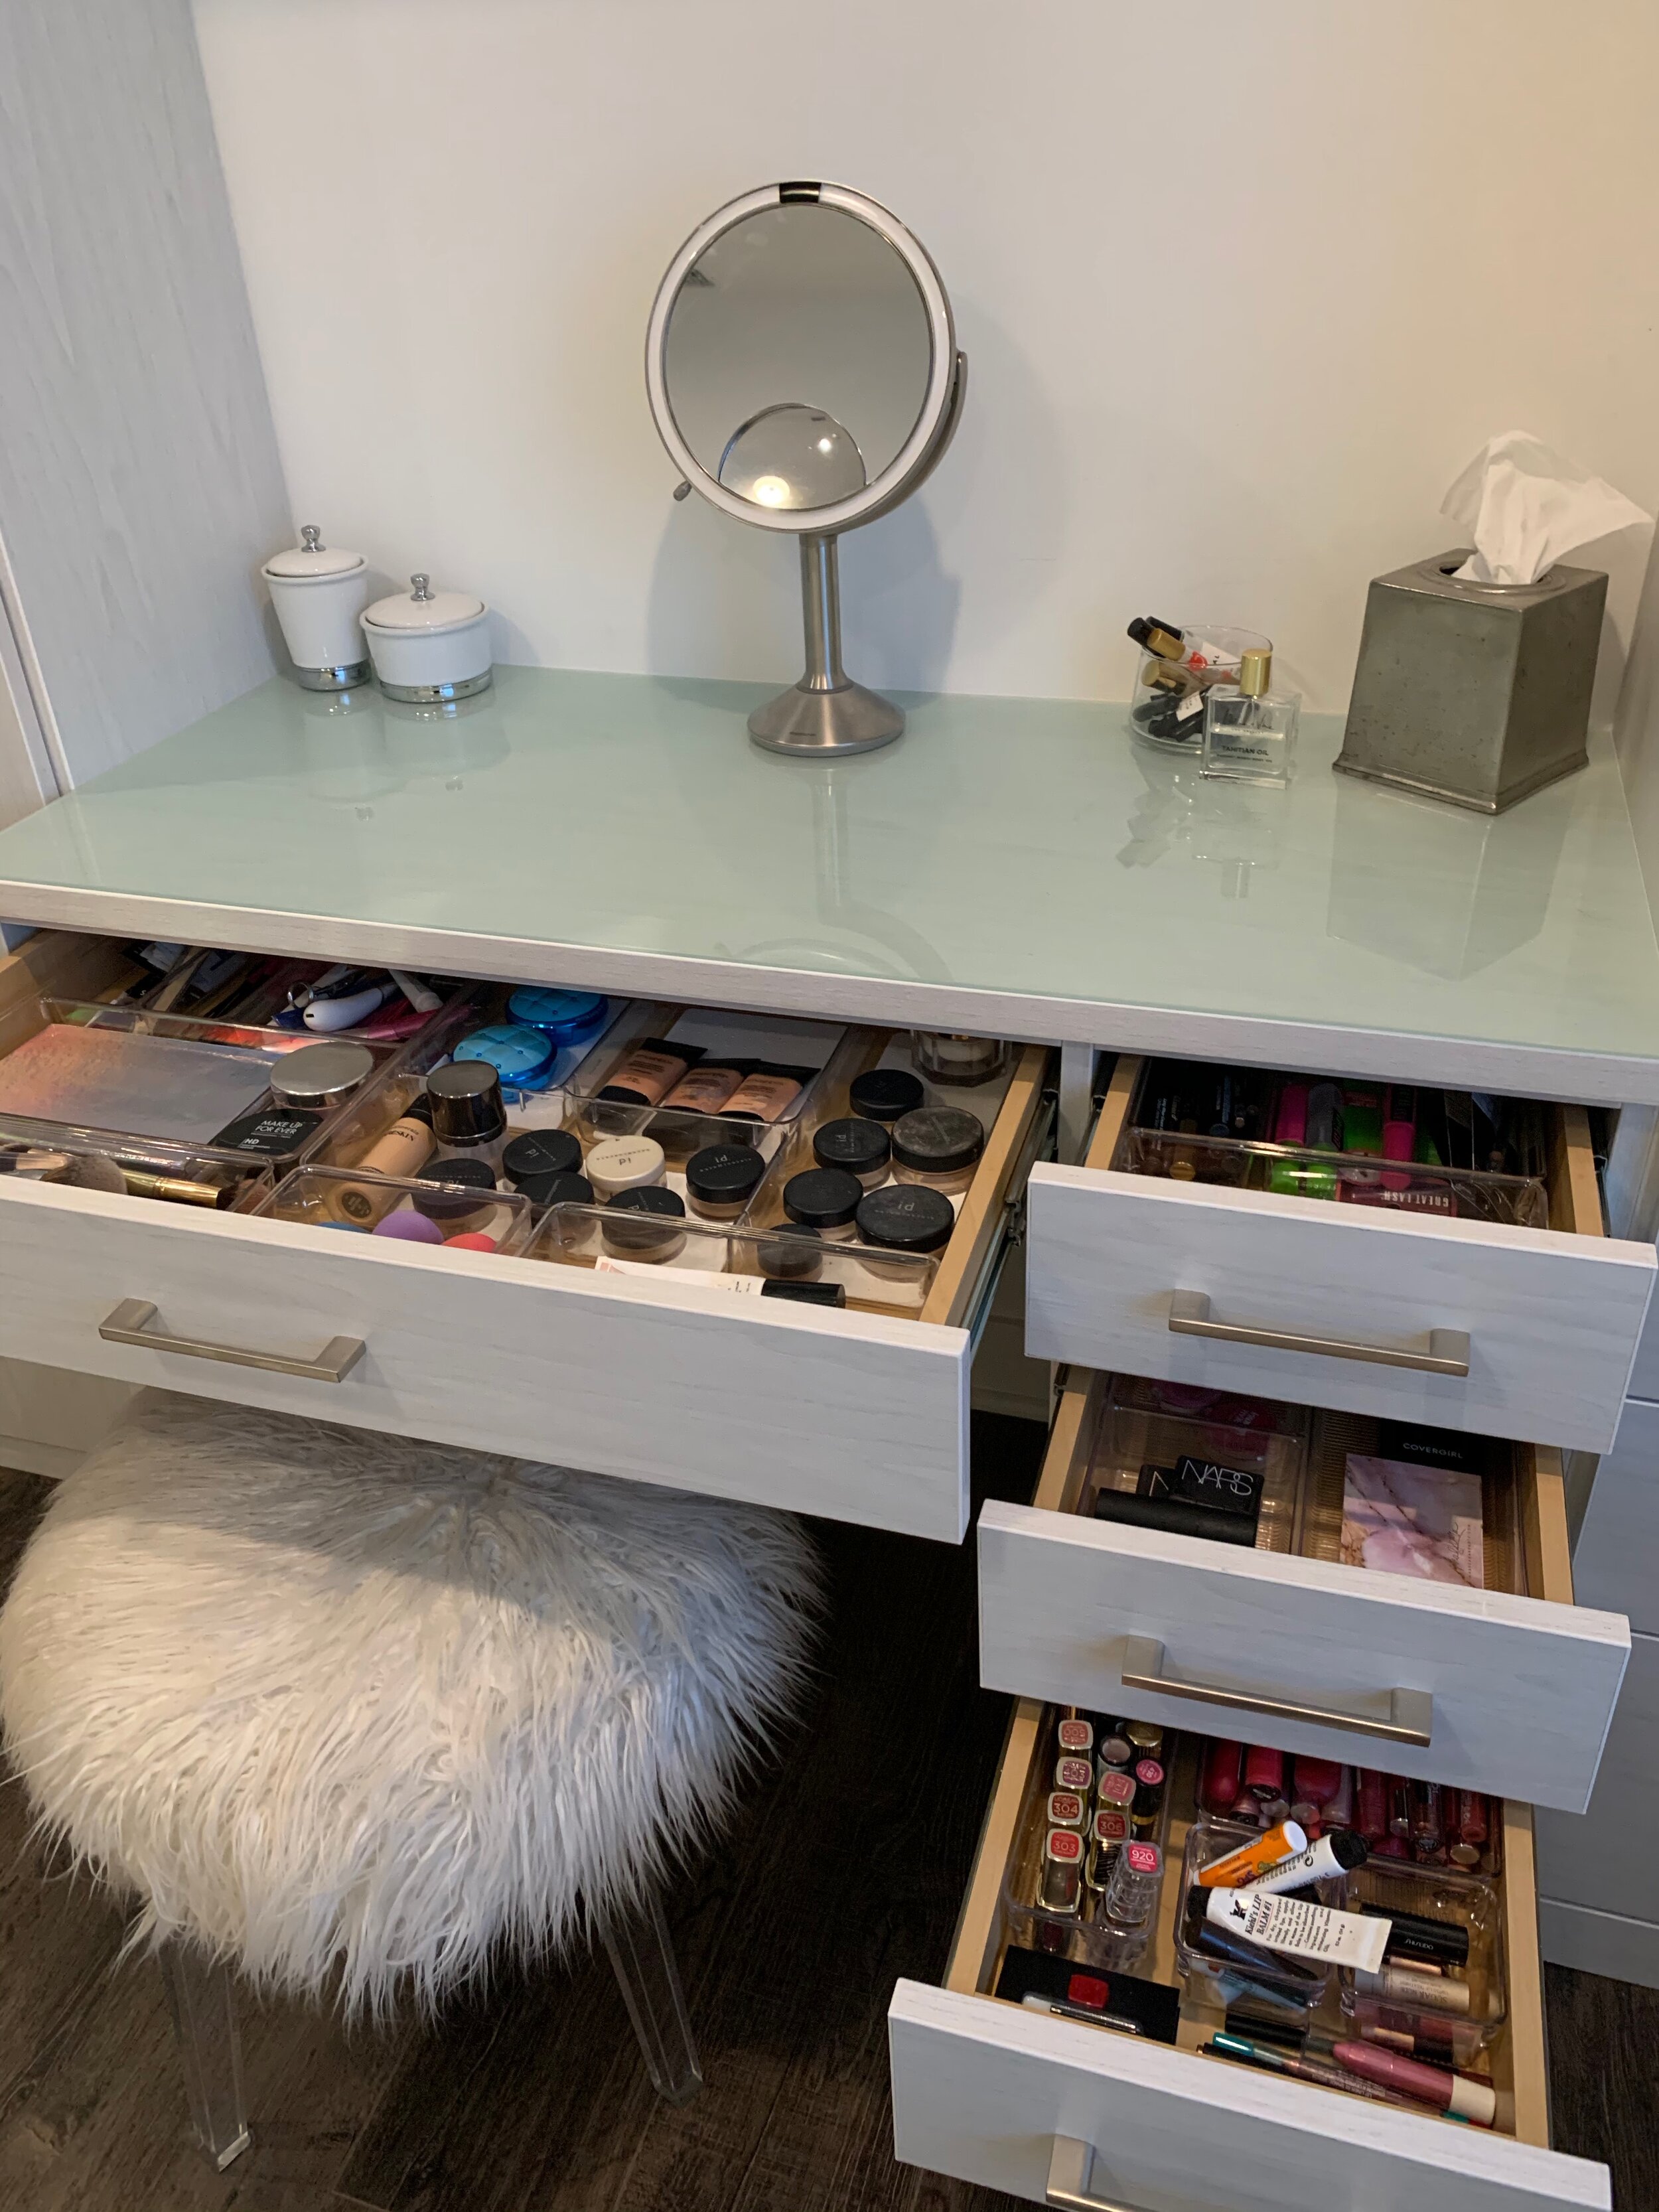
Second, you want to take inventory of your items. It’s important to know what you have so that you can create the space that you need. How many shoes, scarves, purses, belts and hats do you have? Also, ask yourself, do I want to hang my t-shirts and jeans or fold them? And, if I fold them, will they be in a drawer or on shelves? Think about the socks, underwear, intimates and pj’s you have. How many drawers will that take up? How many feet of hanging space do you need? Double-hanging in the closet is a better use of the vertical space if you don’t have too many long hanging items. I also took into consideration all the jewelry she owned. There were many necklaces that needed a home. She also had an ample supply of makeup and a vanity so plenty of drawer space was imperative. This brings us right into the next step.
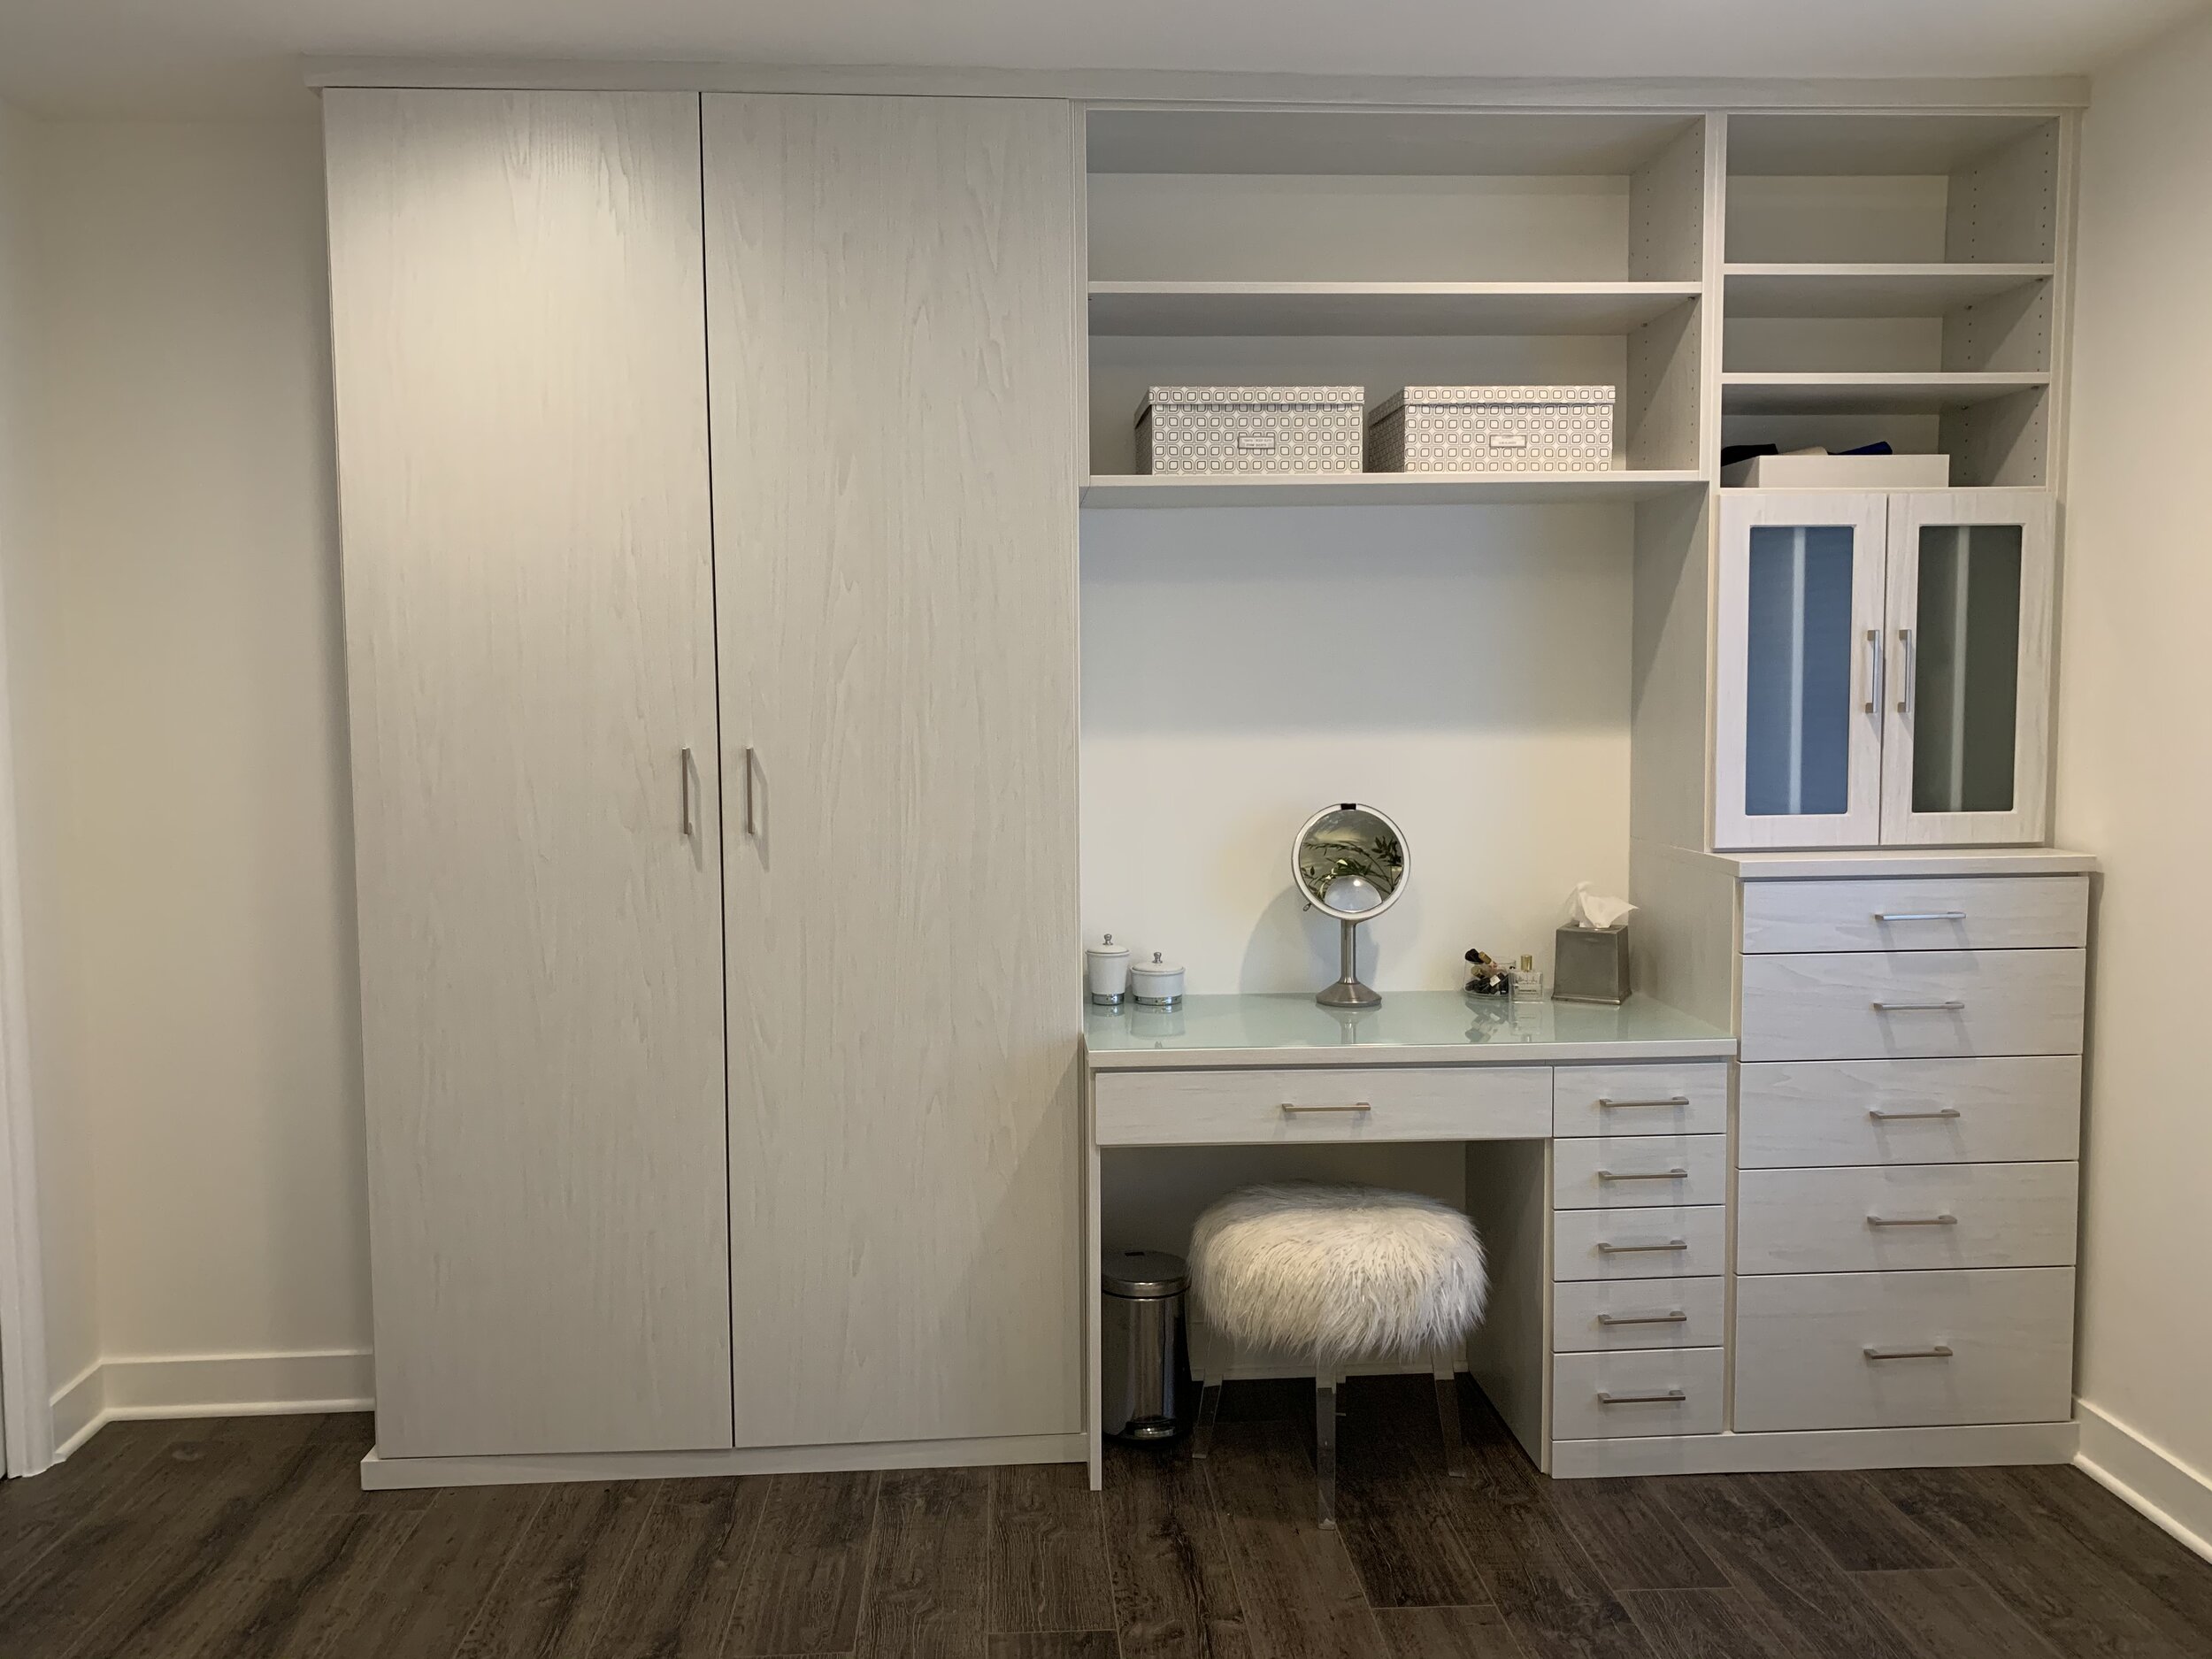
Third, you want to design the space now that you know what you need. I designed the space and then we hired Inspired Closets to build it out for us. Of course, if you don’t want to do the design part they will do it for you. It was easier for me because I already knew what my client needed. So we looked at the layout of the room and picked the wall that would best be suited for the unit. I drew a sketch of what the unit would potentially look like. Starting with the vanity in the middle and then adding shelves for the shoes and purses to the left. On the right side, I added the drawers. The top one was for her jewelry and the rest for socks, pj’s, workout, etc. I wanted to include these cool pull-outs for hanging jewelry that Inspired Closets had, I added those above the drawers. I added double hanging bars in the closet for all her blouses and she also wanted to hang her jeans. Then I gave the sketch to Inspired Closets and they came out and took the final measurements. My client went down to the showroom and picked the finishes and hardware that she liked. All we were waiting for was the vanity mirror with lights to come. We ordered that separately. Inspired Closets really are a dream to work with.

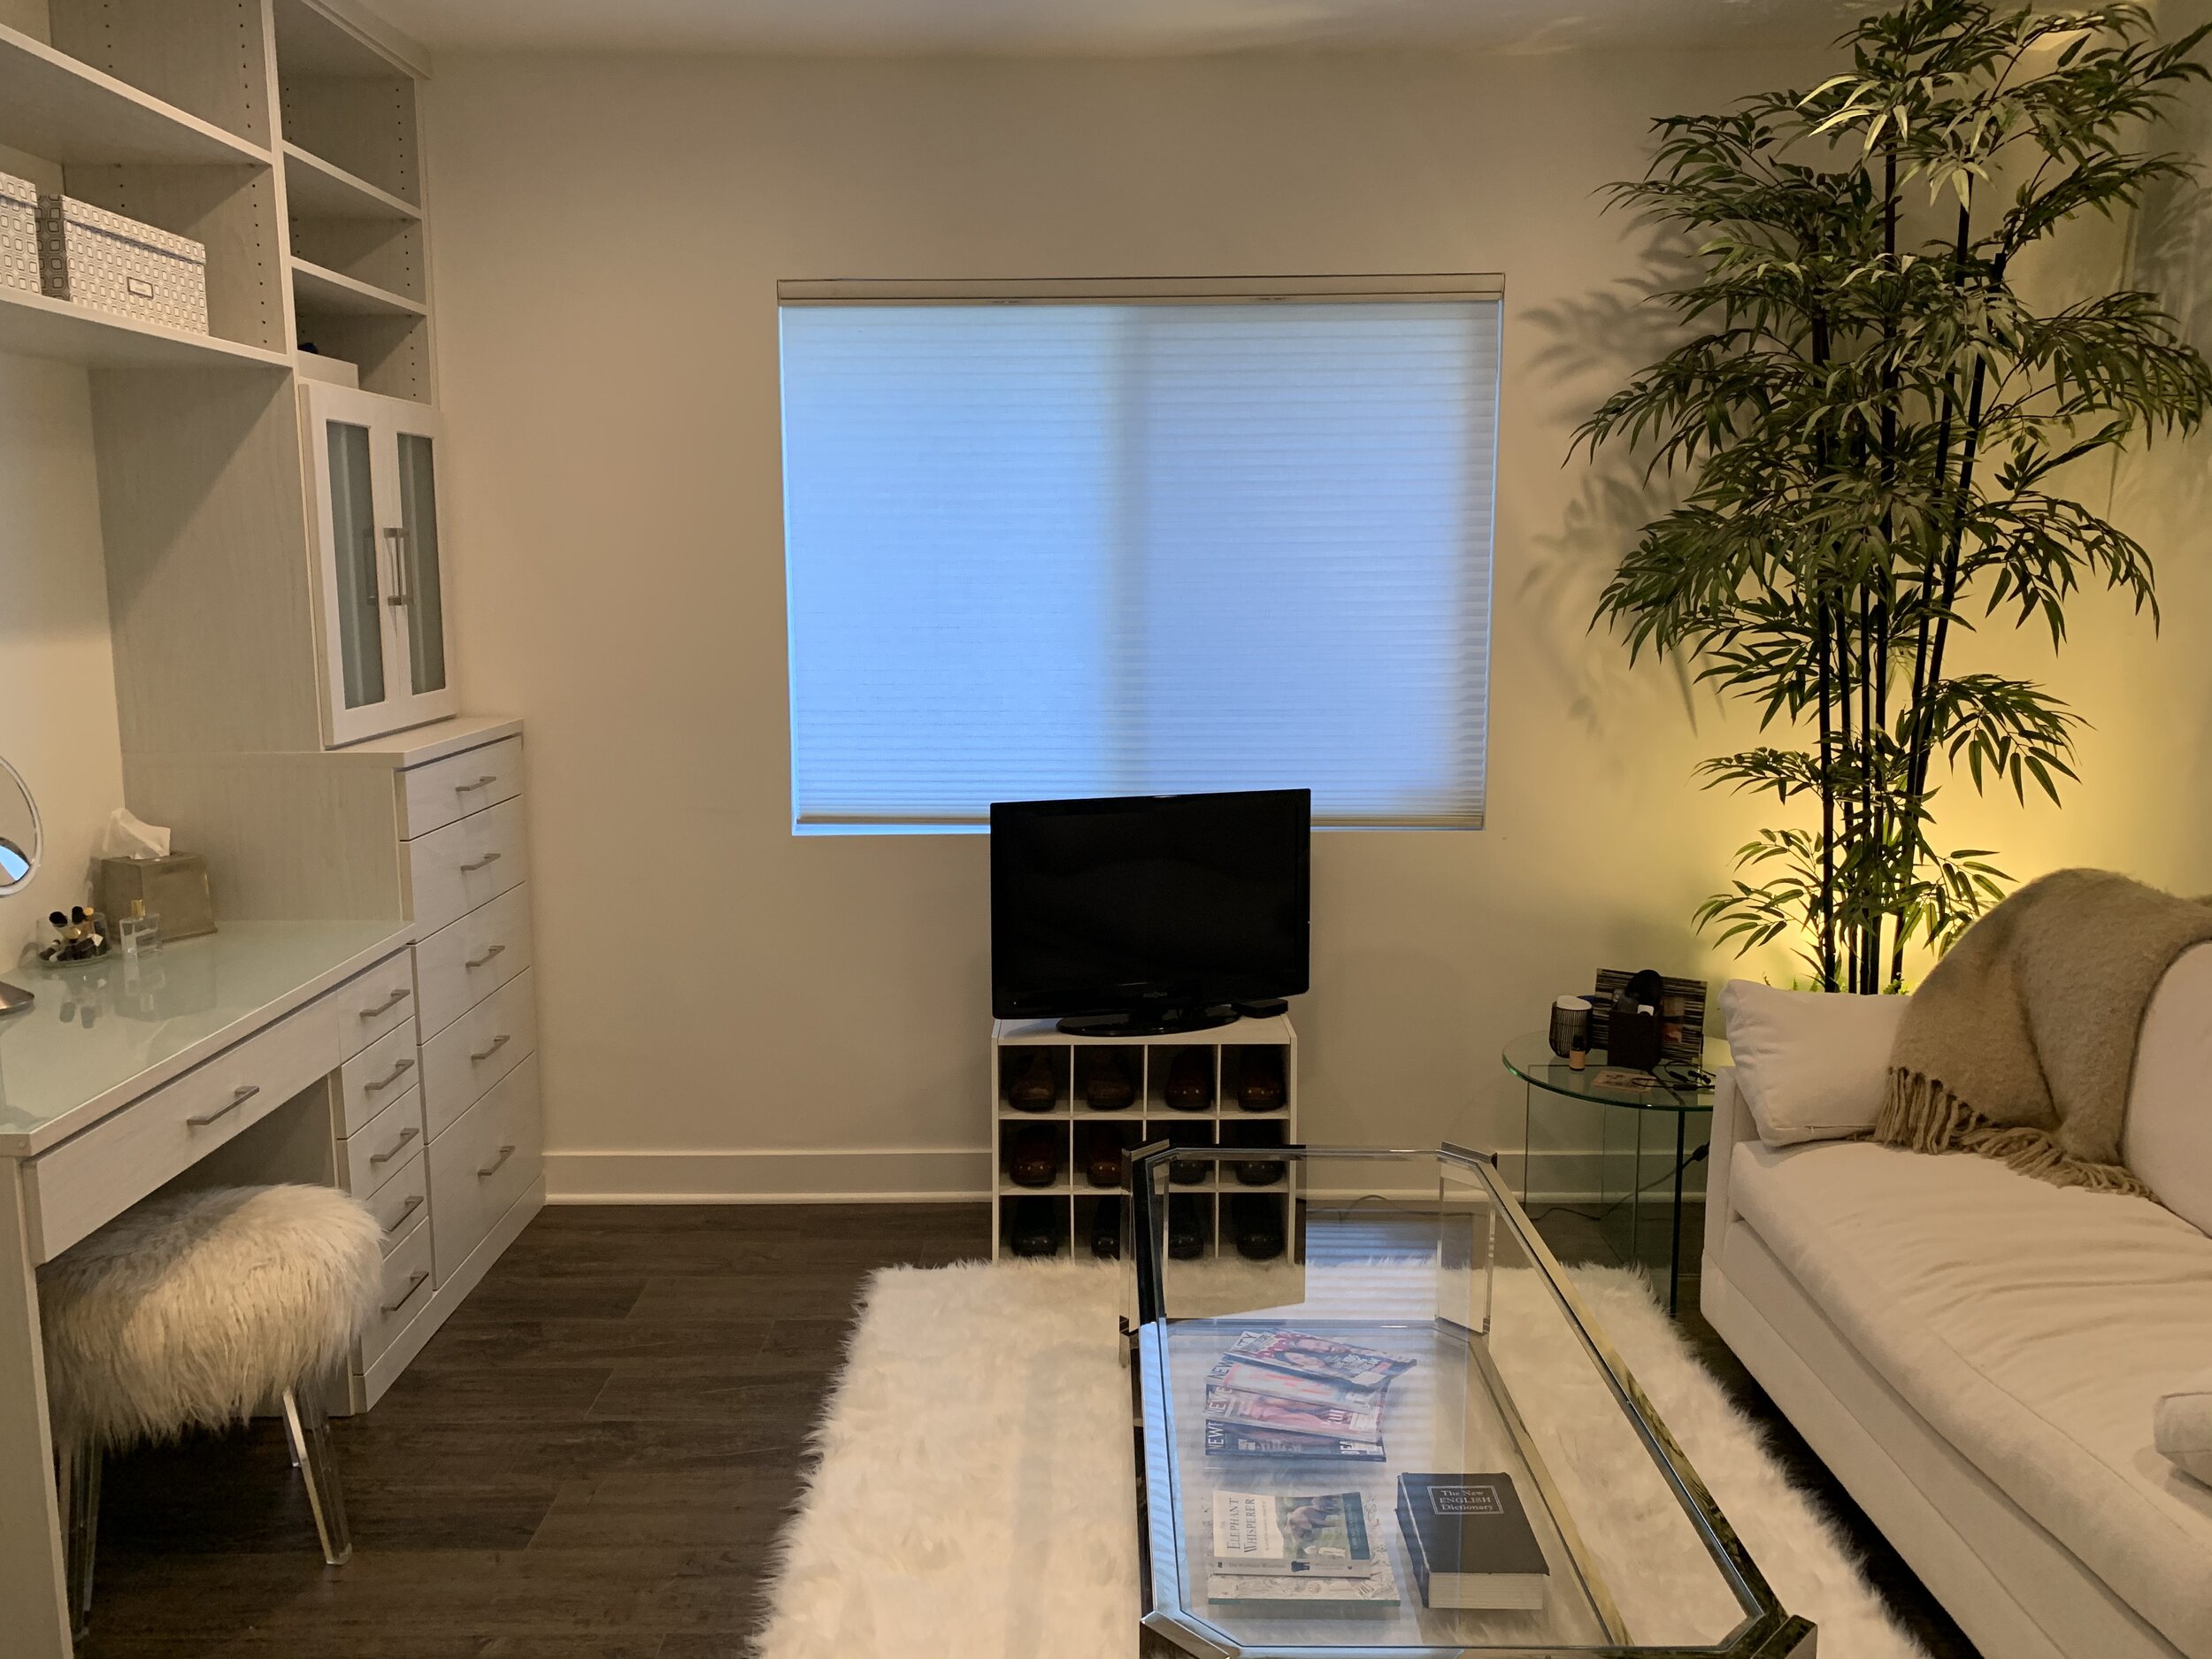
If you are looking to create a space that makes you want to get up and get dressed in the morning, use these three steps. No matter what size space you have you can create a dressing room or area of your dreams.