A Move-in Ready Apartment

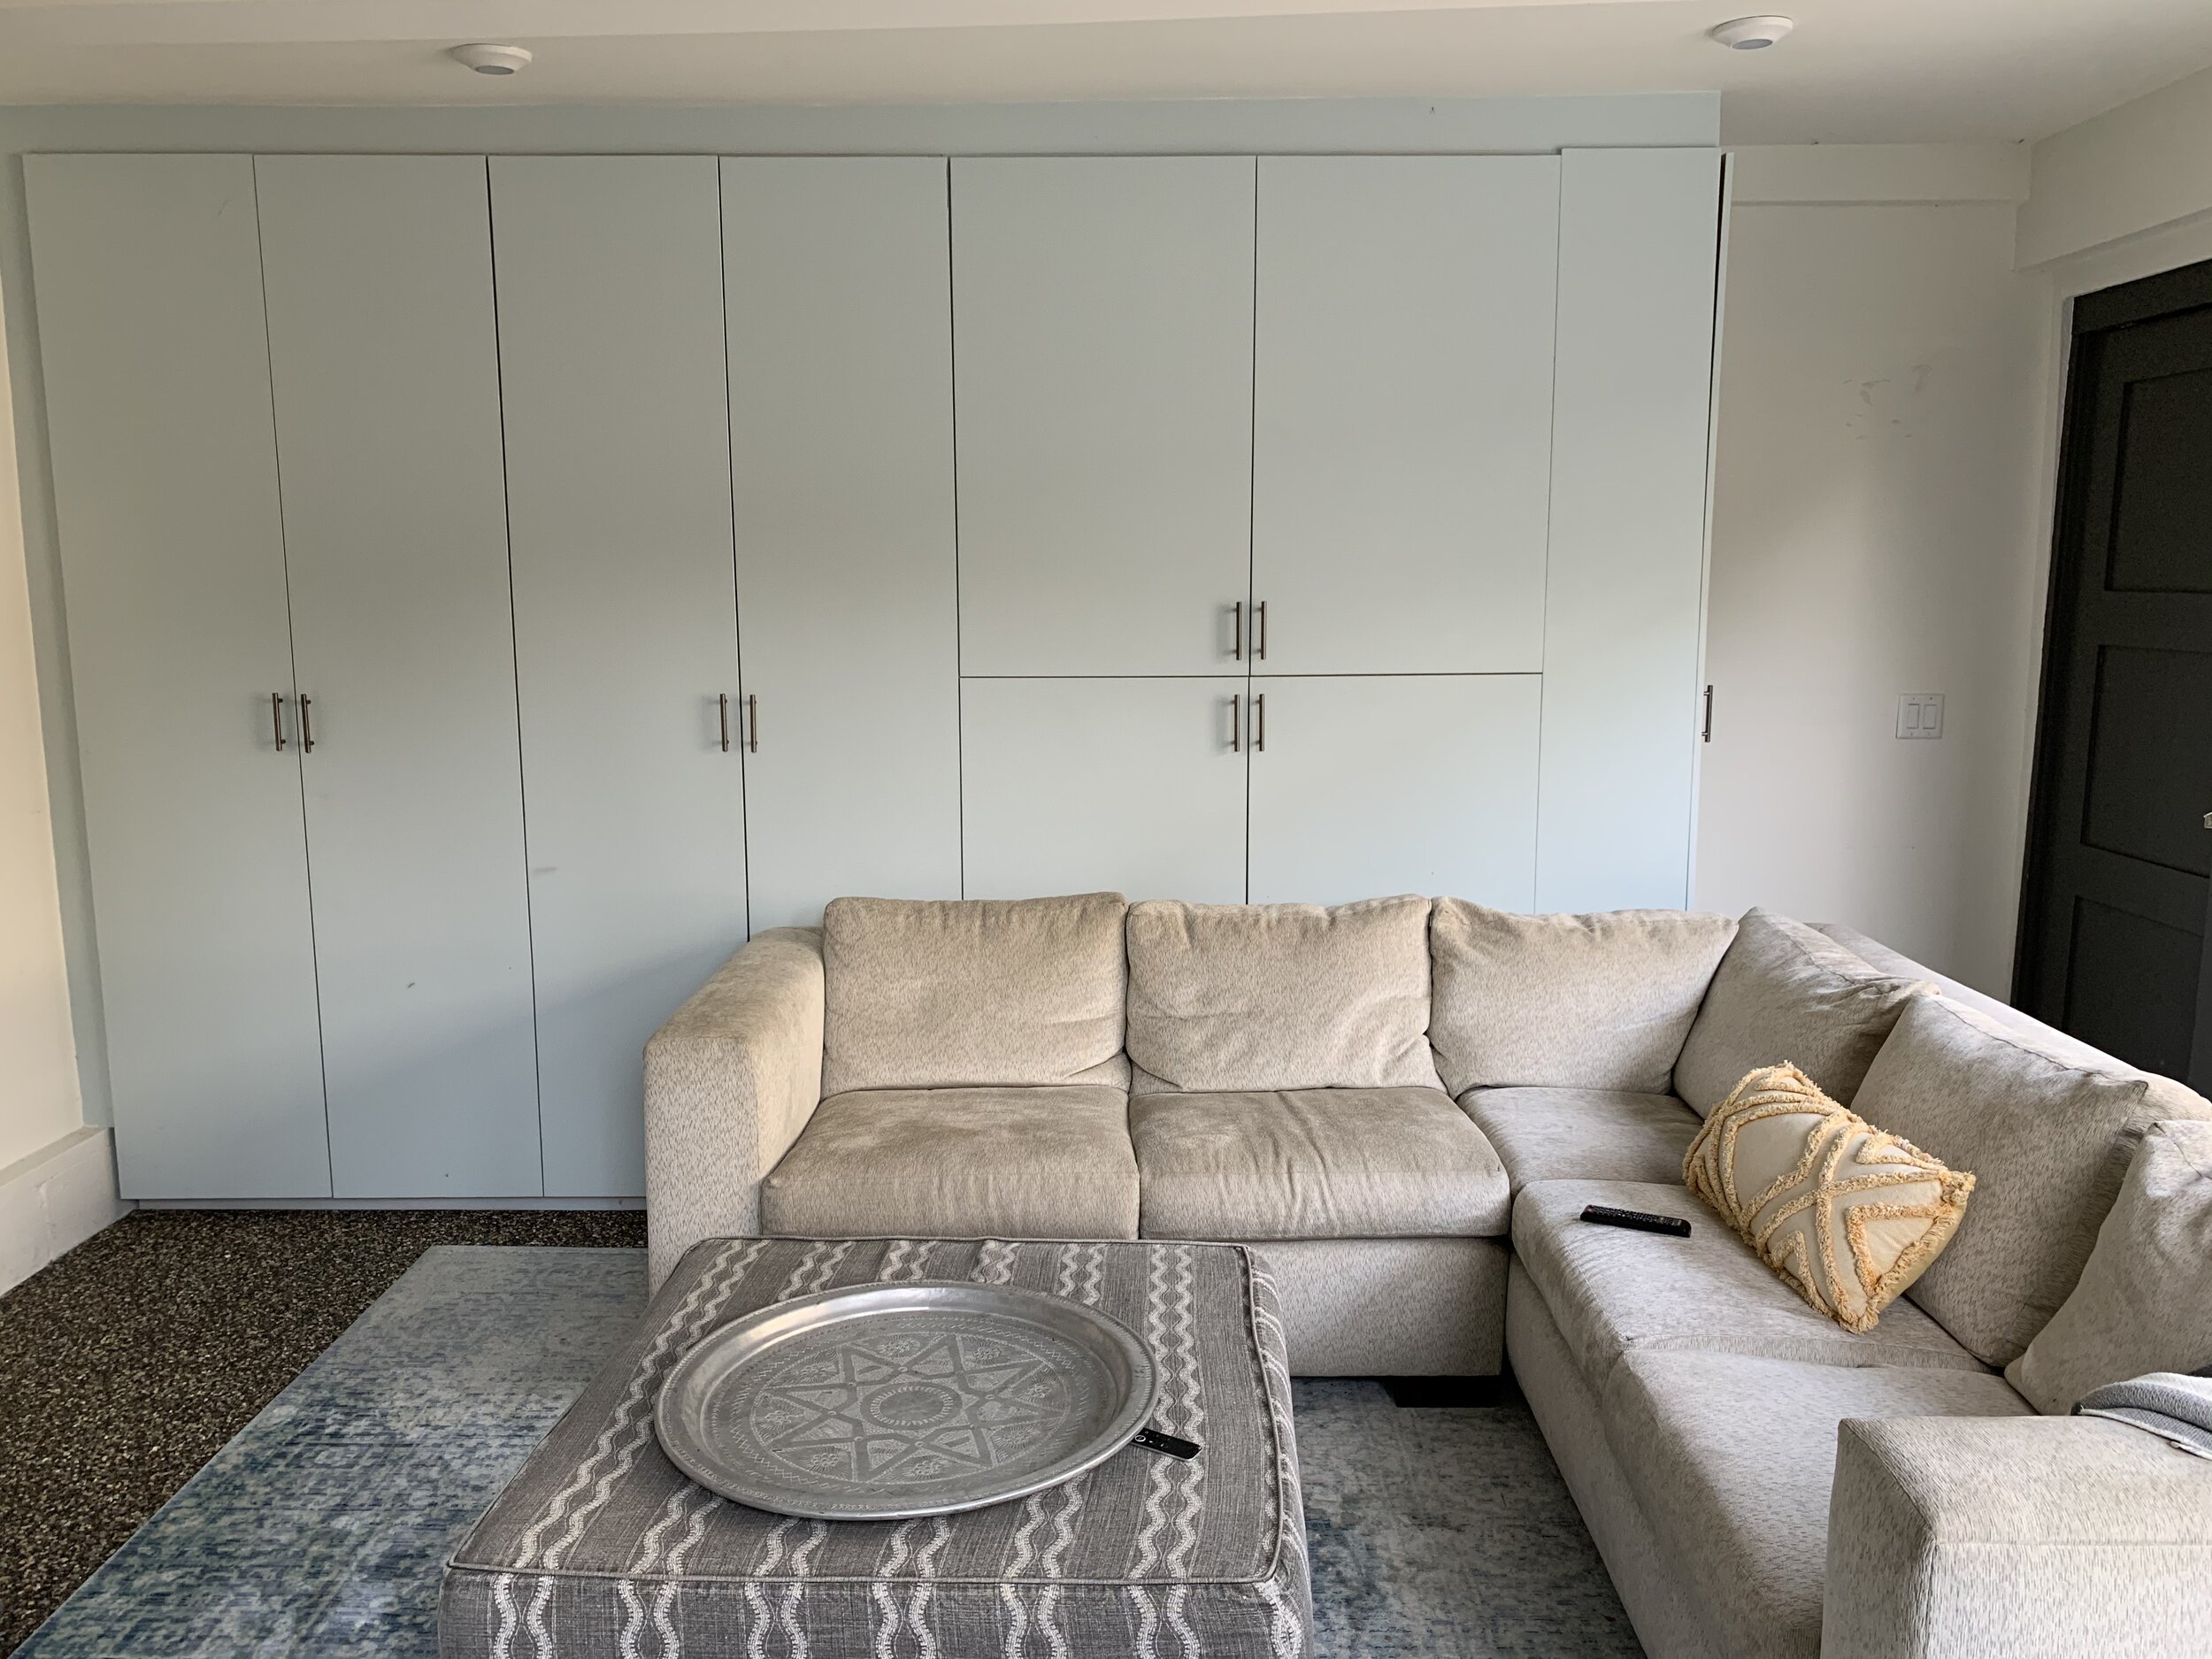
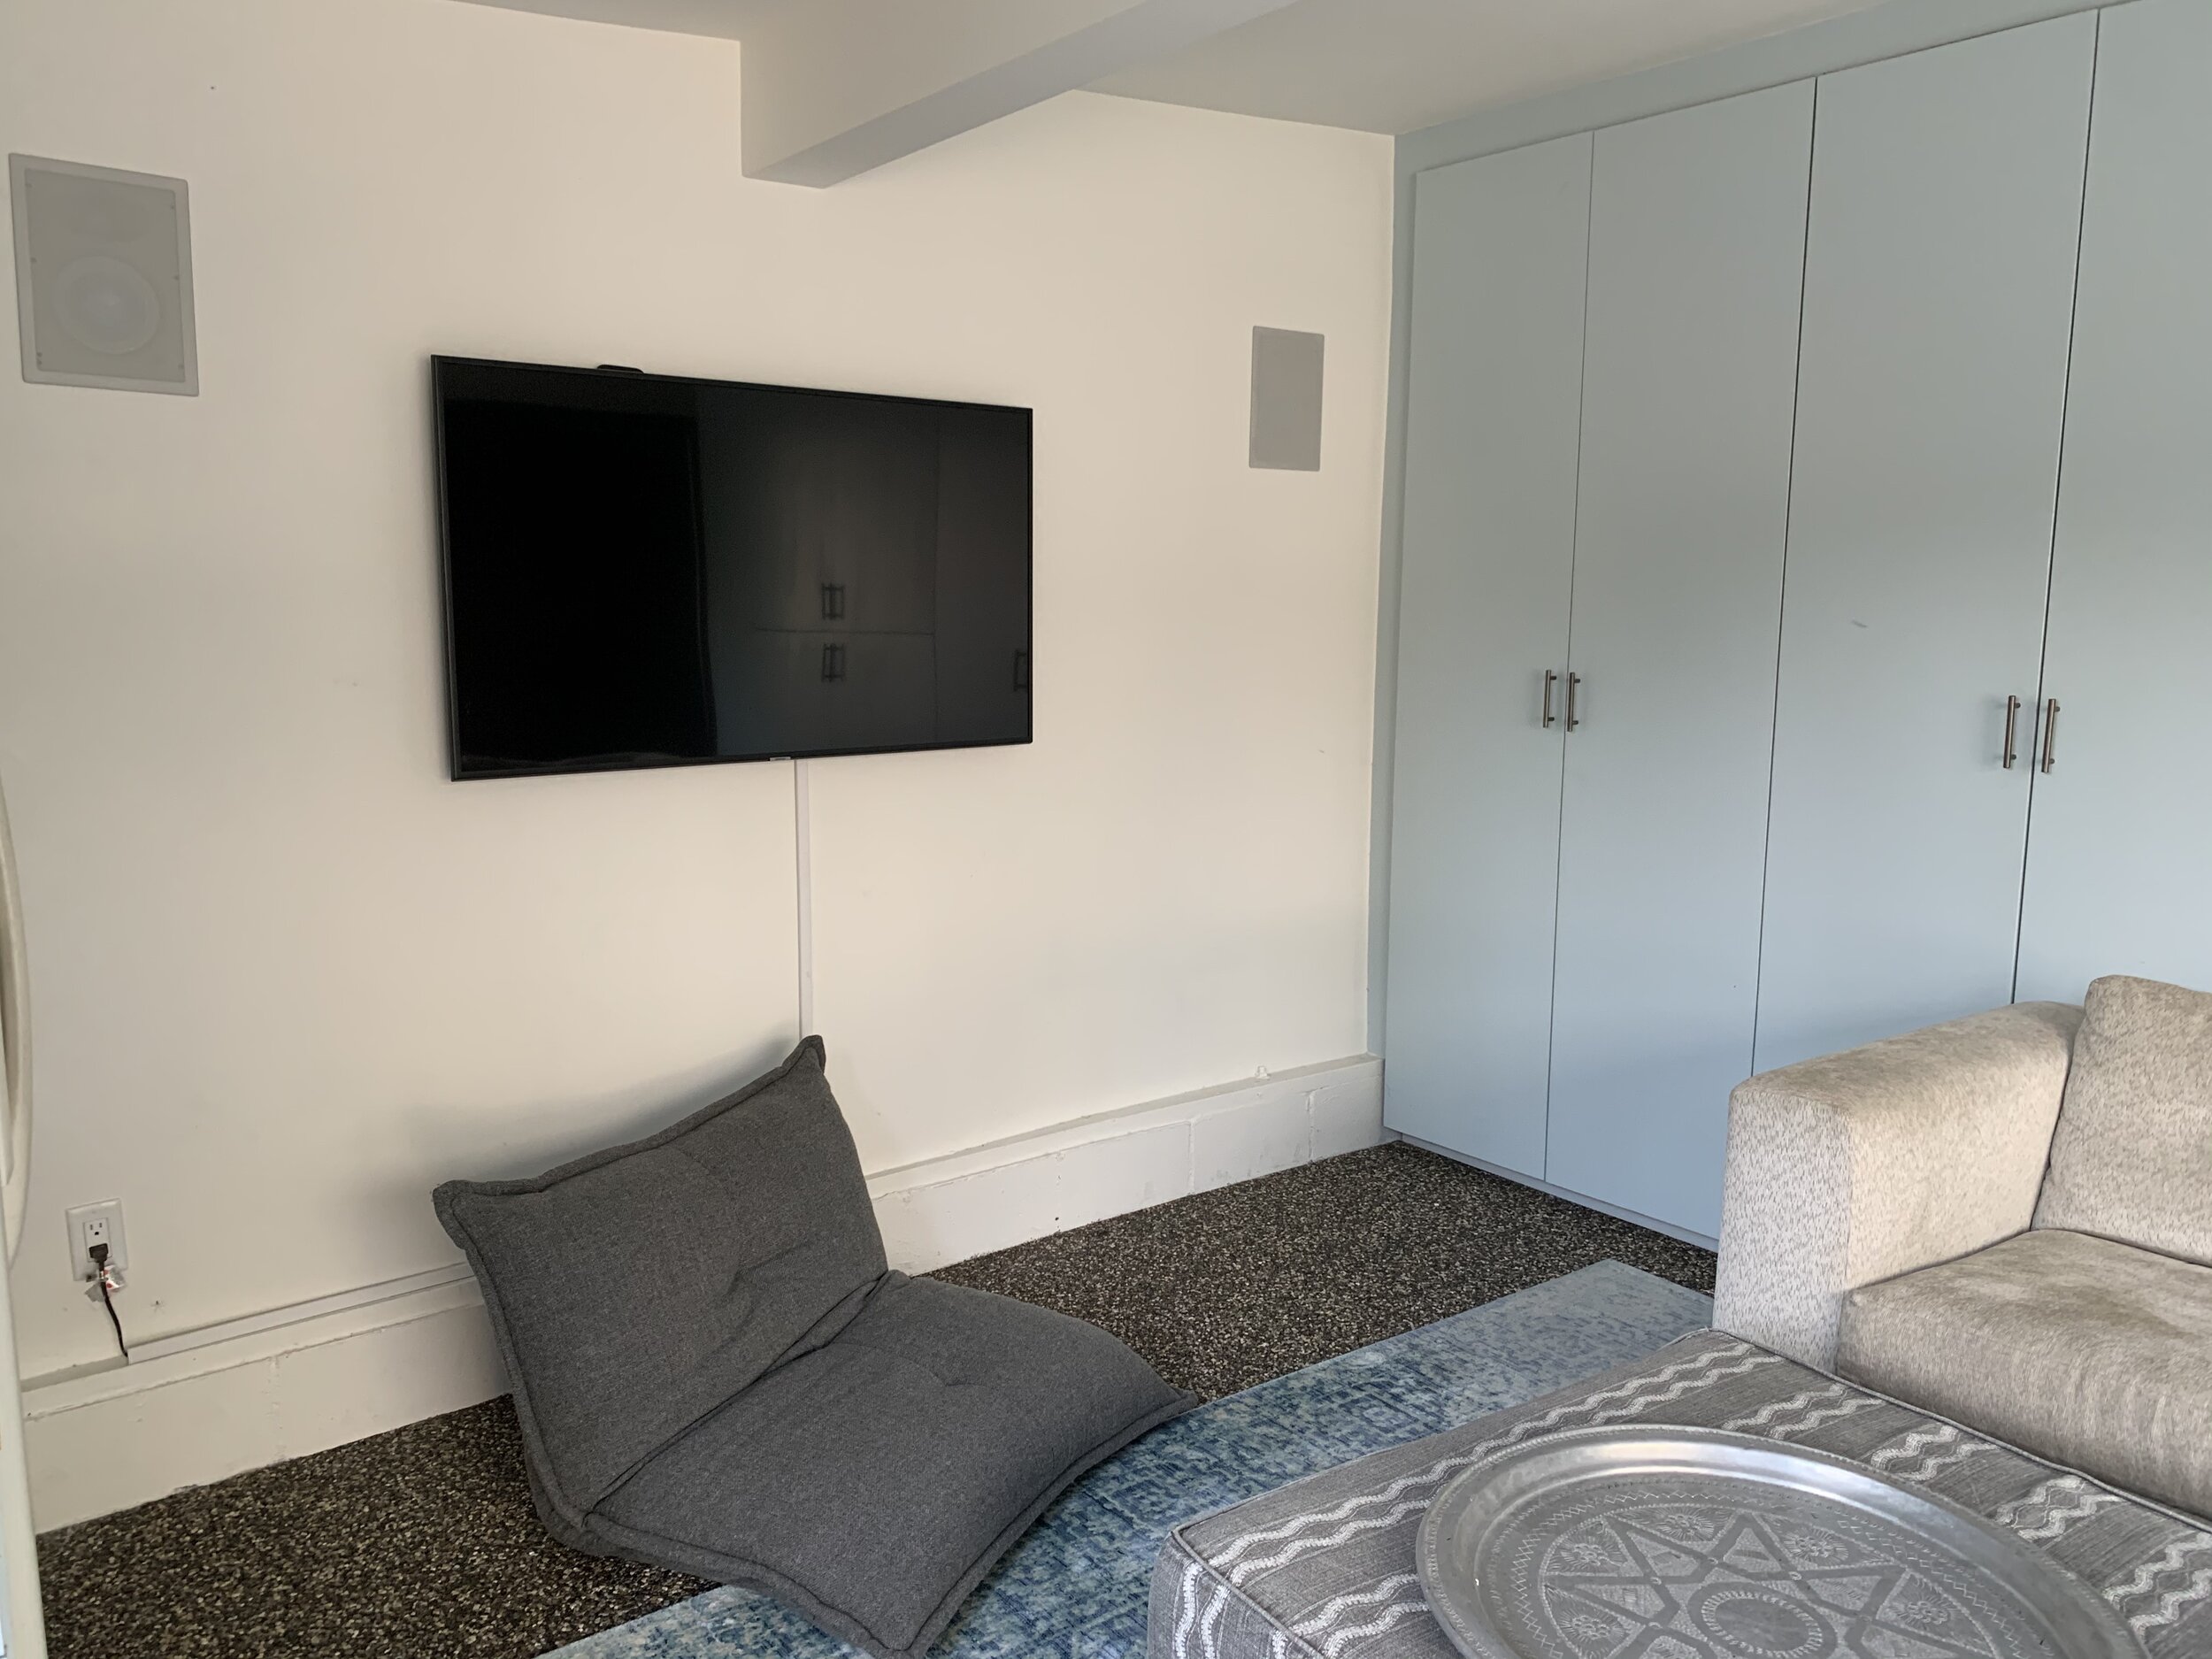
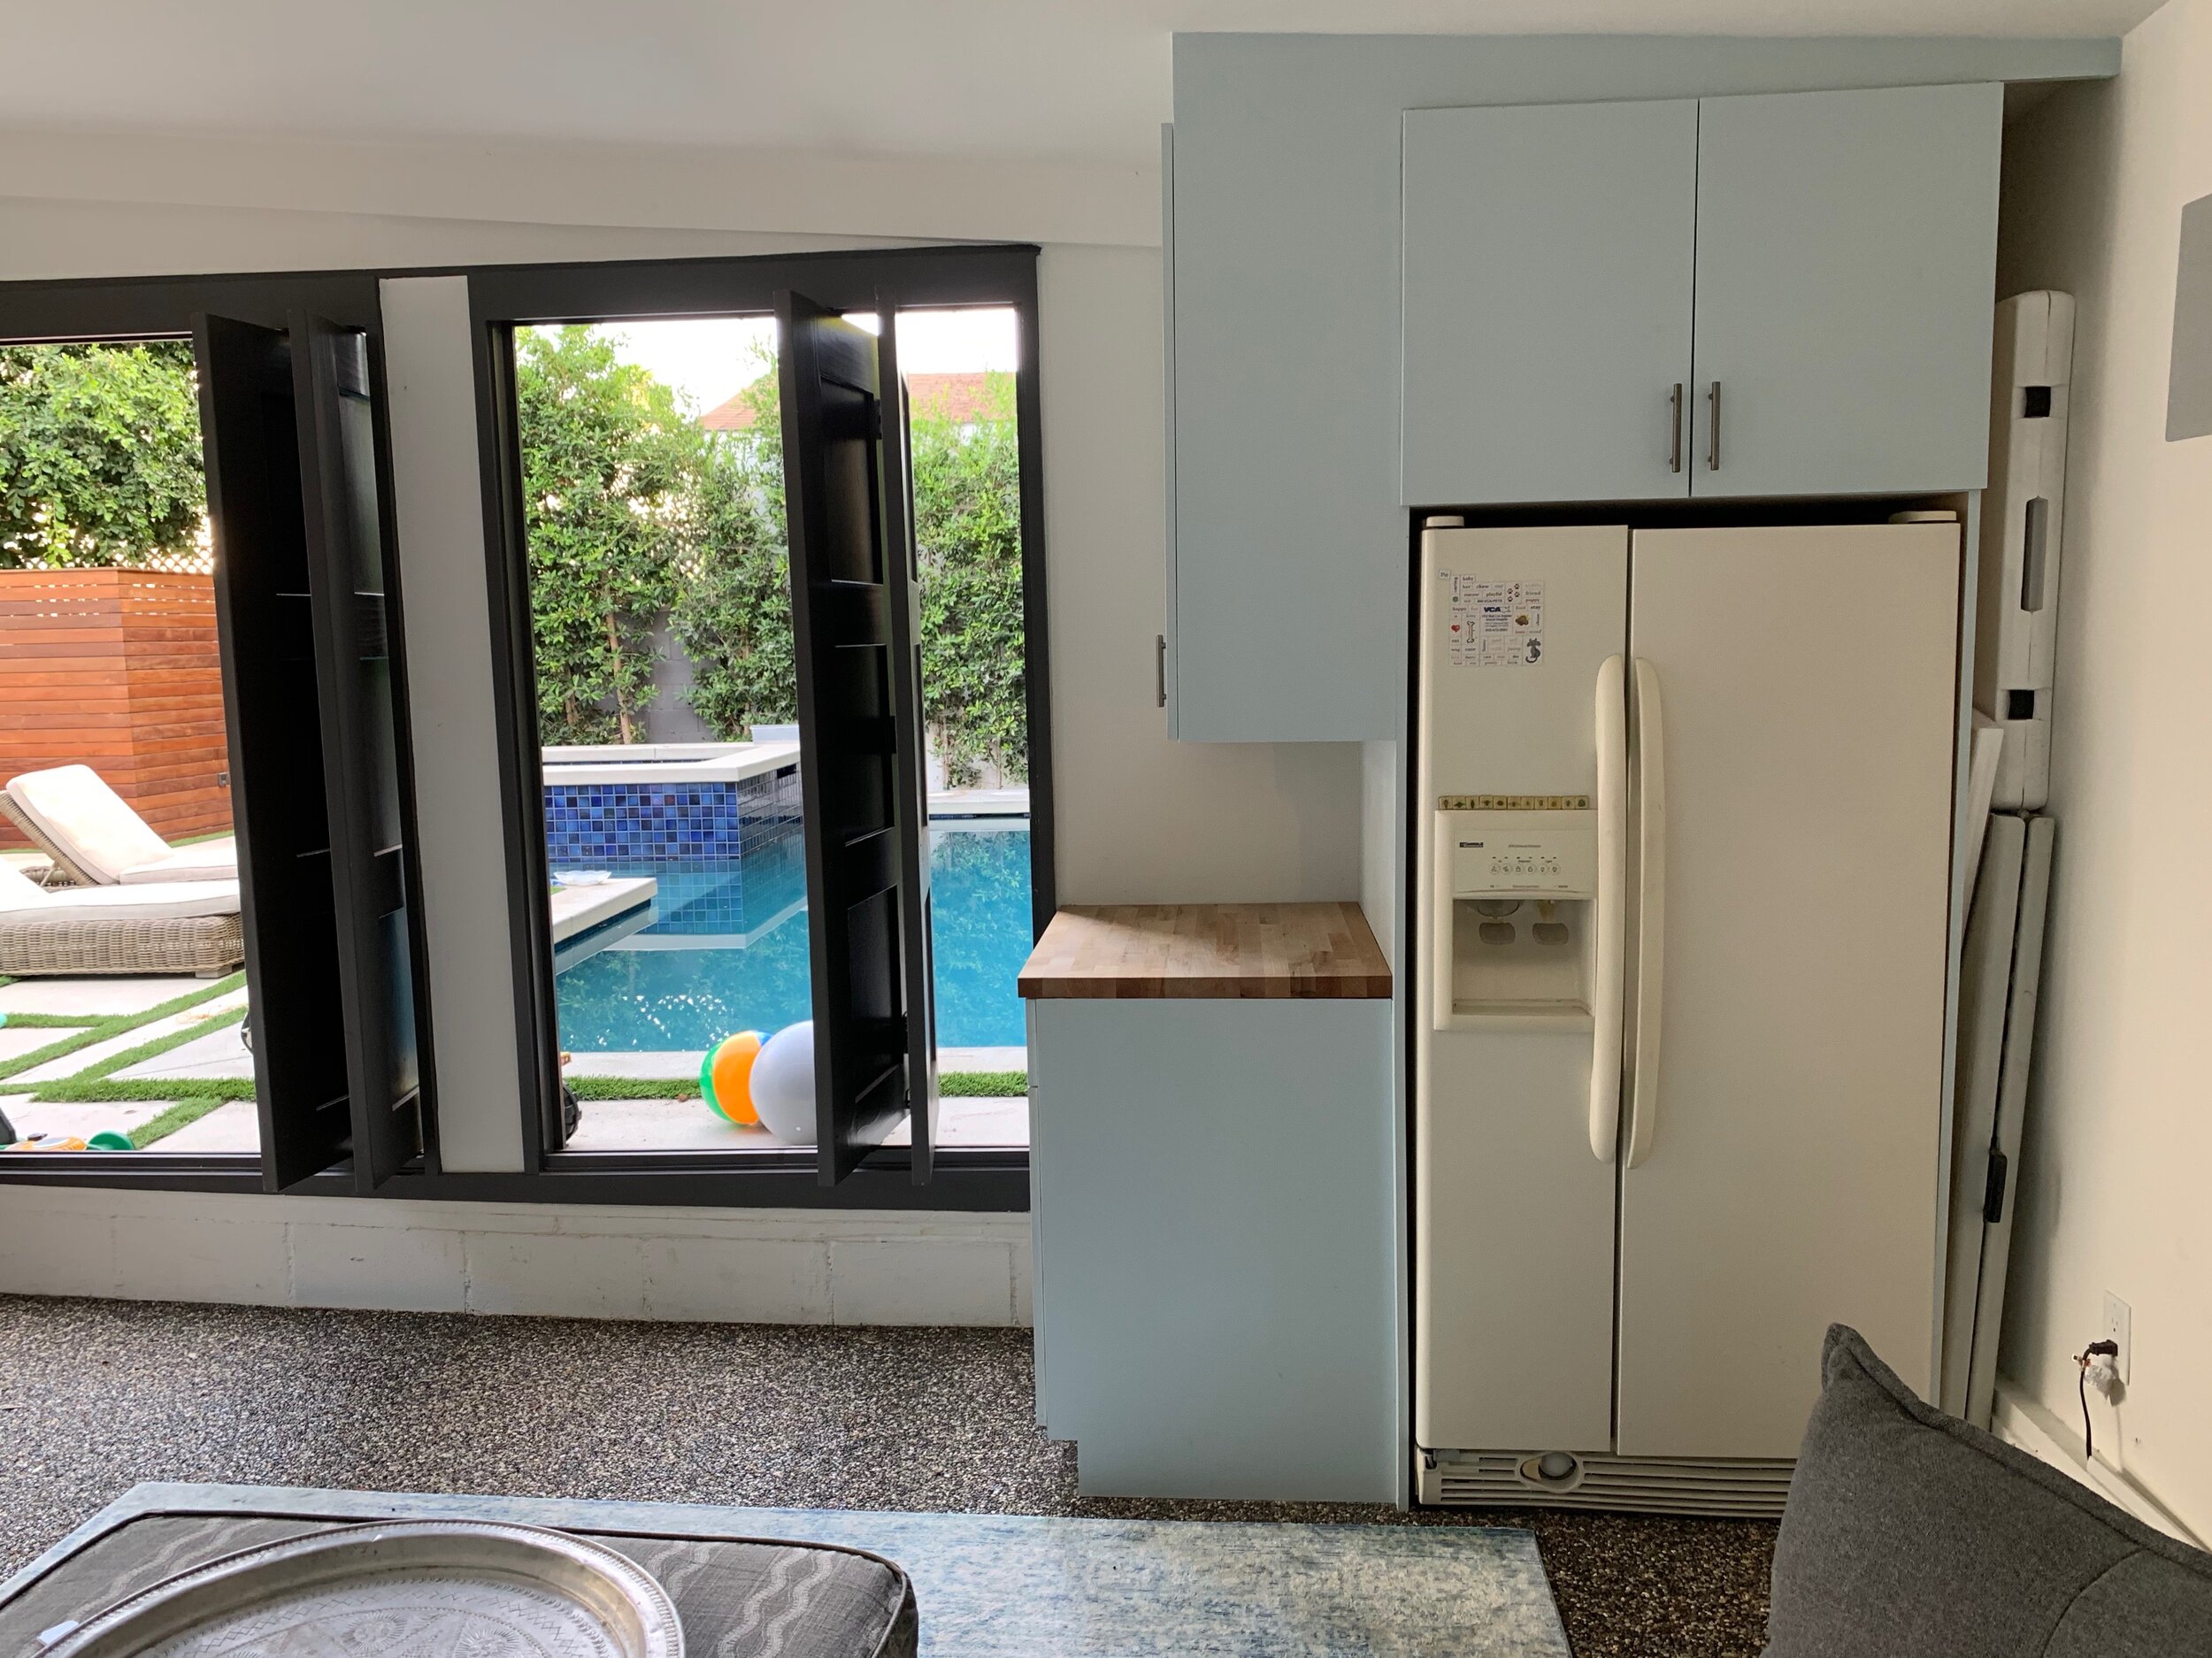
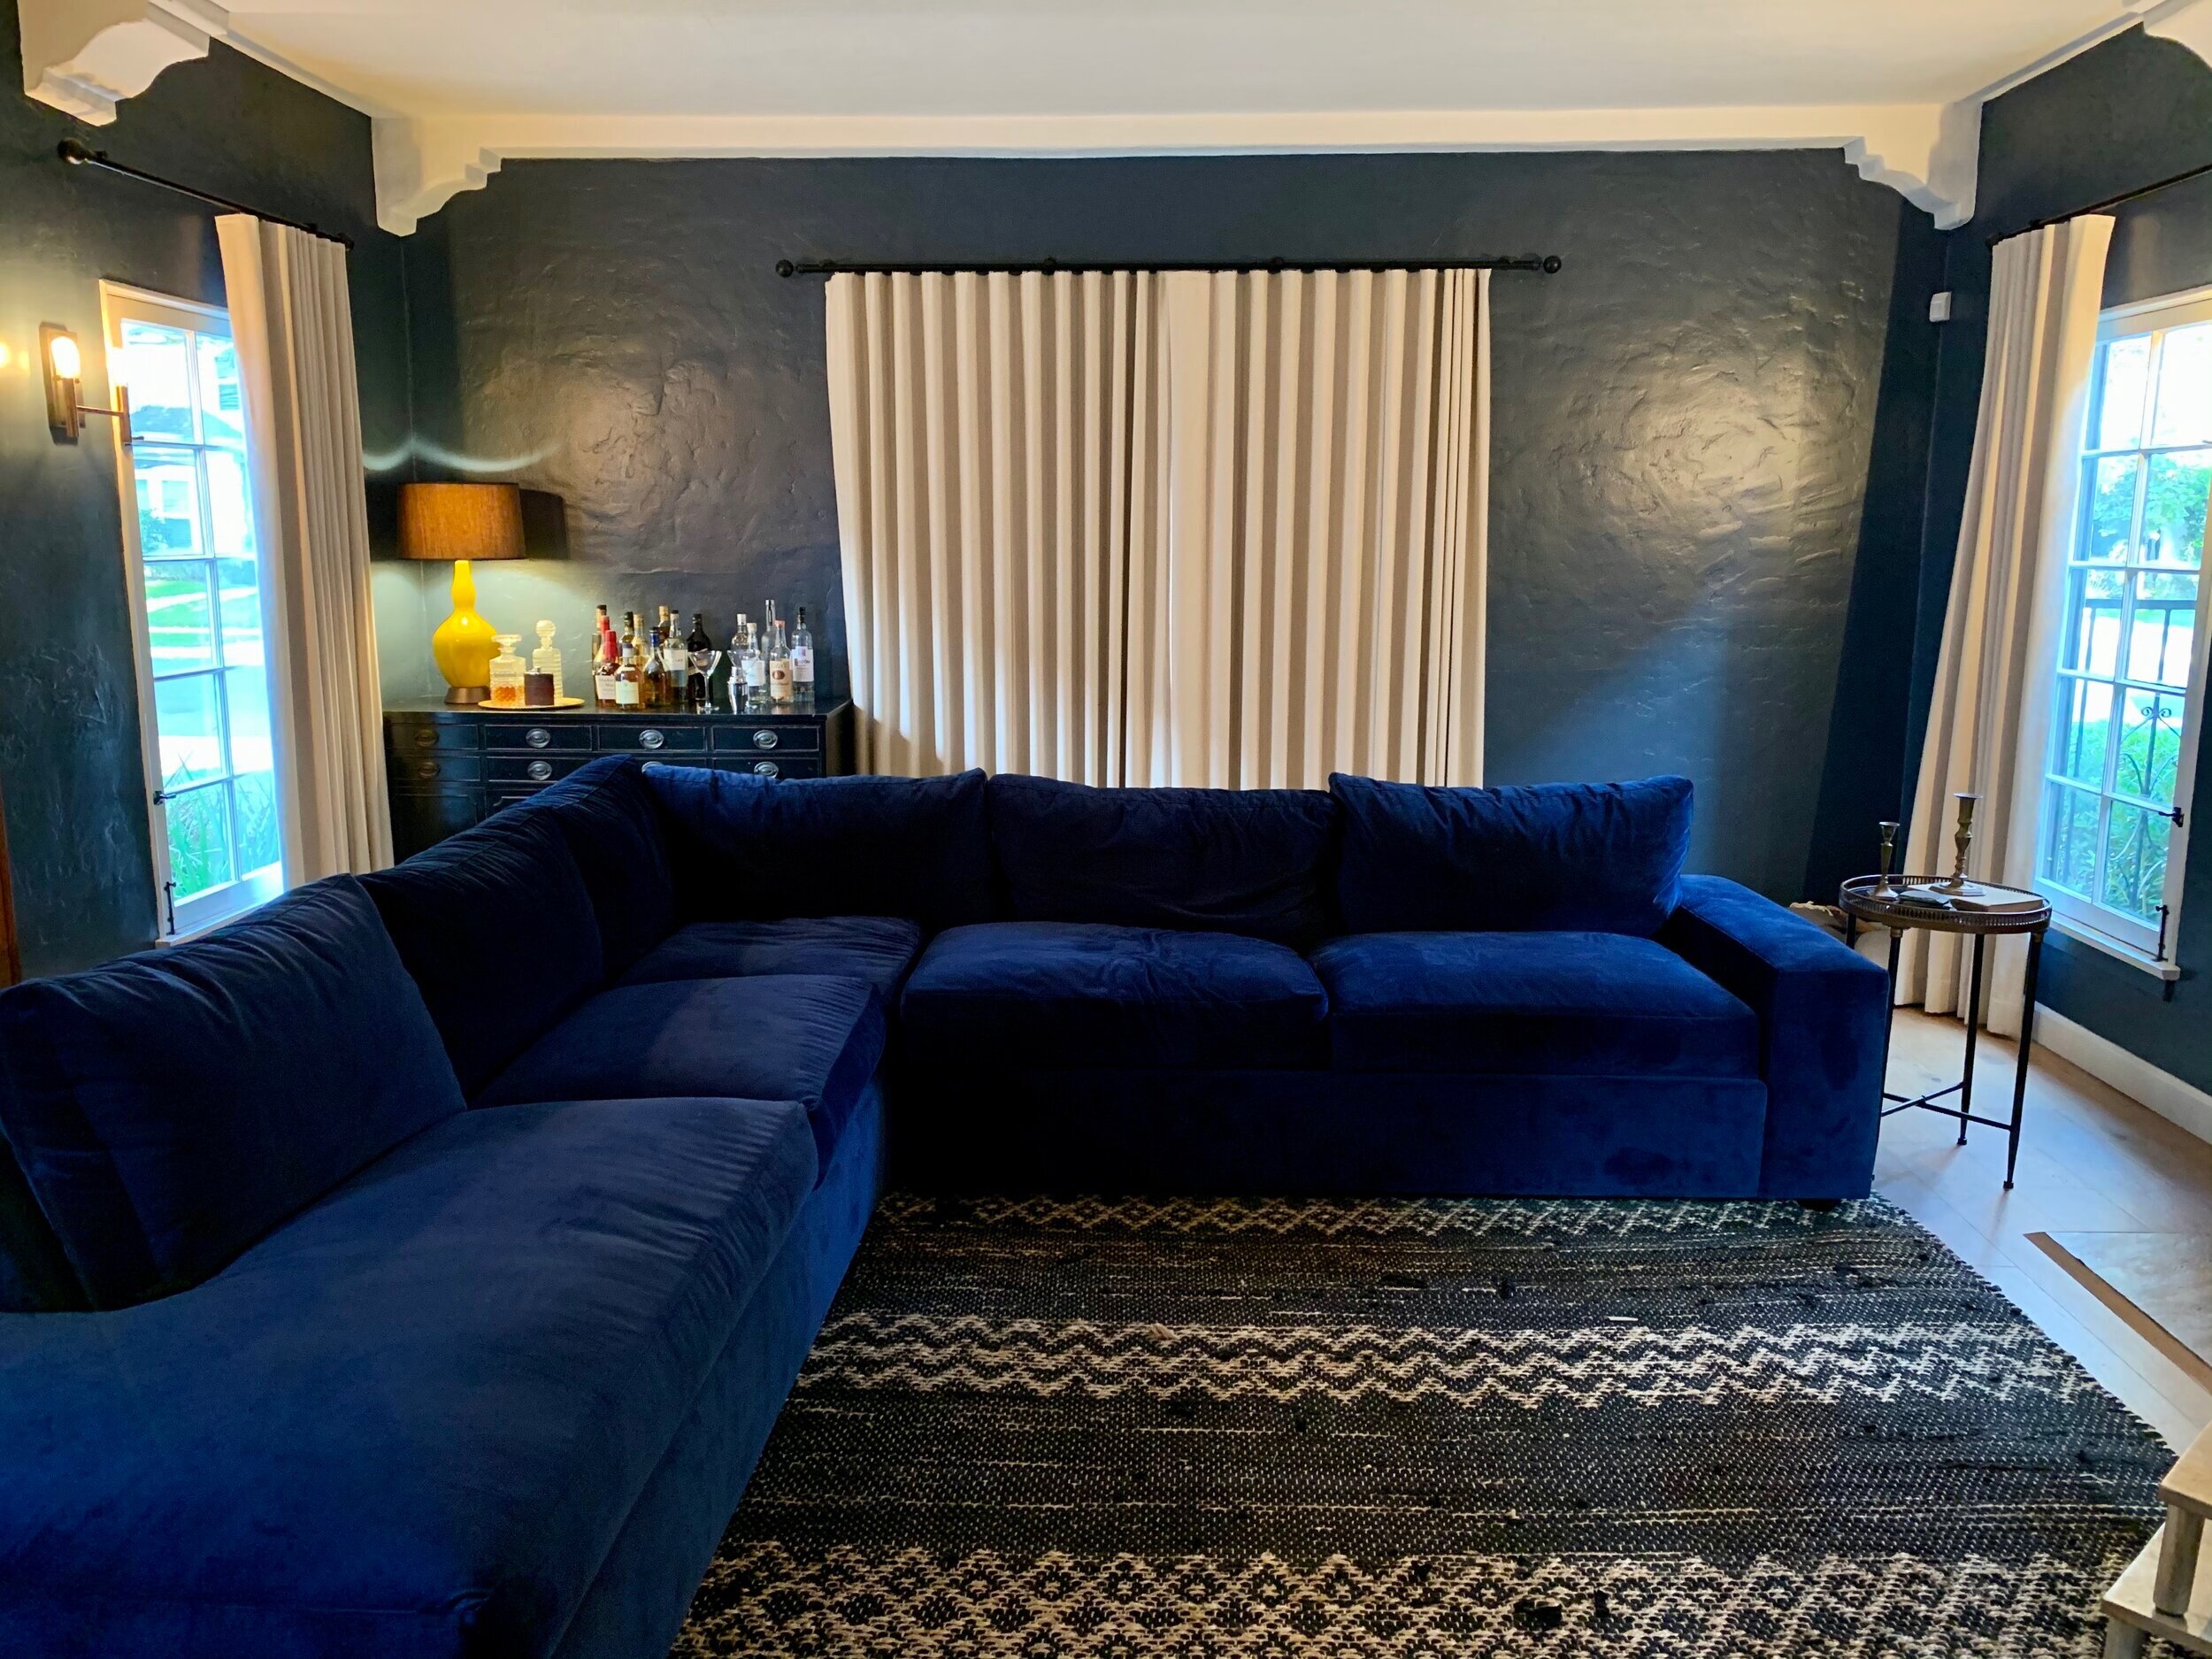
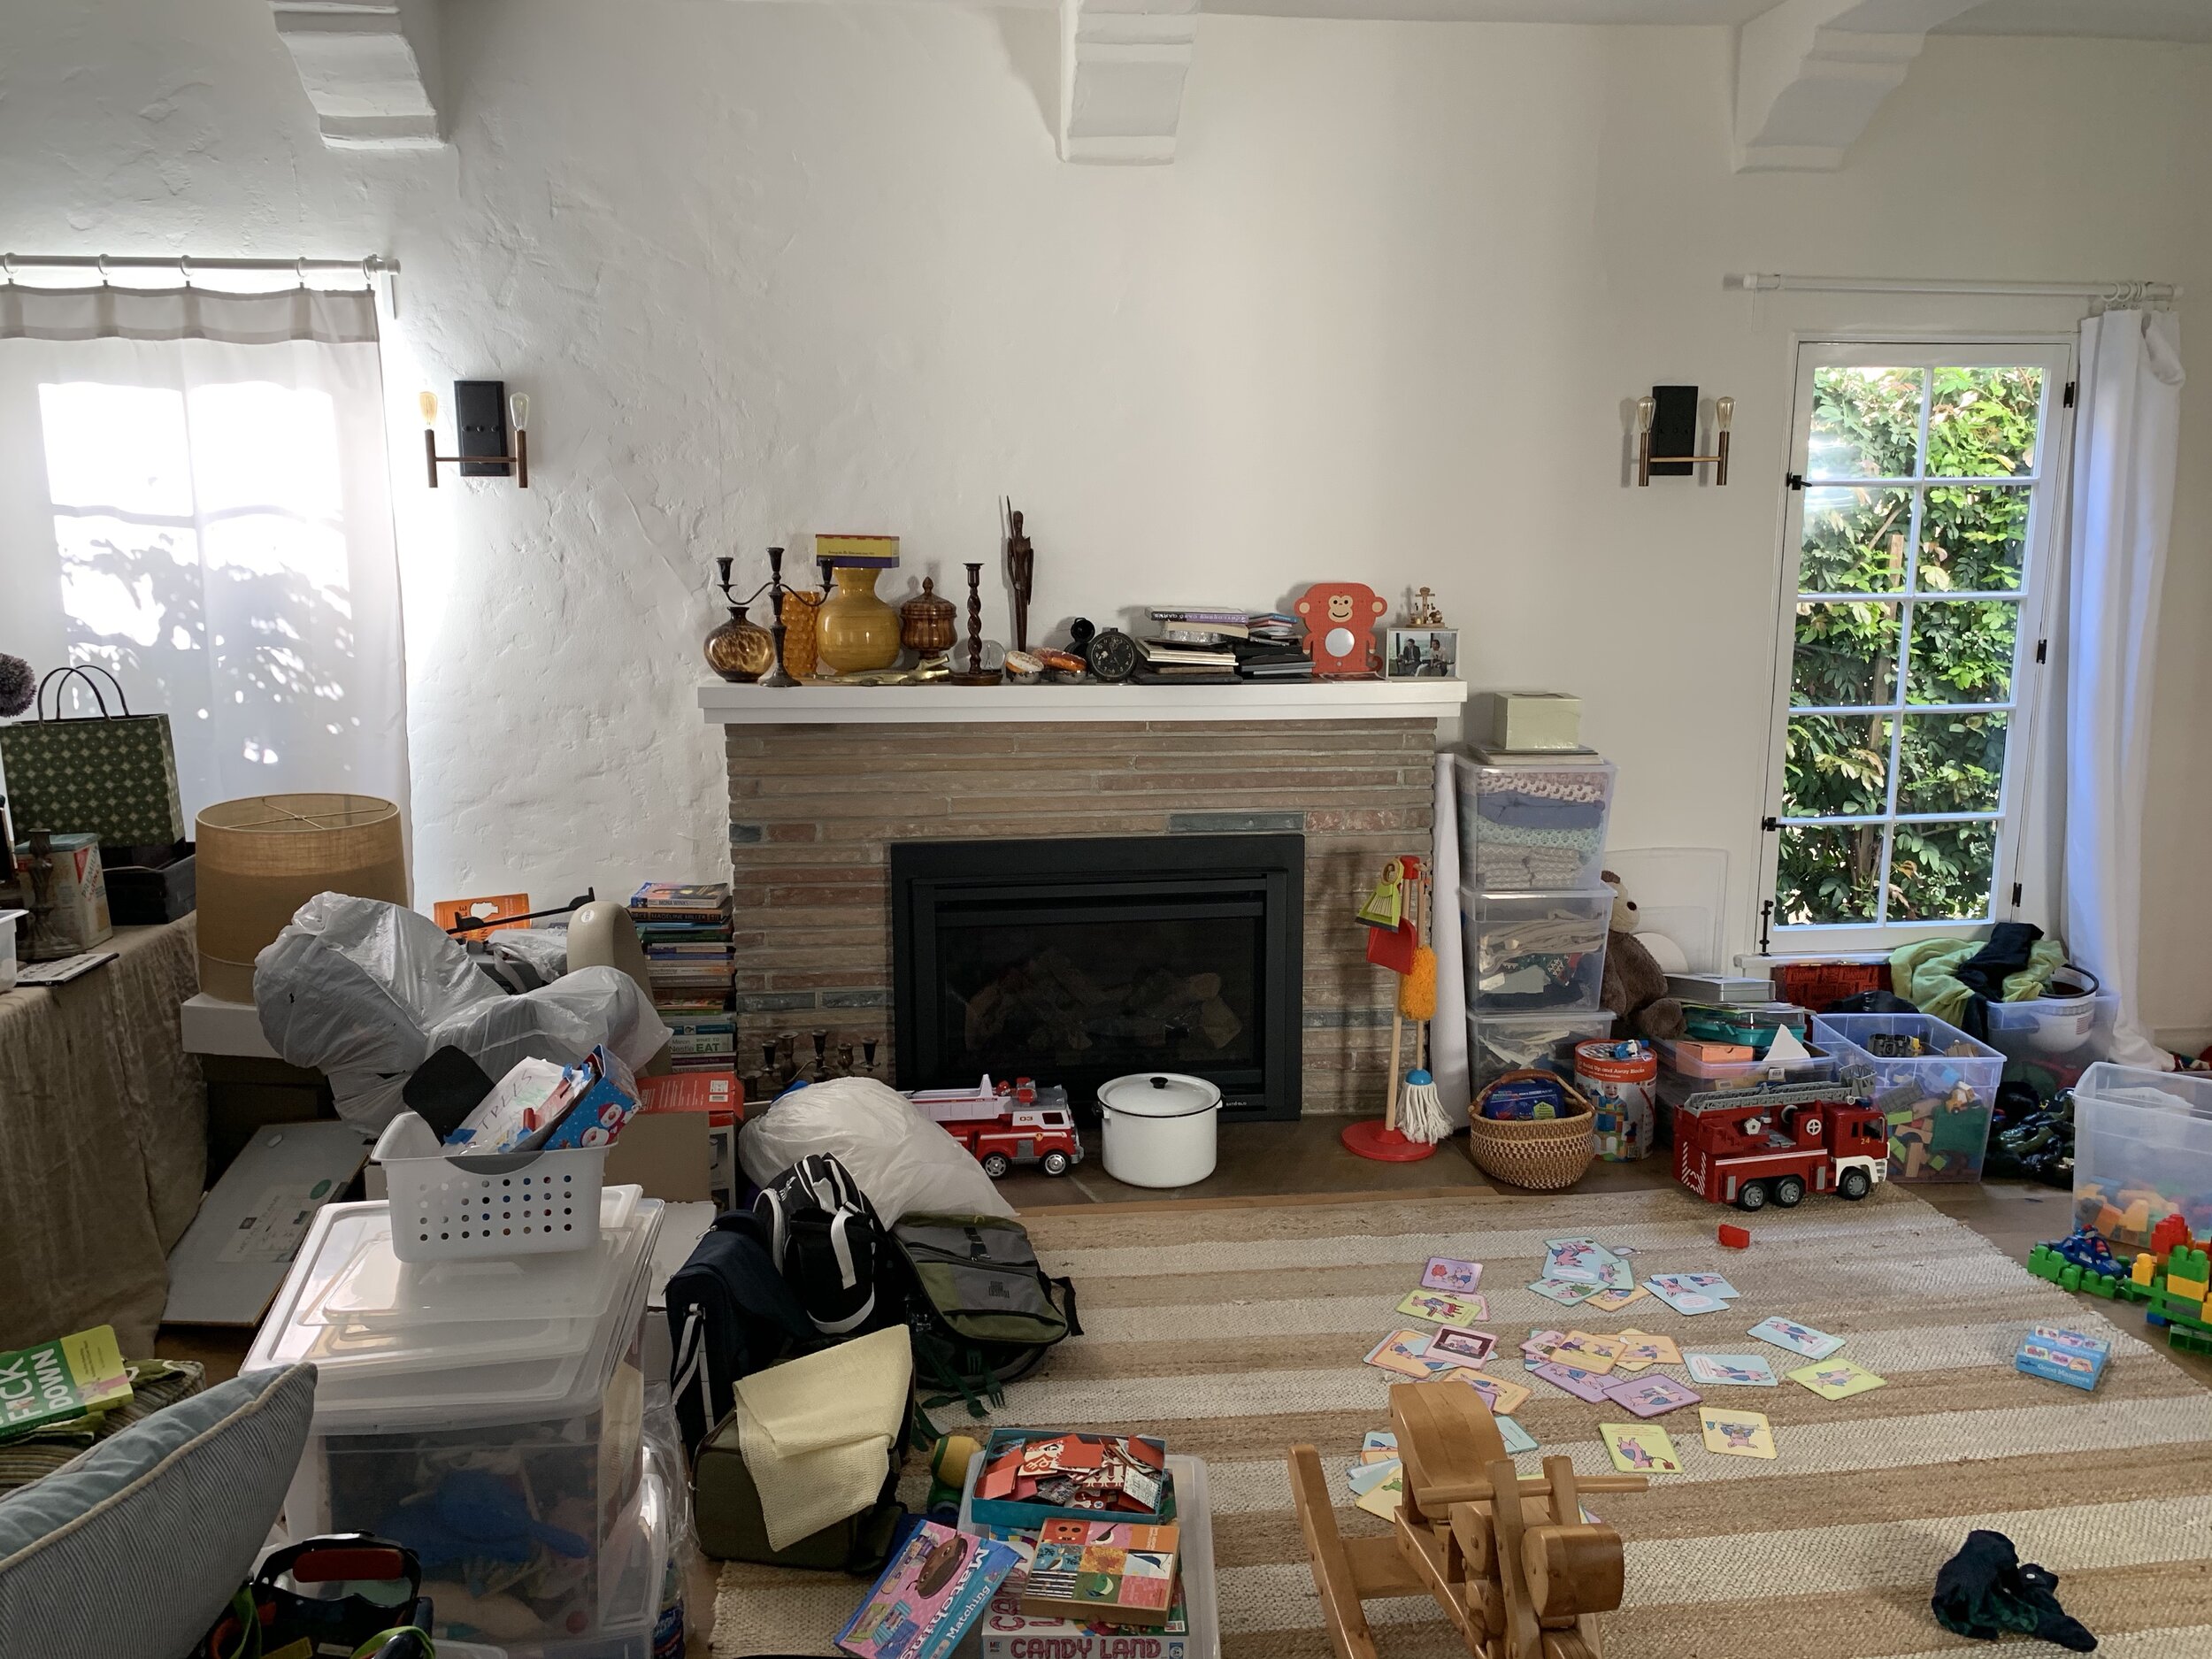
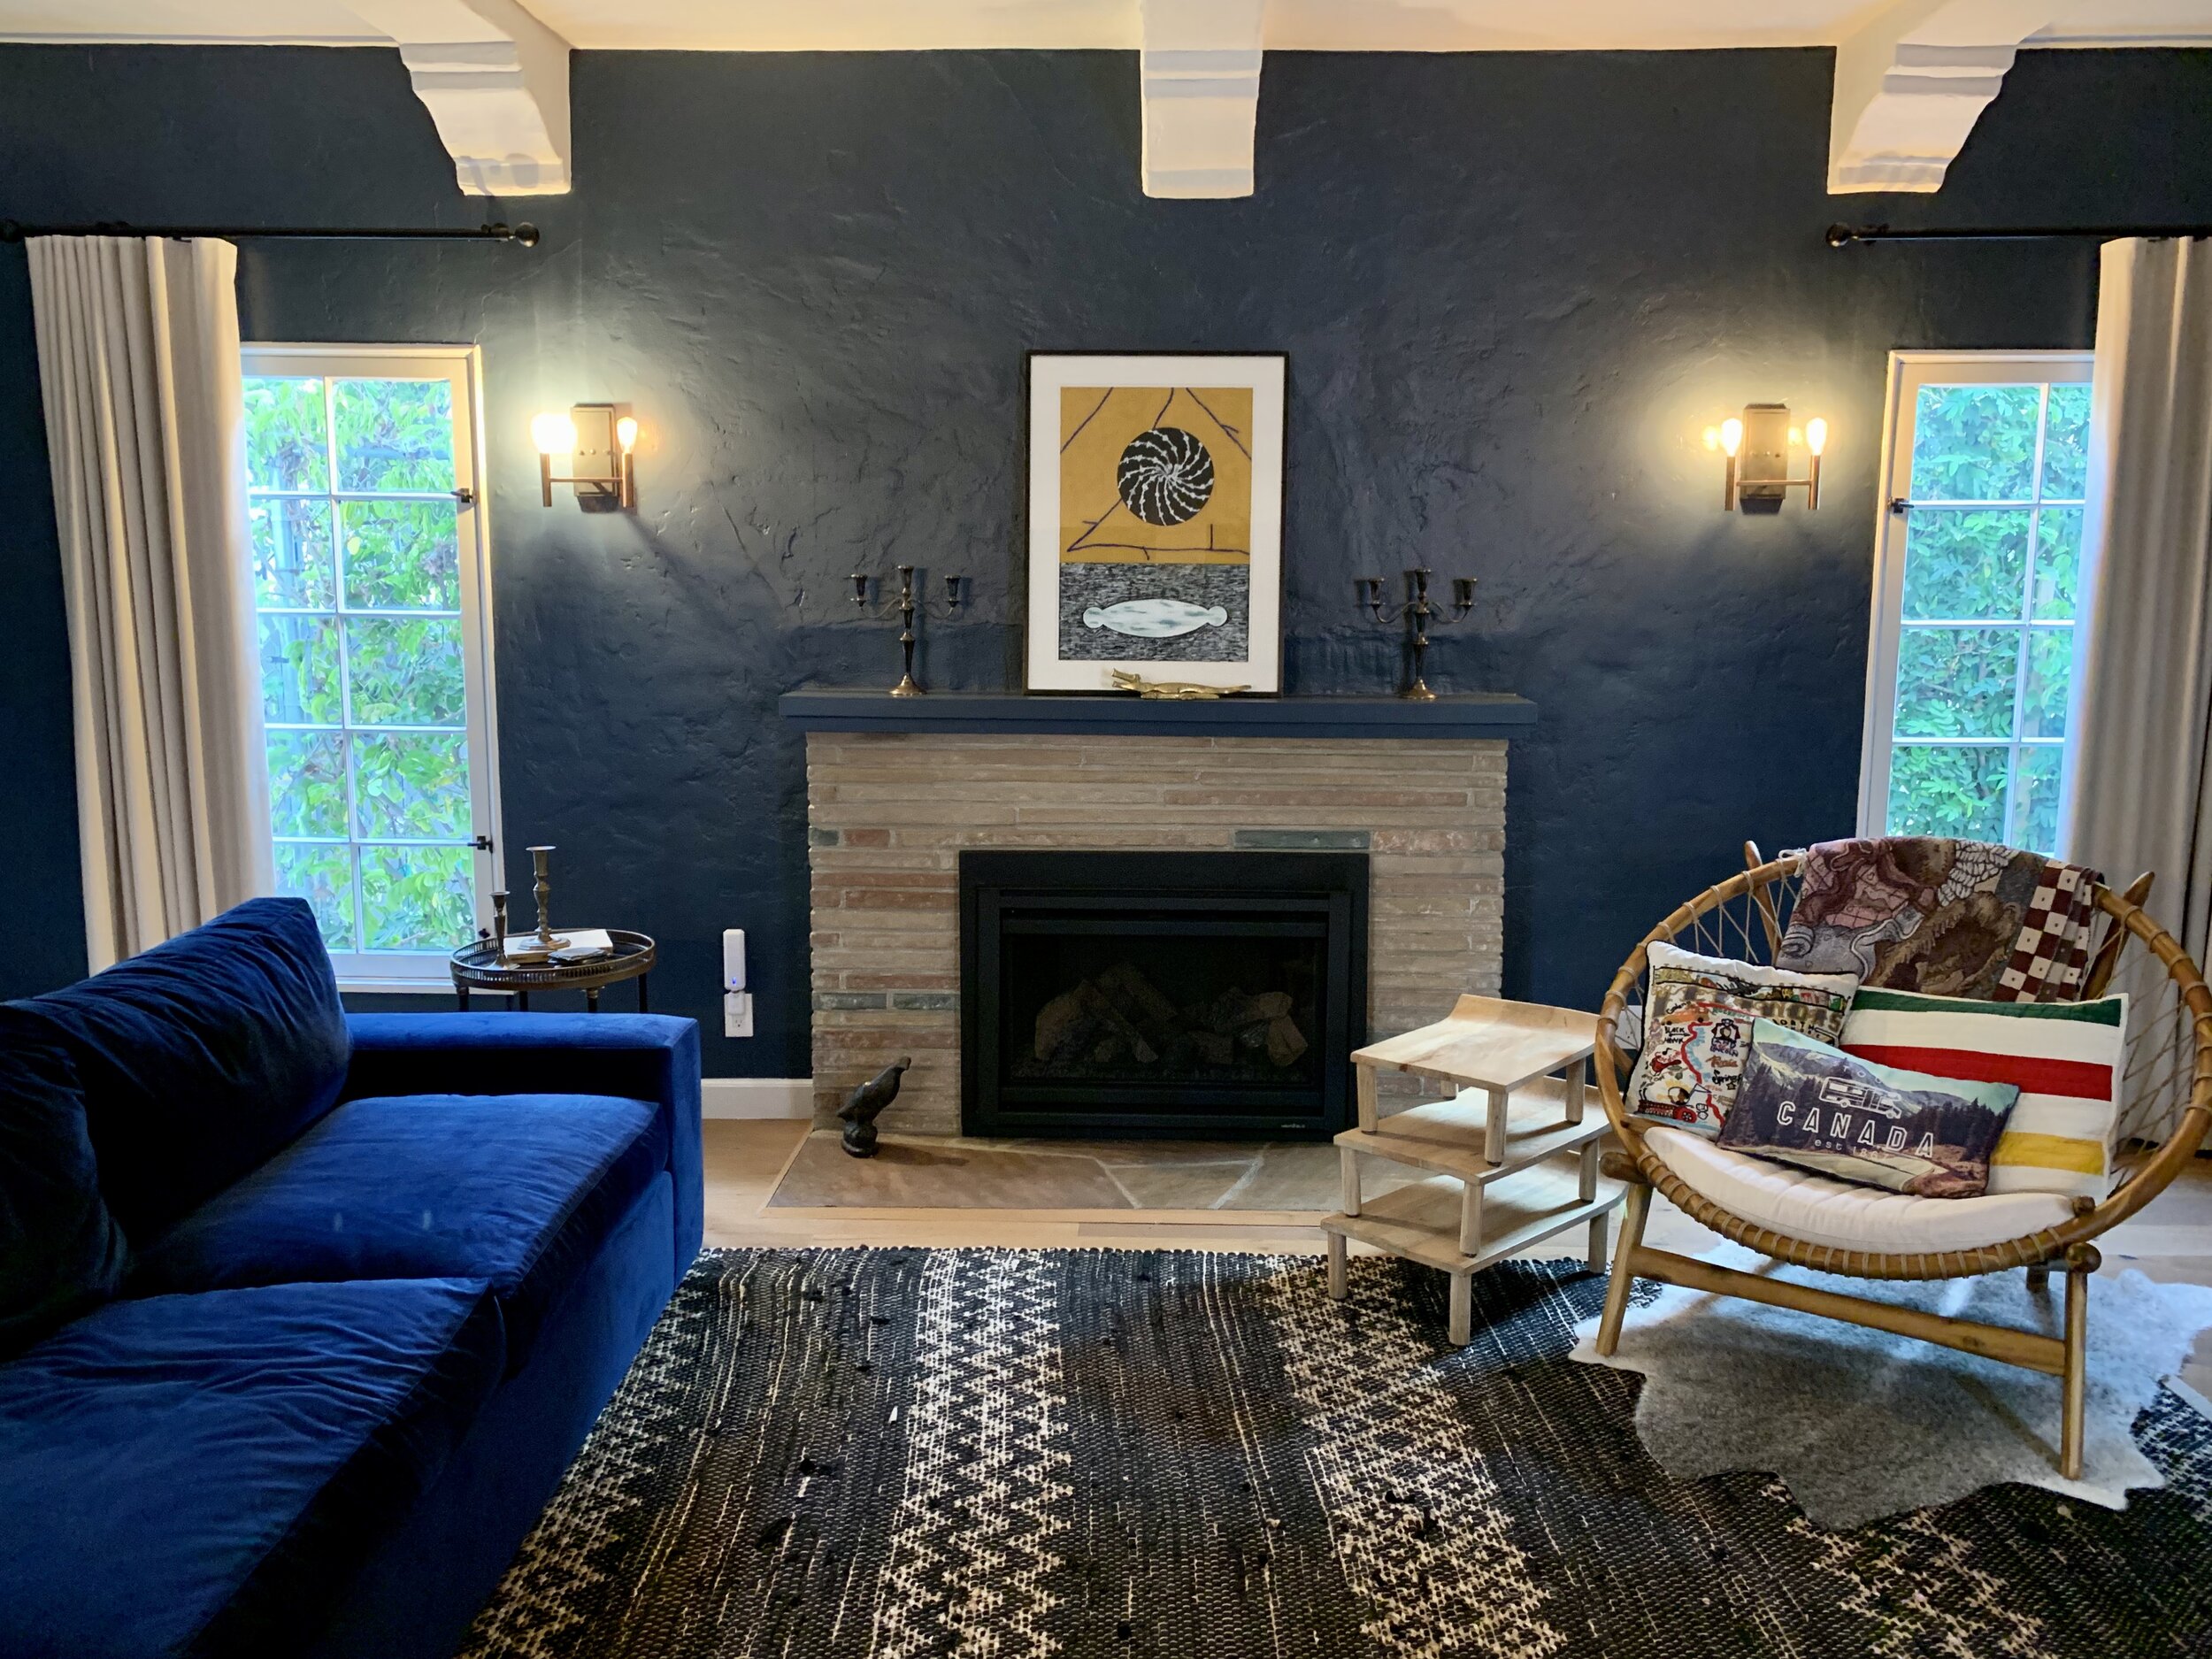
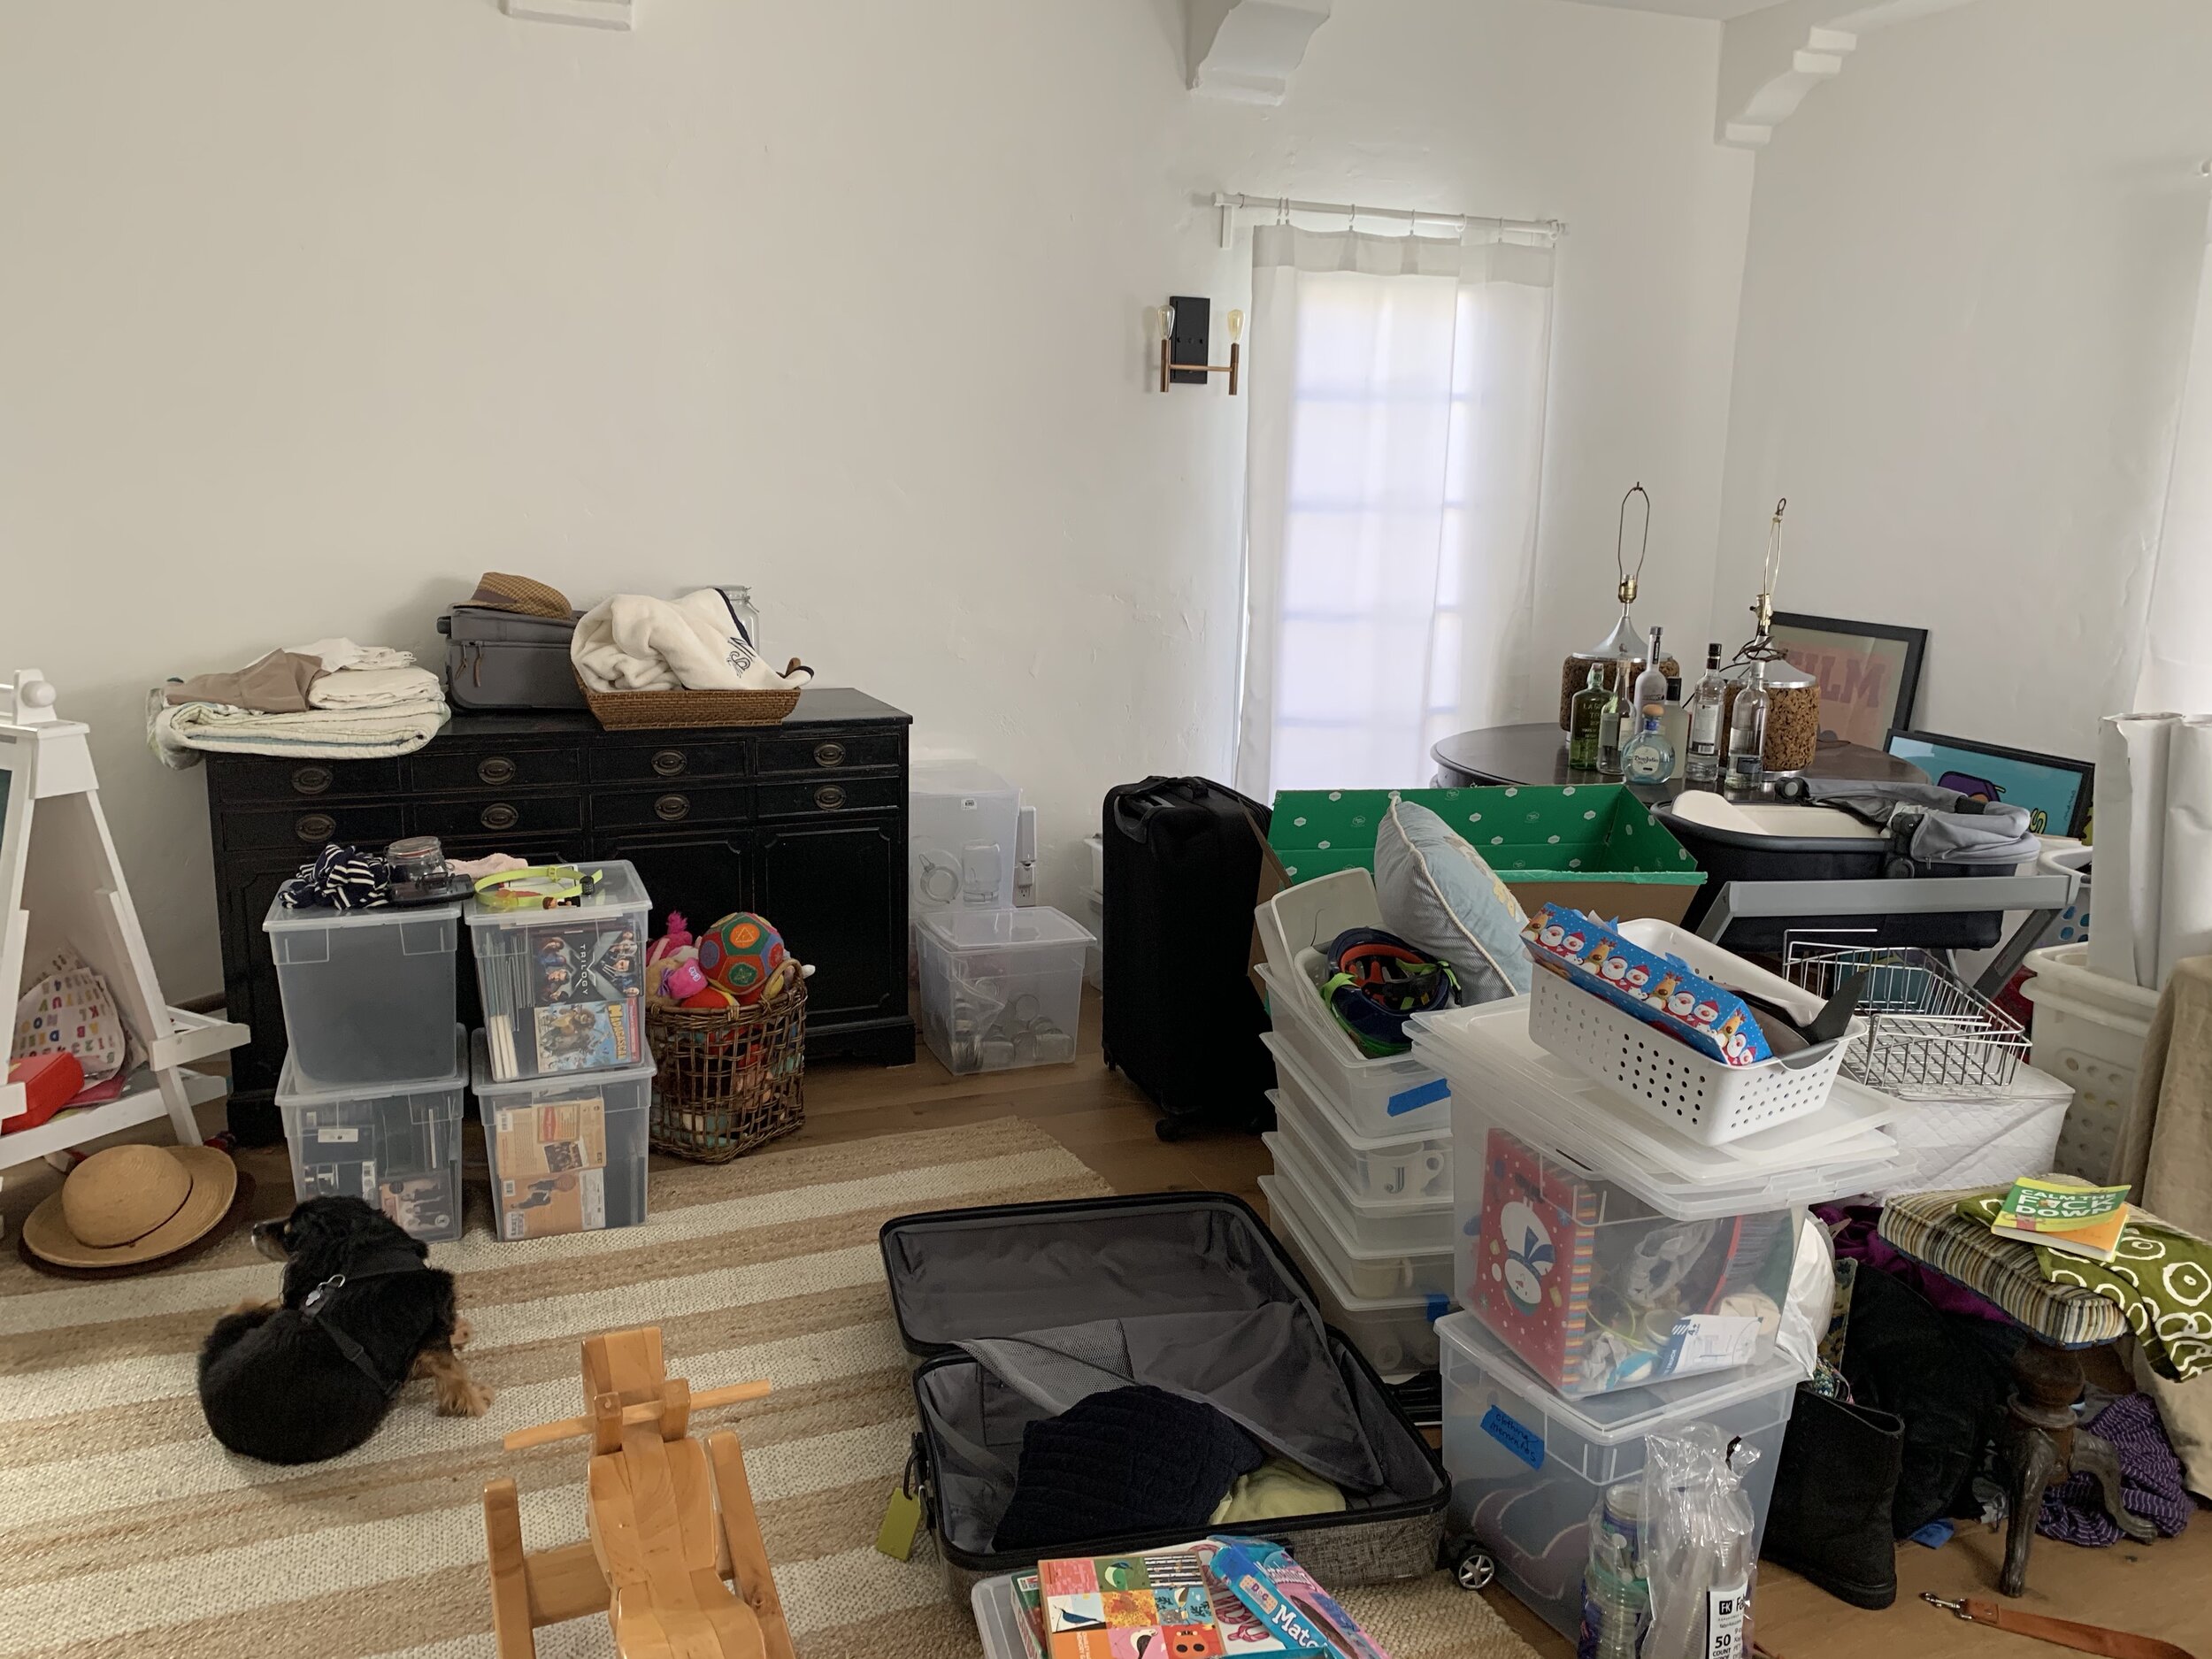
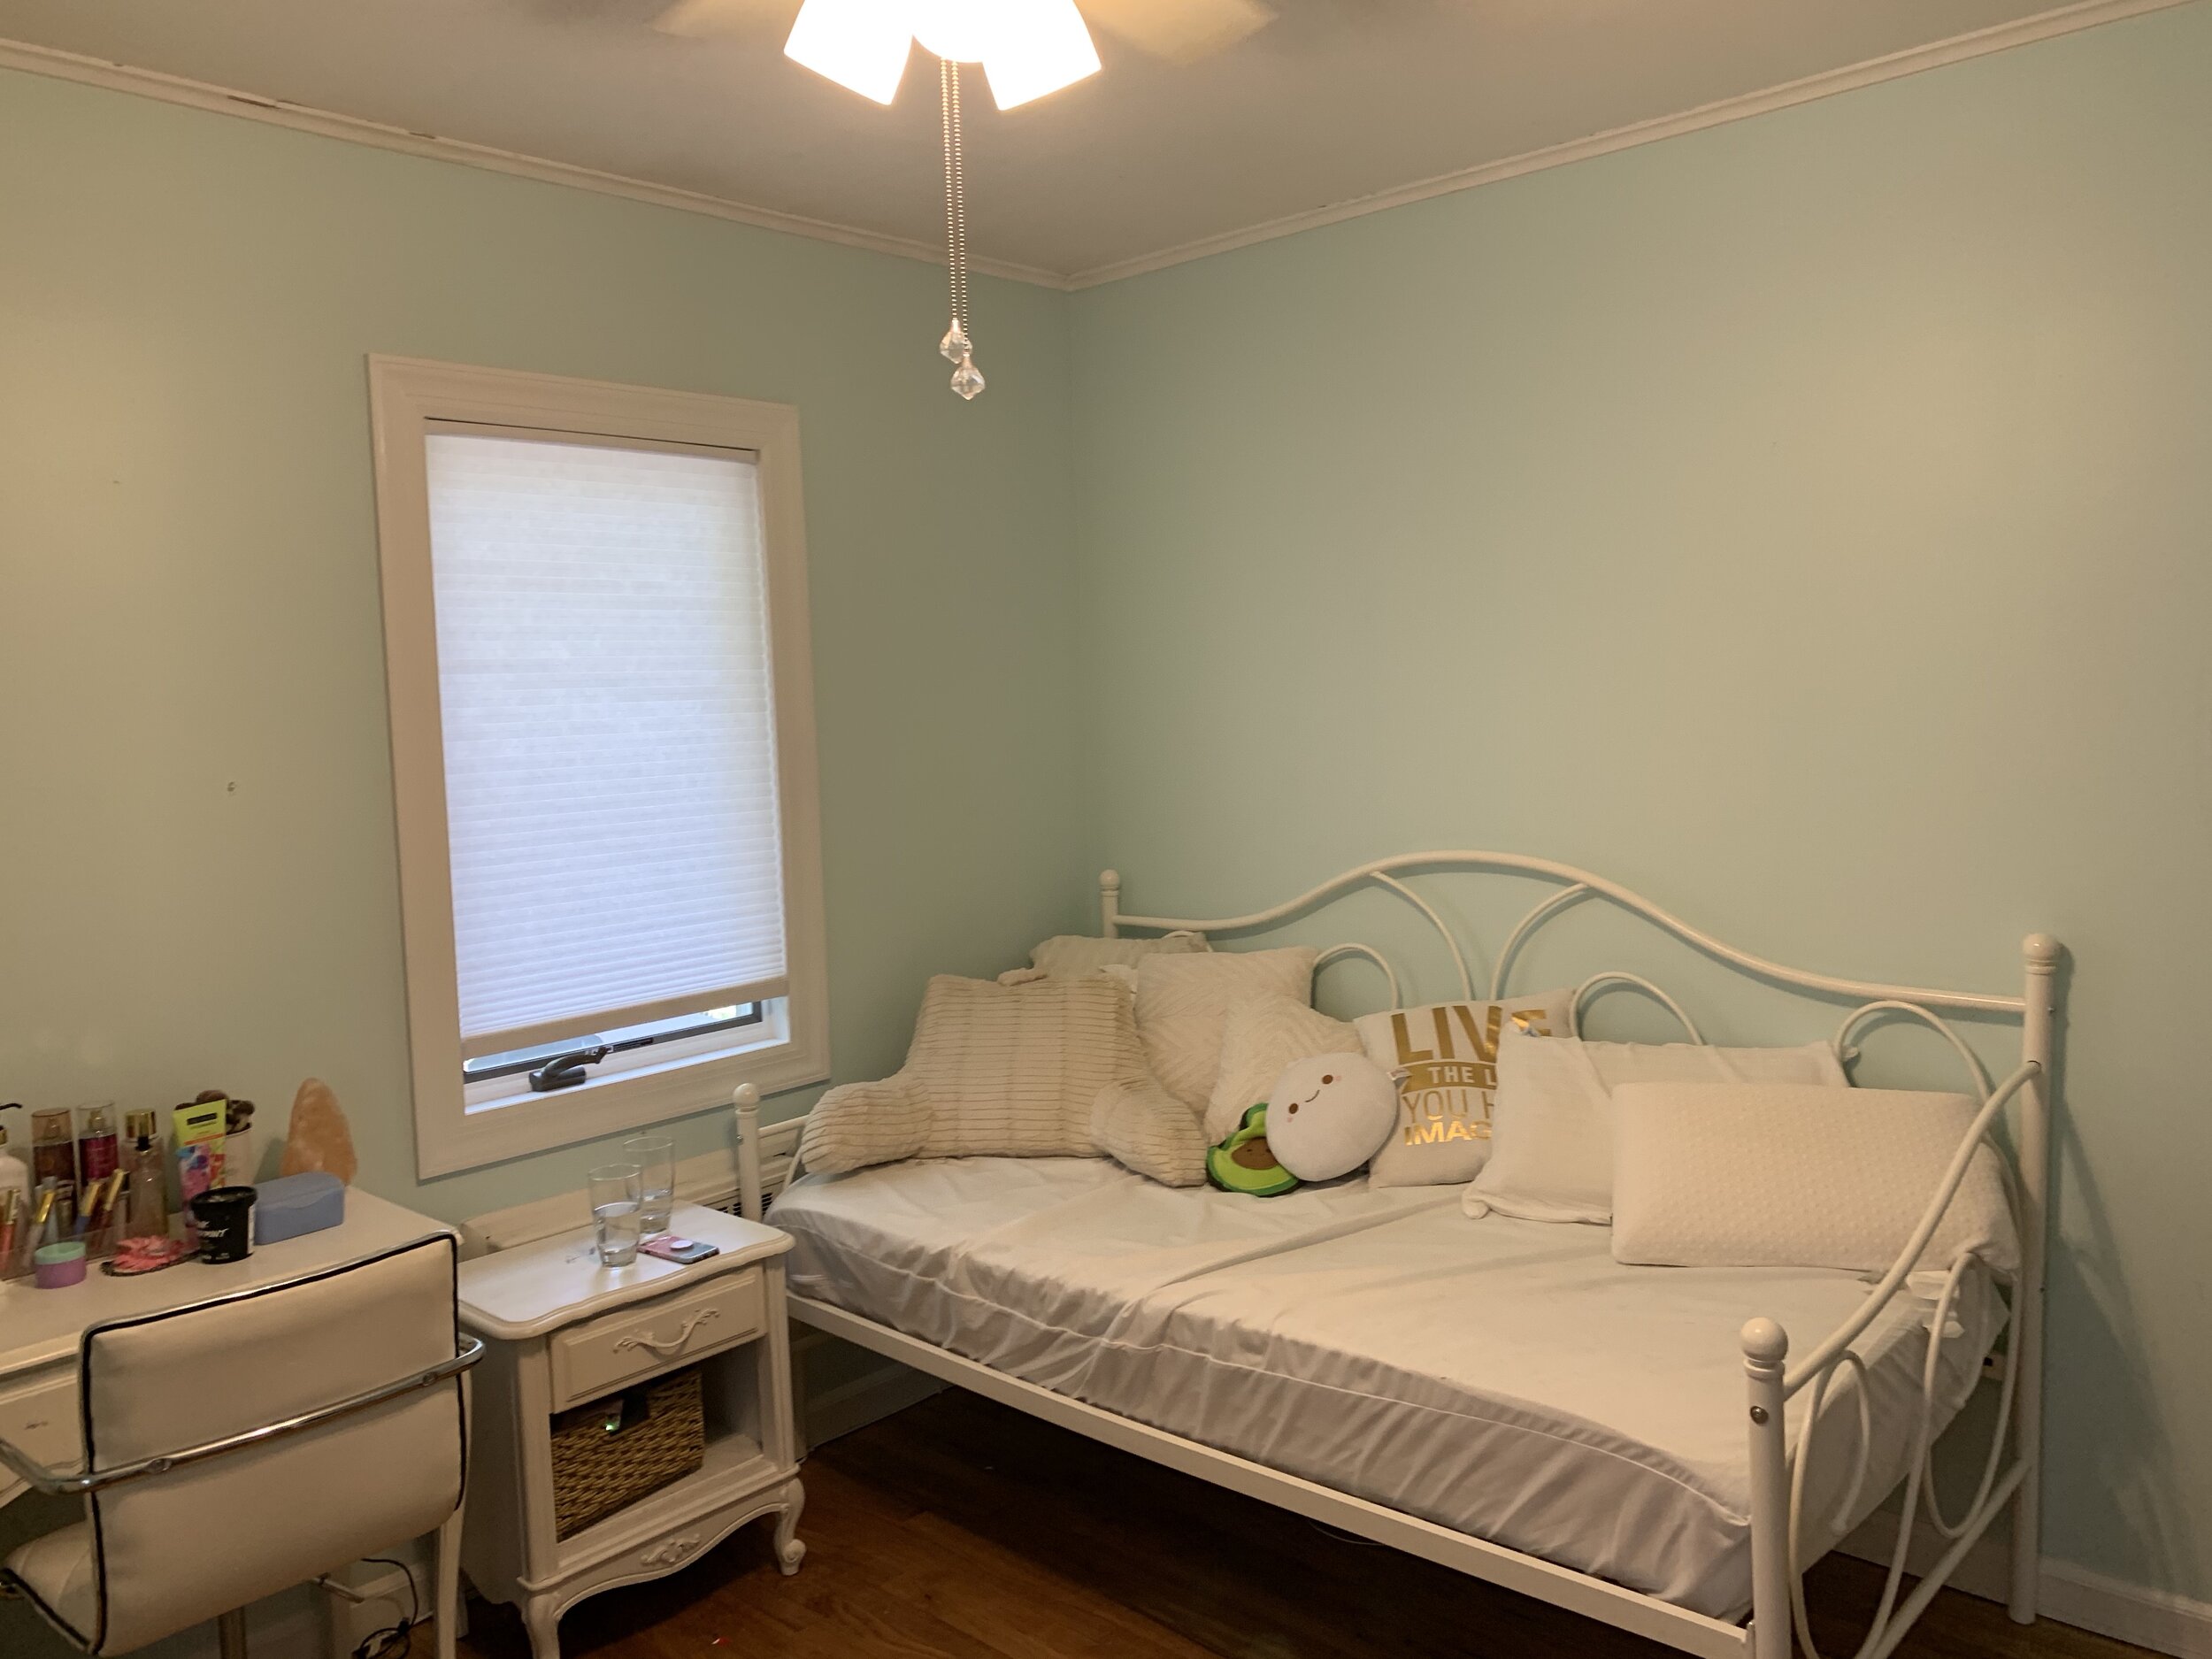
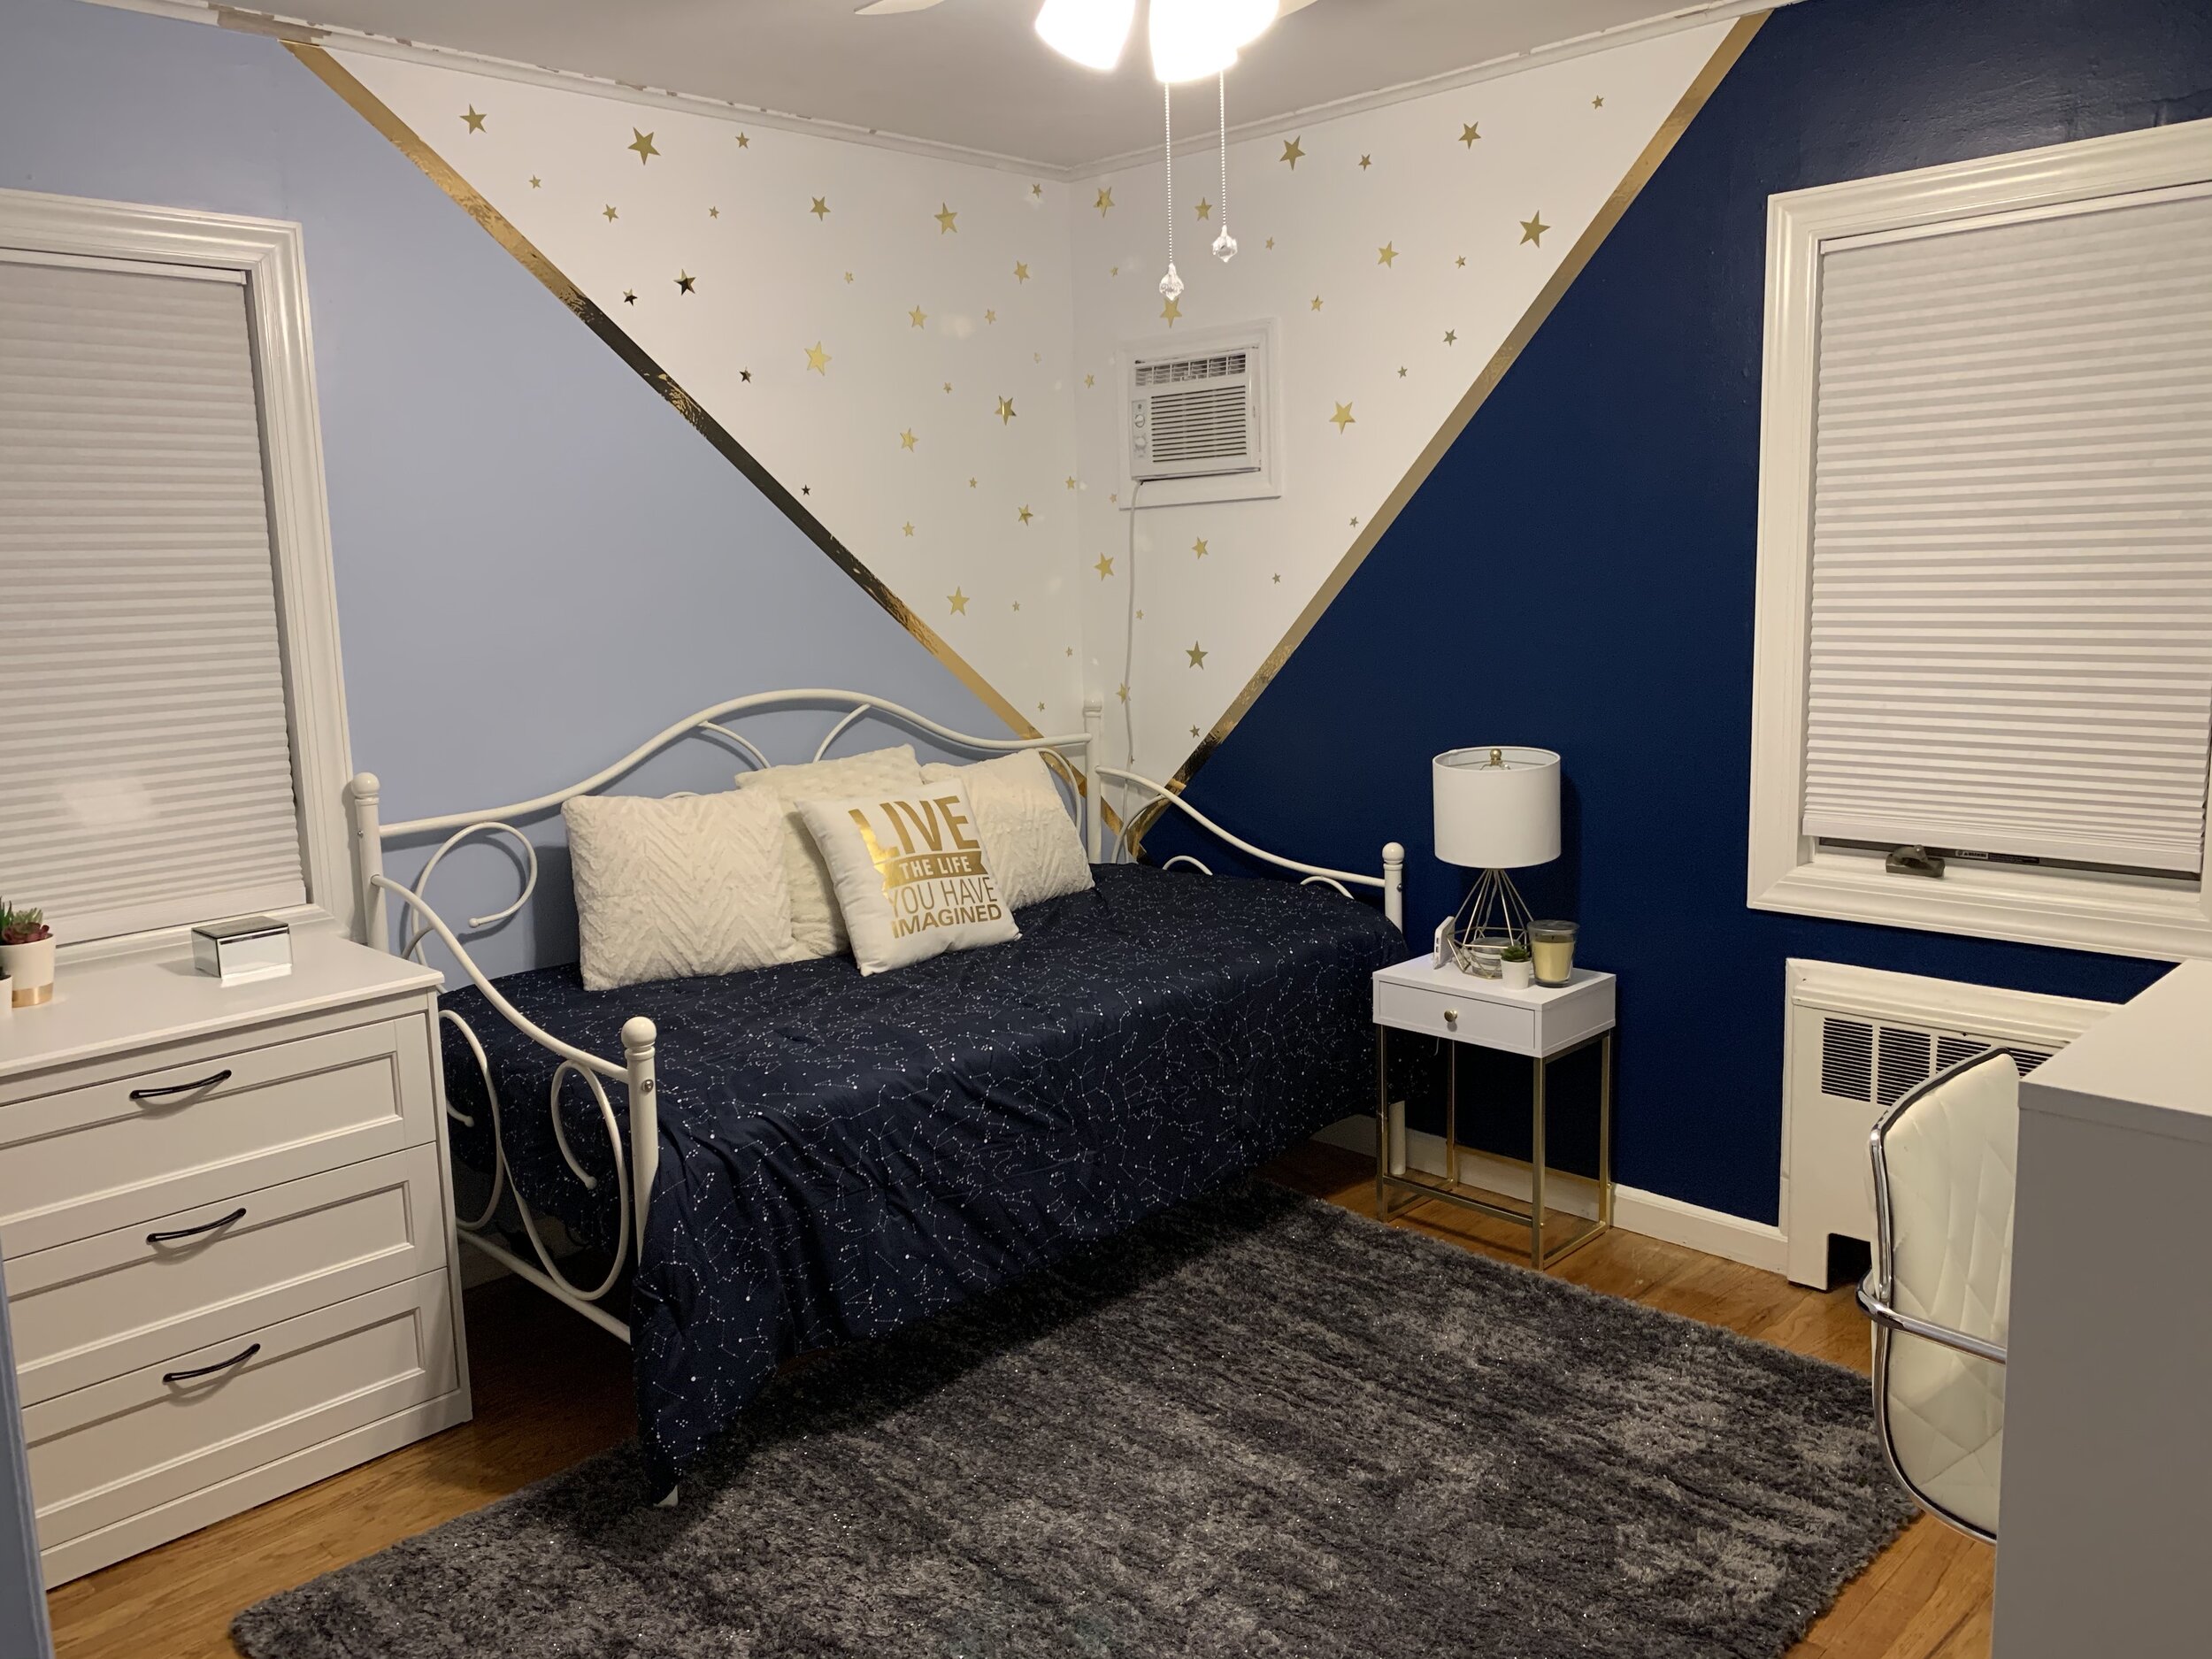
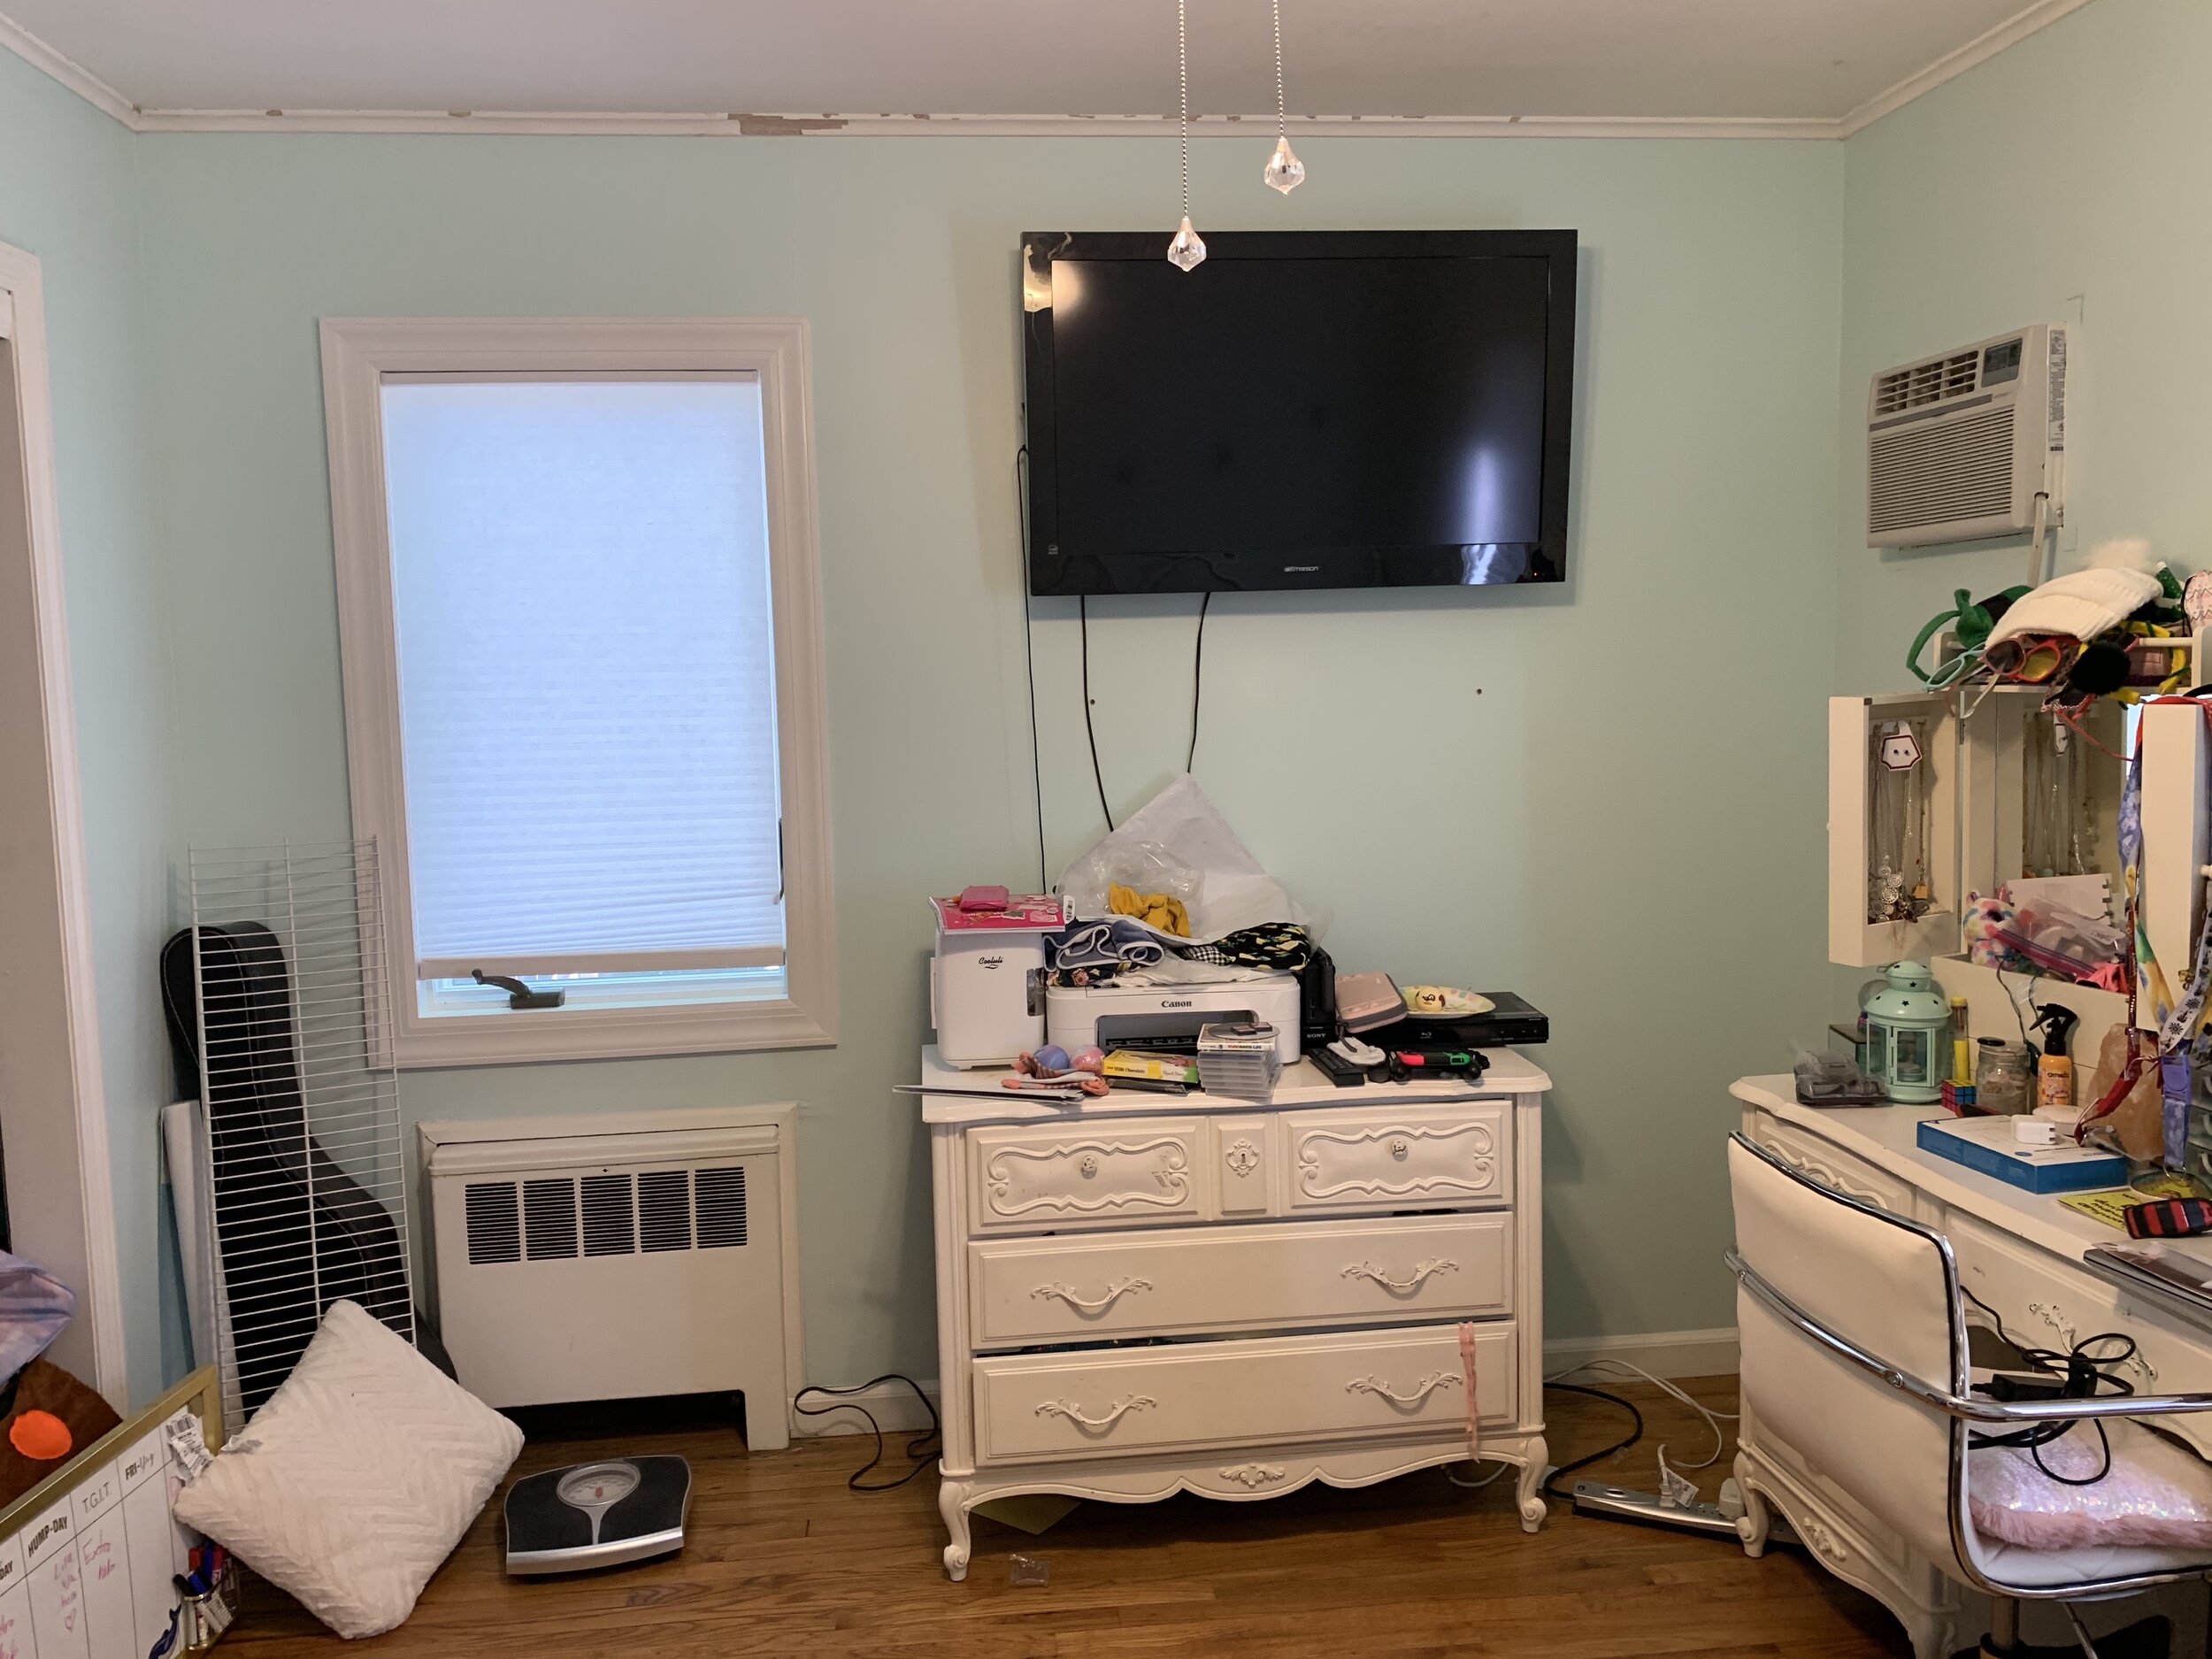
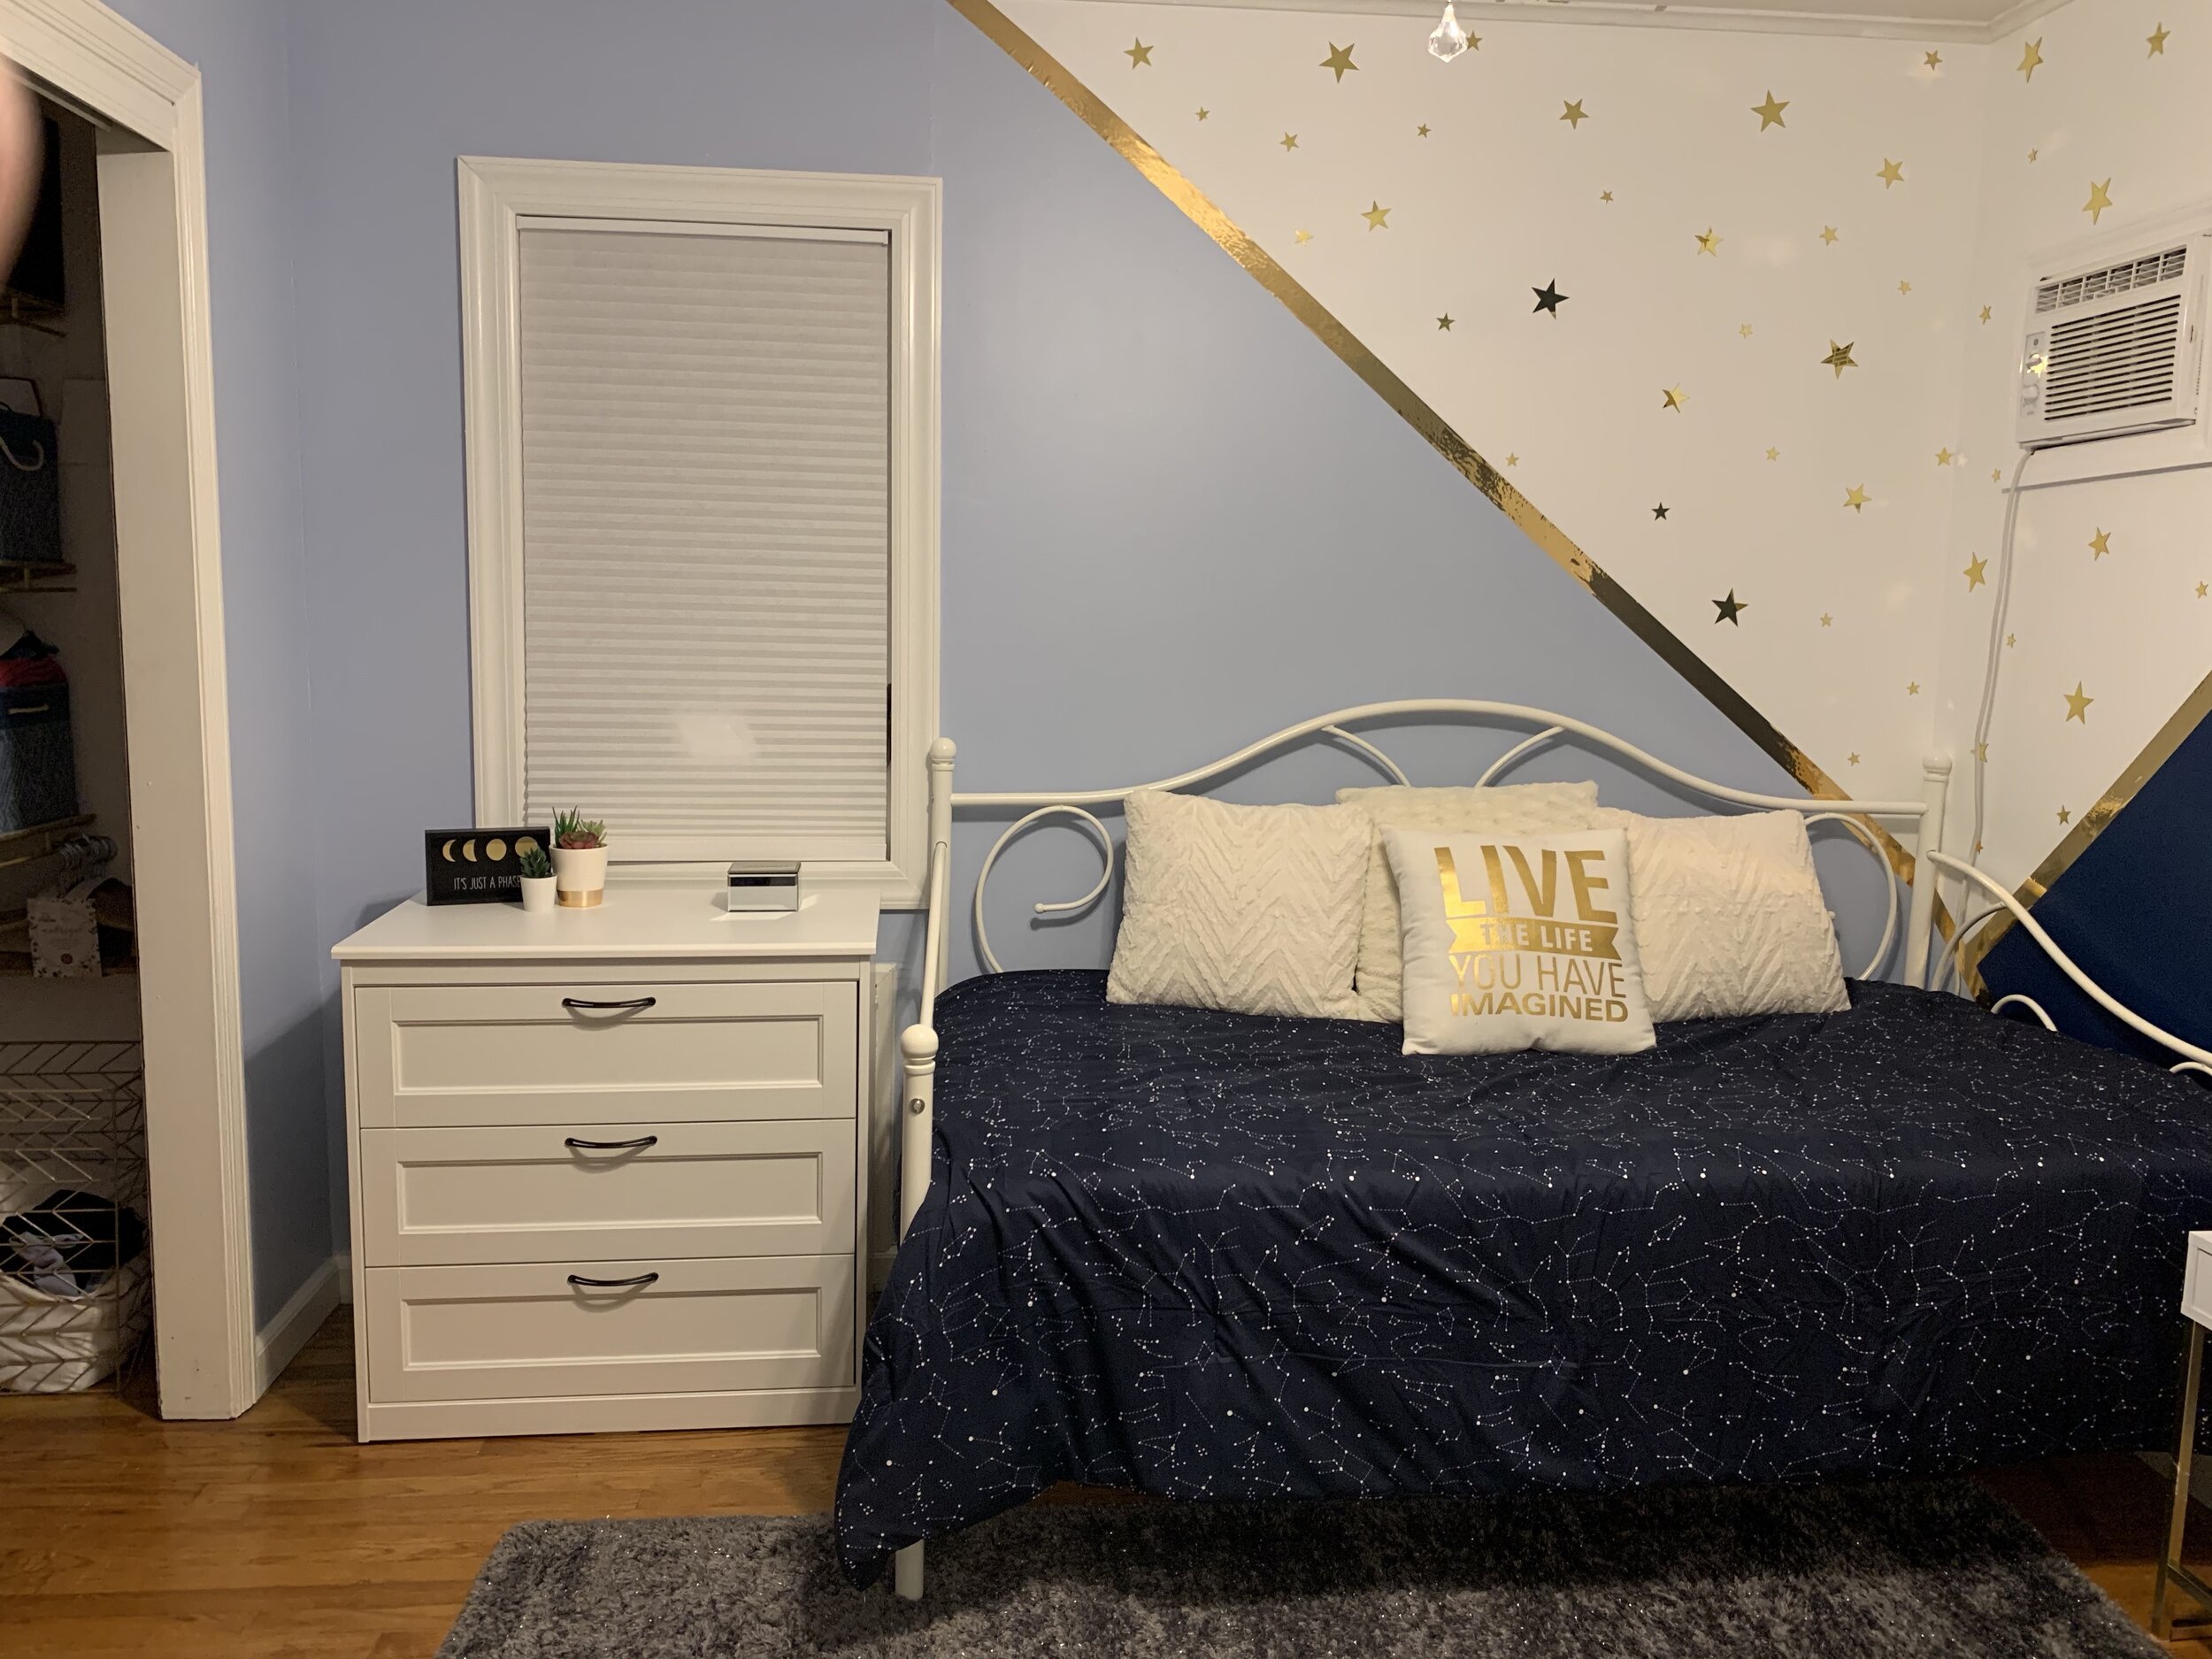
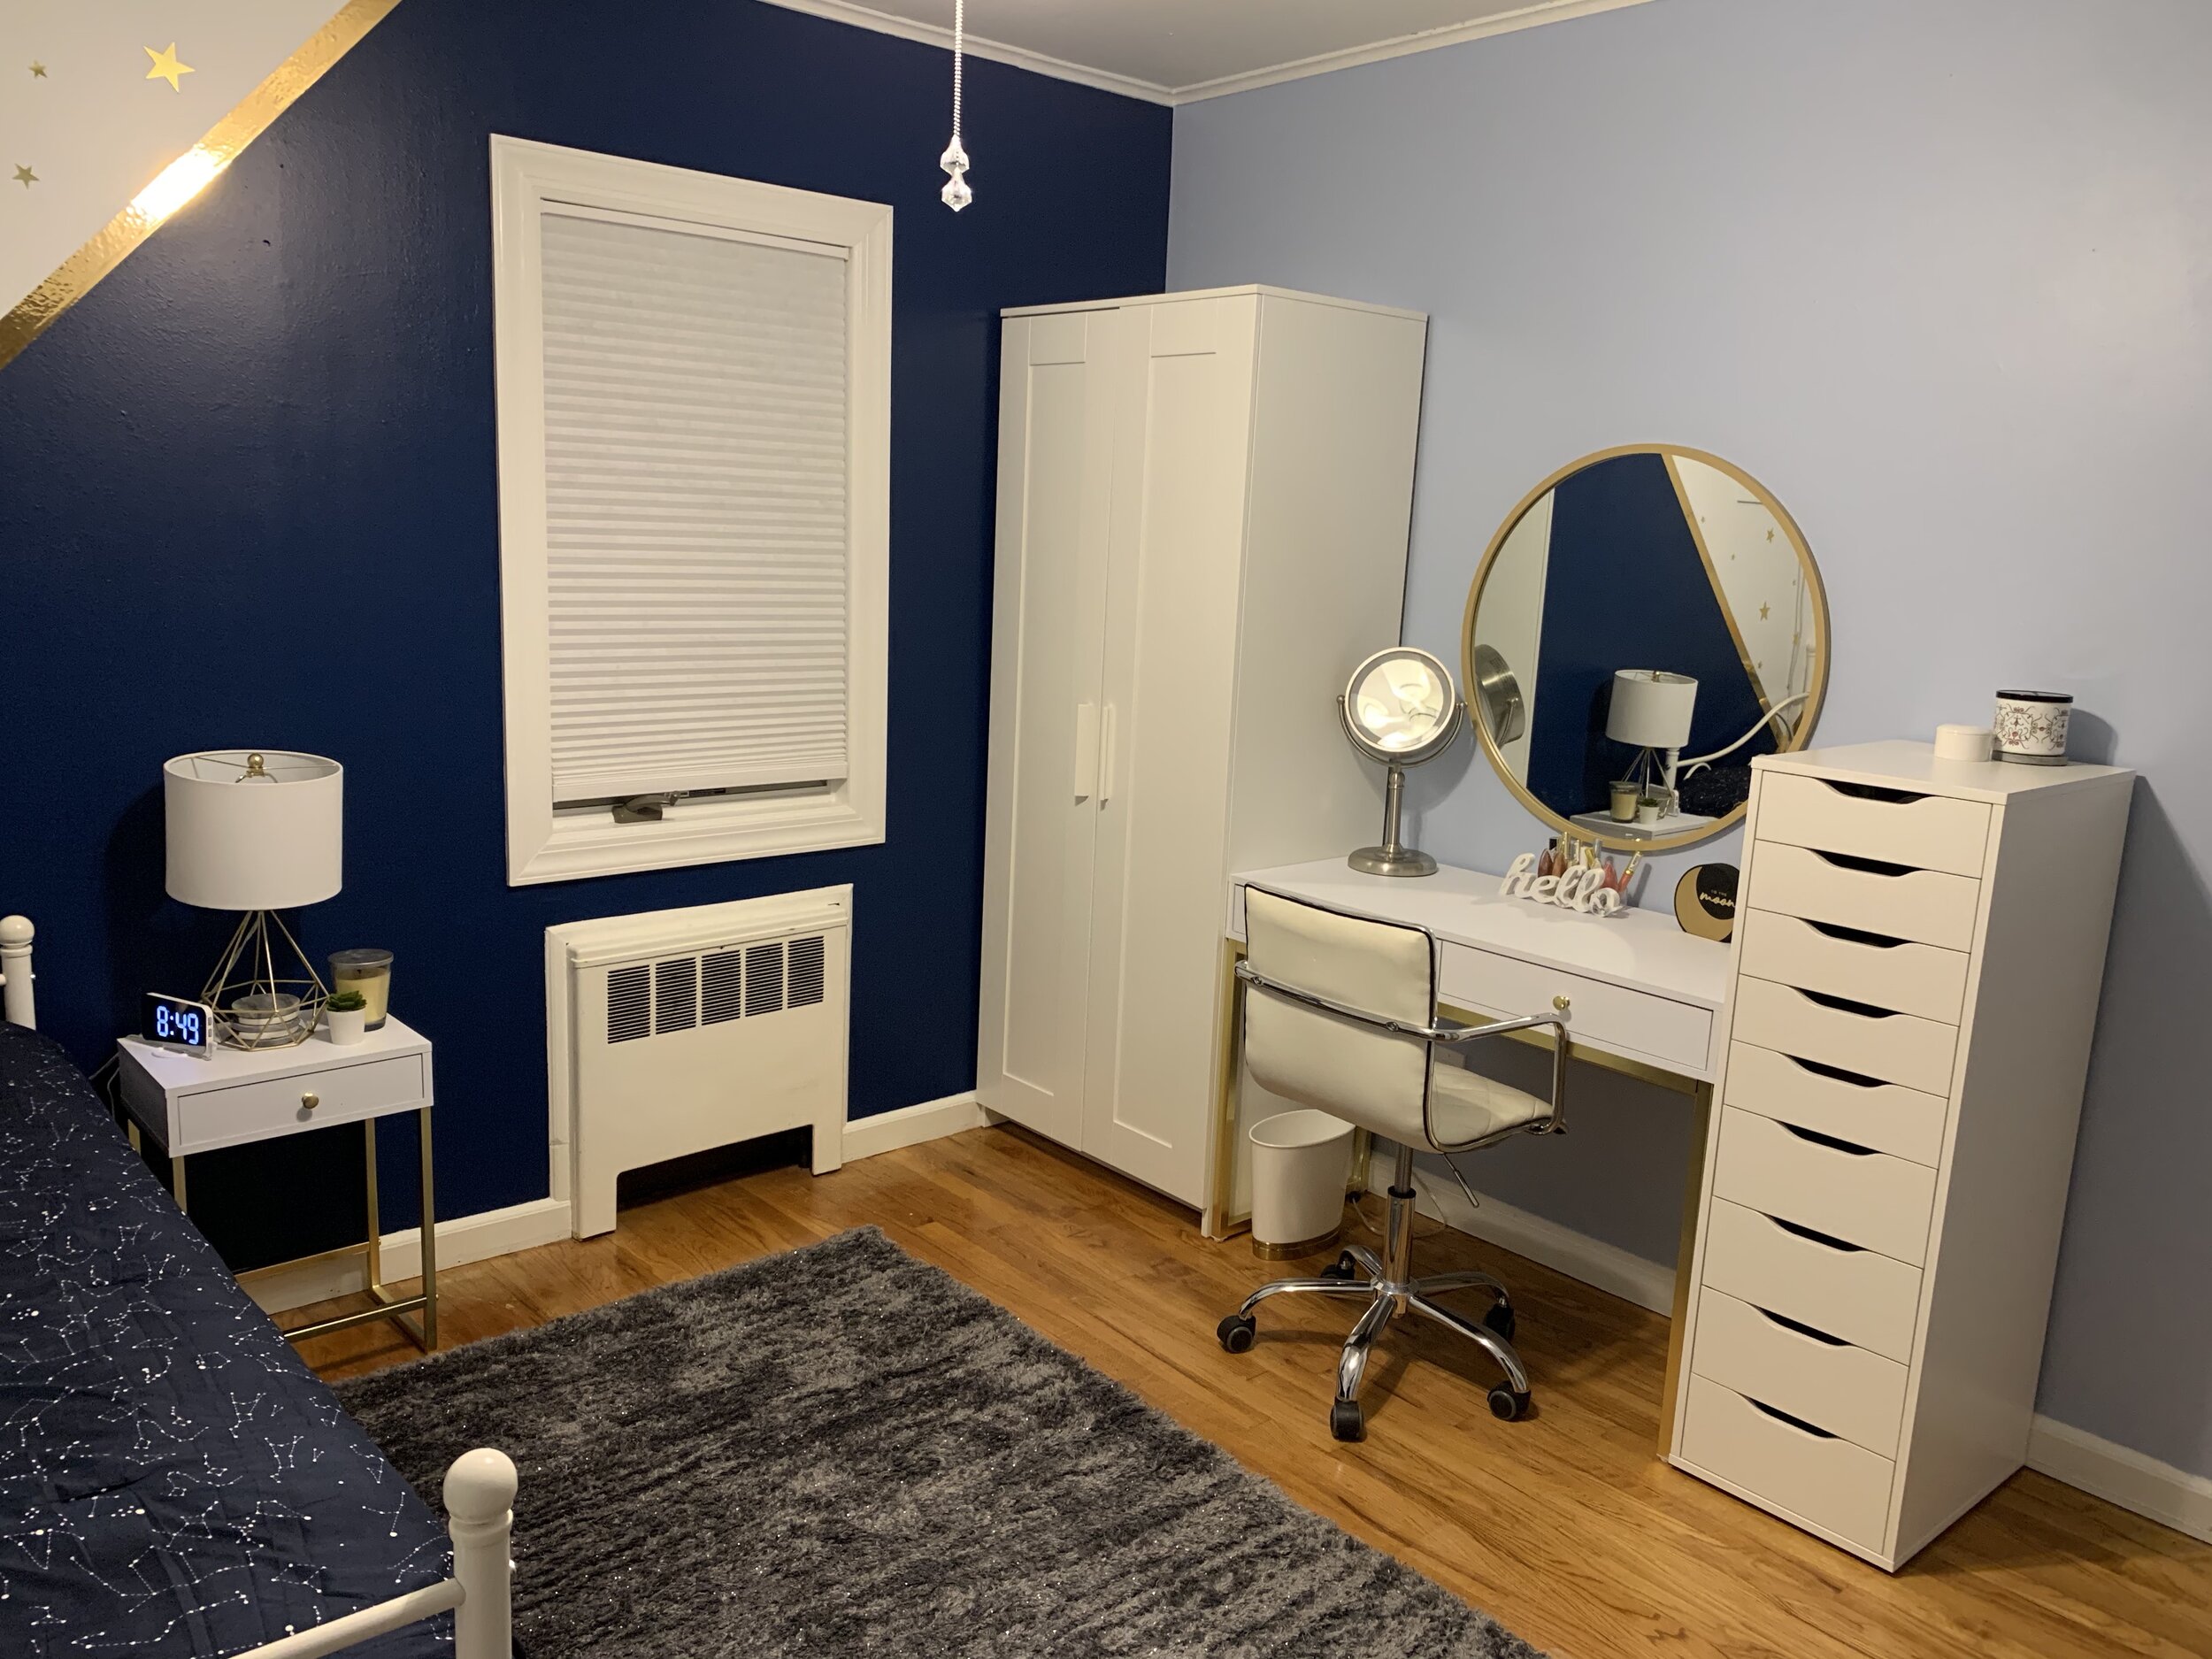
As a professional organizer I’m usually helping people get rid of stuff but for this client I was buying all their stuff for the two bedroom, two bath apartment that they were moving into. It brought me back to 2014 when I was staging homes in Costa Mesa and we had to purchase everything from living room decor to bathmats.

This project was fun yet challenging because we had a tight budget, we were ordering furniture on-line, and only had one week while I was in LA to put it all together. Normally you would order something on Amazon or Wayfair and it shows up at your doorstep in a couple of days or you run into Target for a few items and be on your way. However, as we all know during Covid, it was delayed deliveries and lines that were an hour long before you even got into the store.

So this made my tight schedule a little more of a challenge. To help the situation I made sure to purchase items with the shortest delivery times and I created a shopping list for each room. From there, I broke down the room lists to each store I would need to go to and get only what was on the list. This helped me stay on track…it’s hard to go into HomeGoods and not get distracted. This also ensured that each room would be complete before I left to go back to New York.

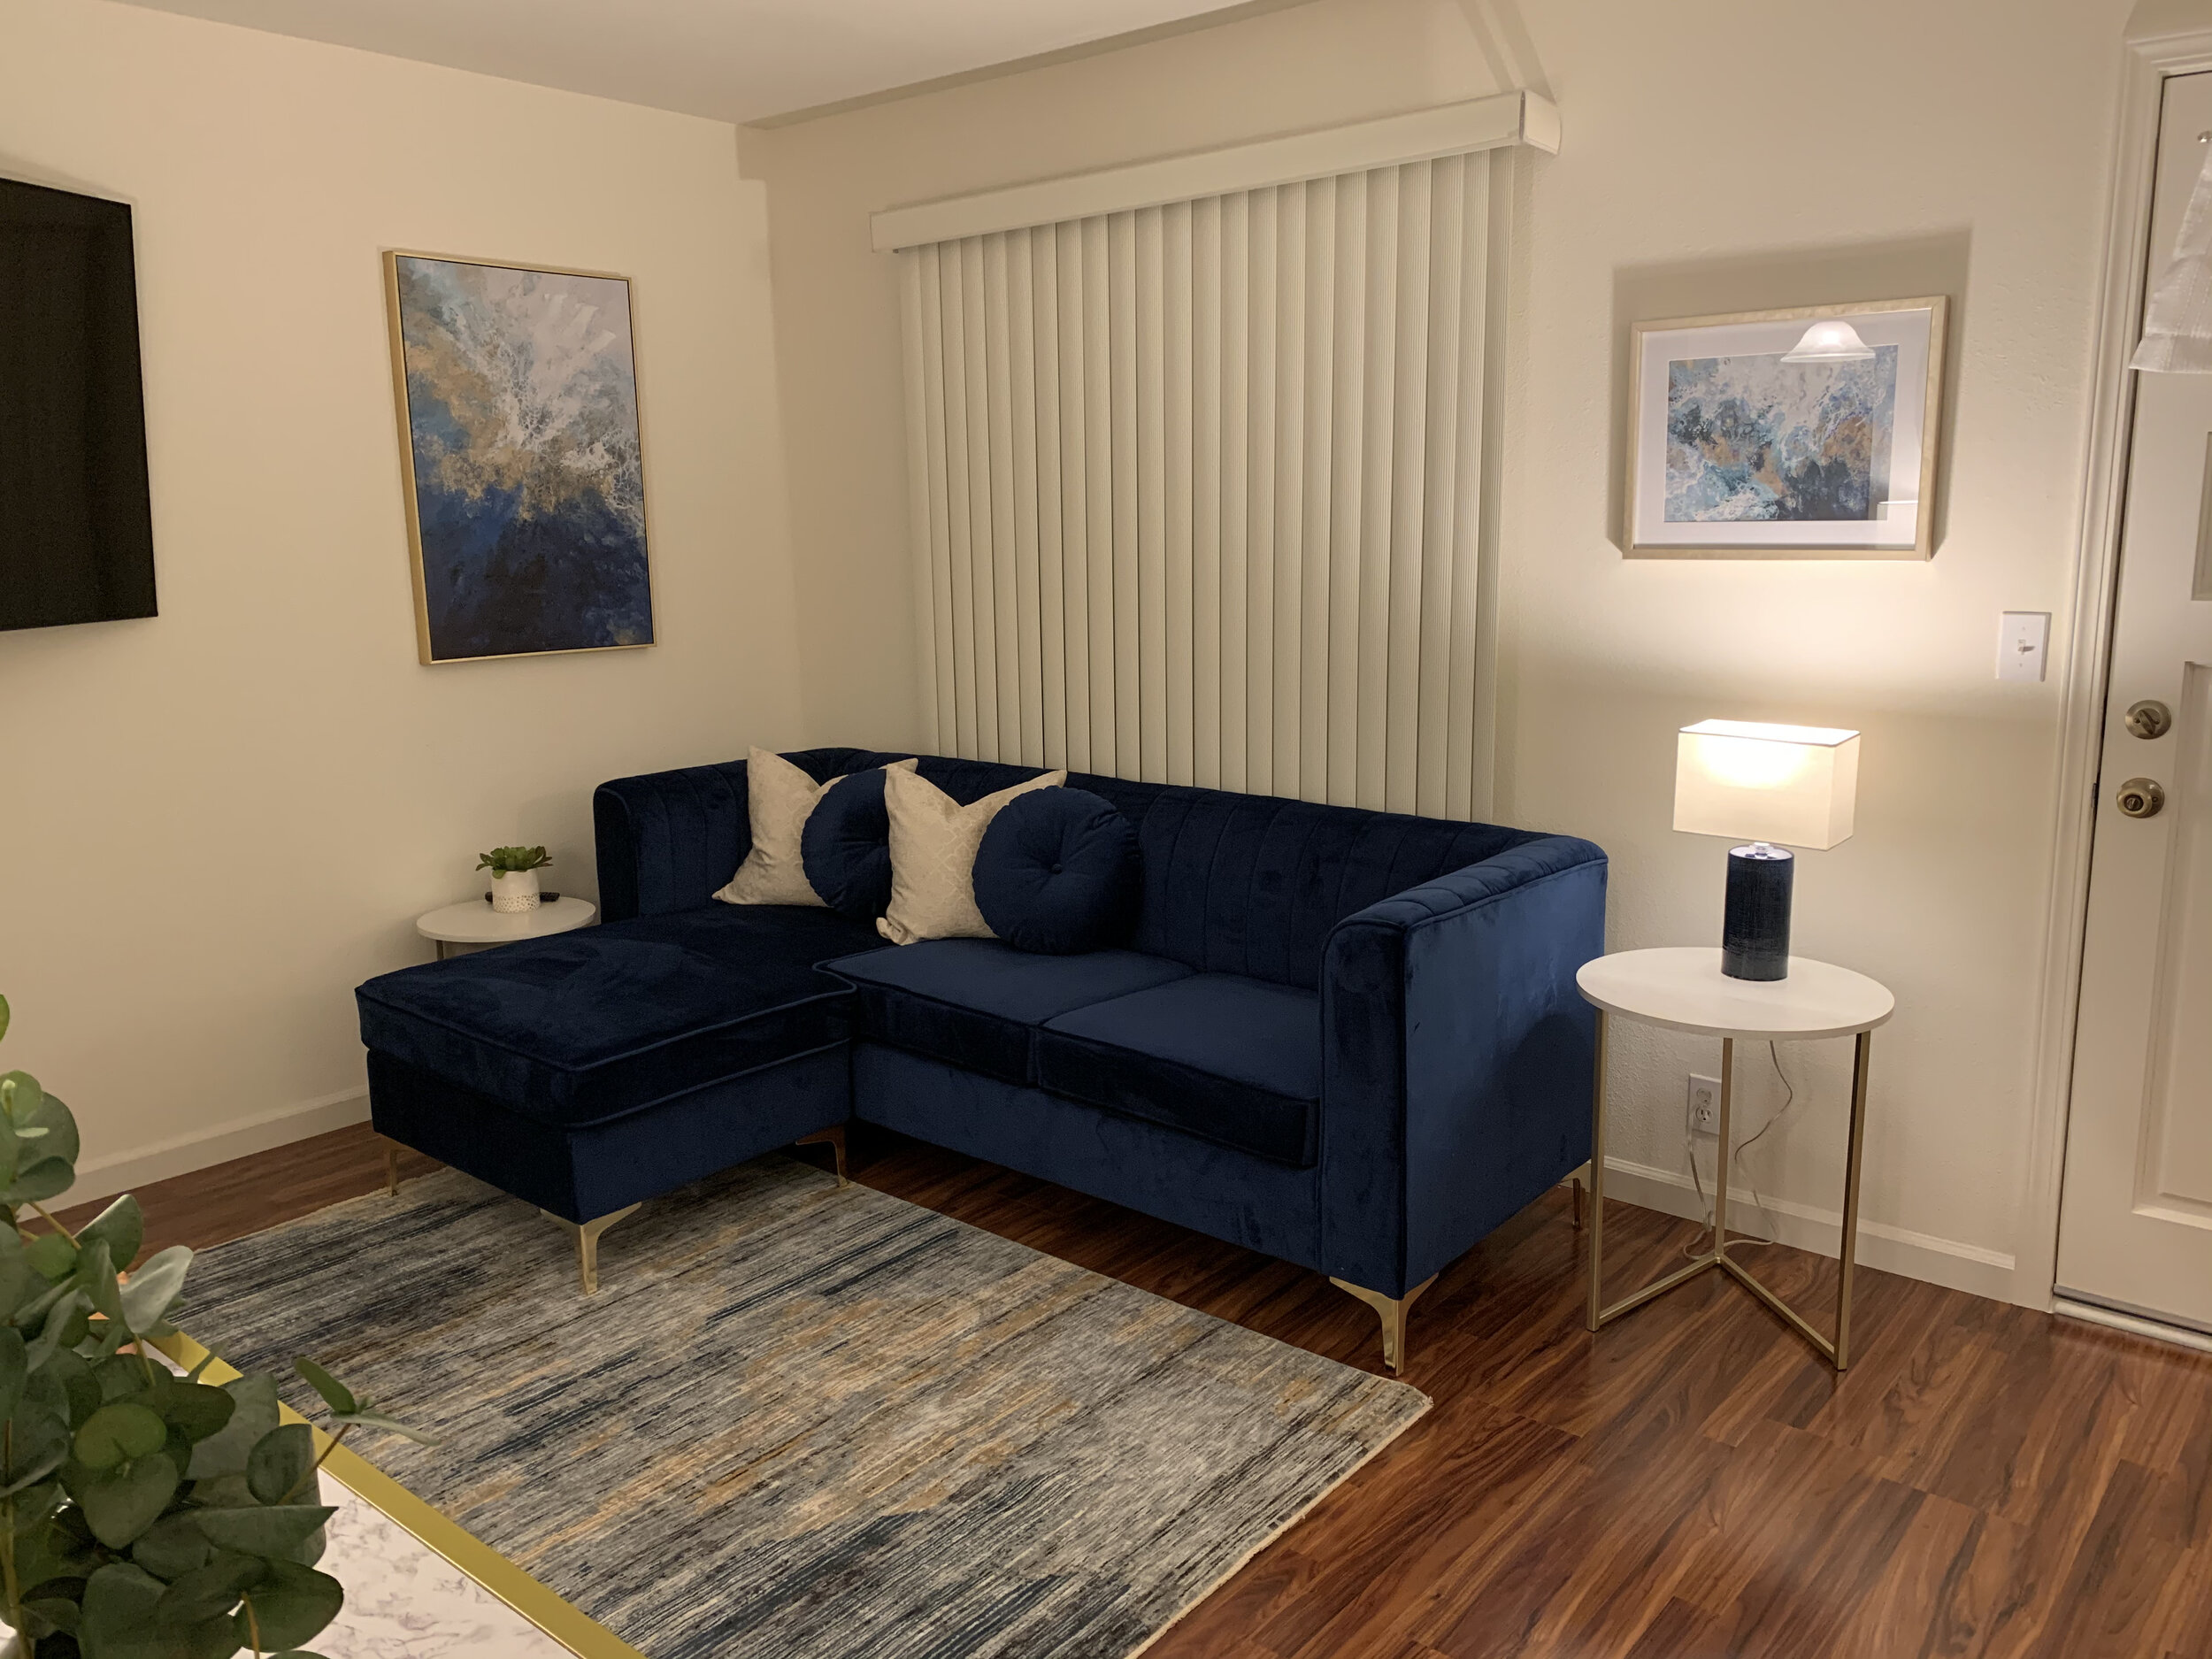
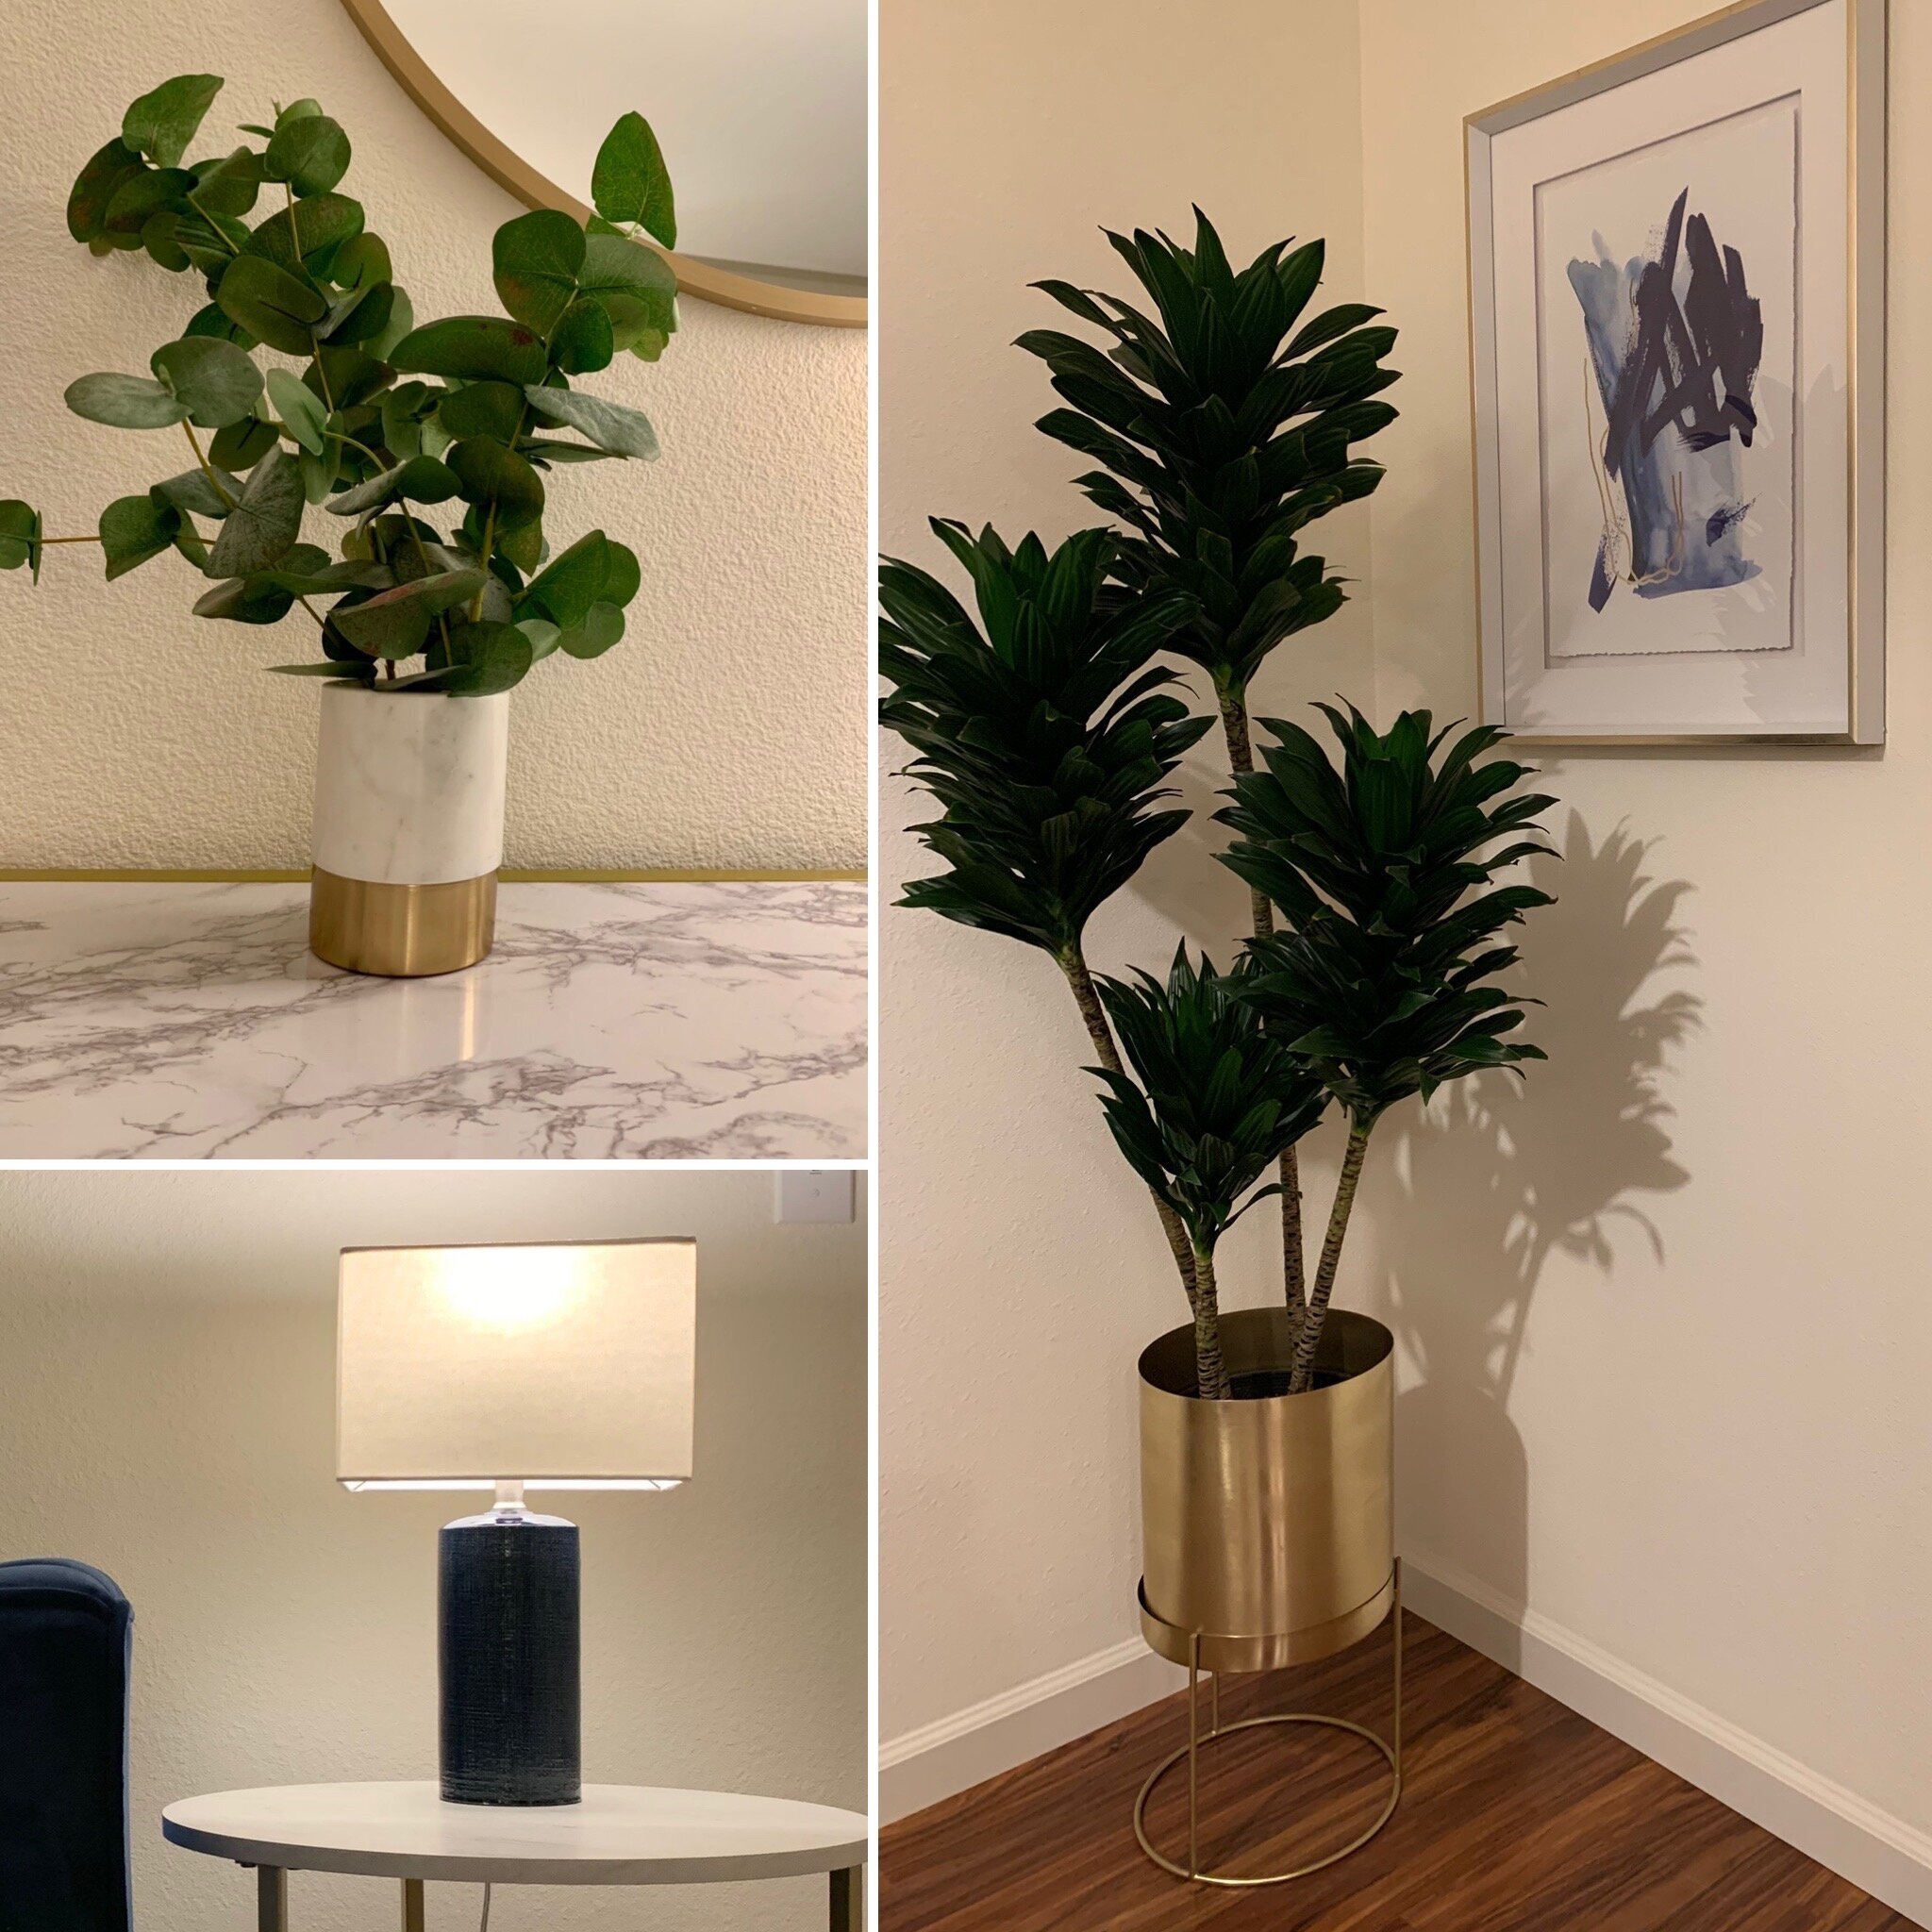
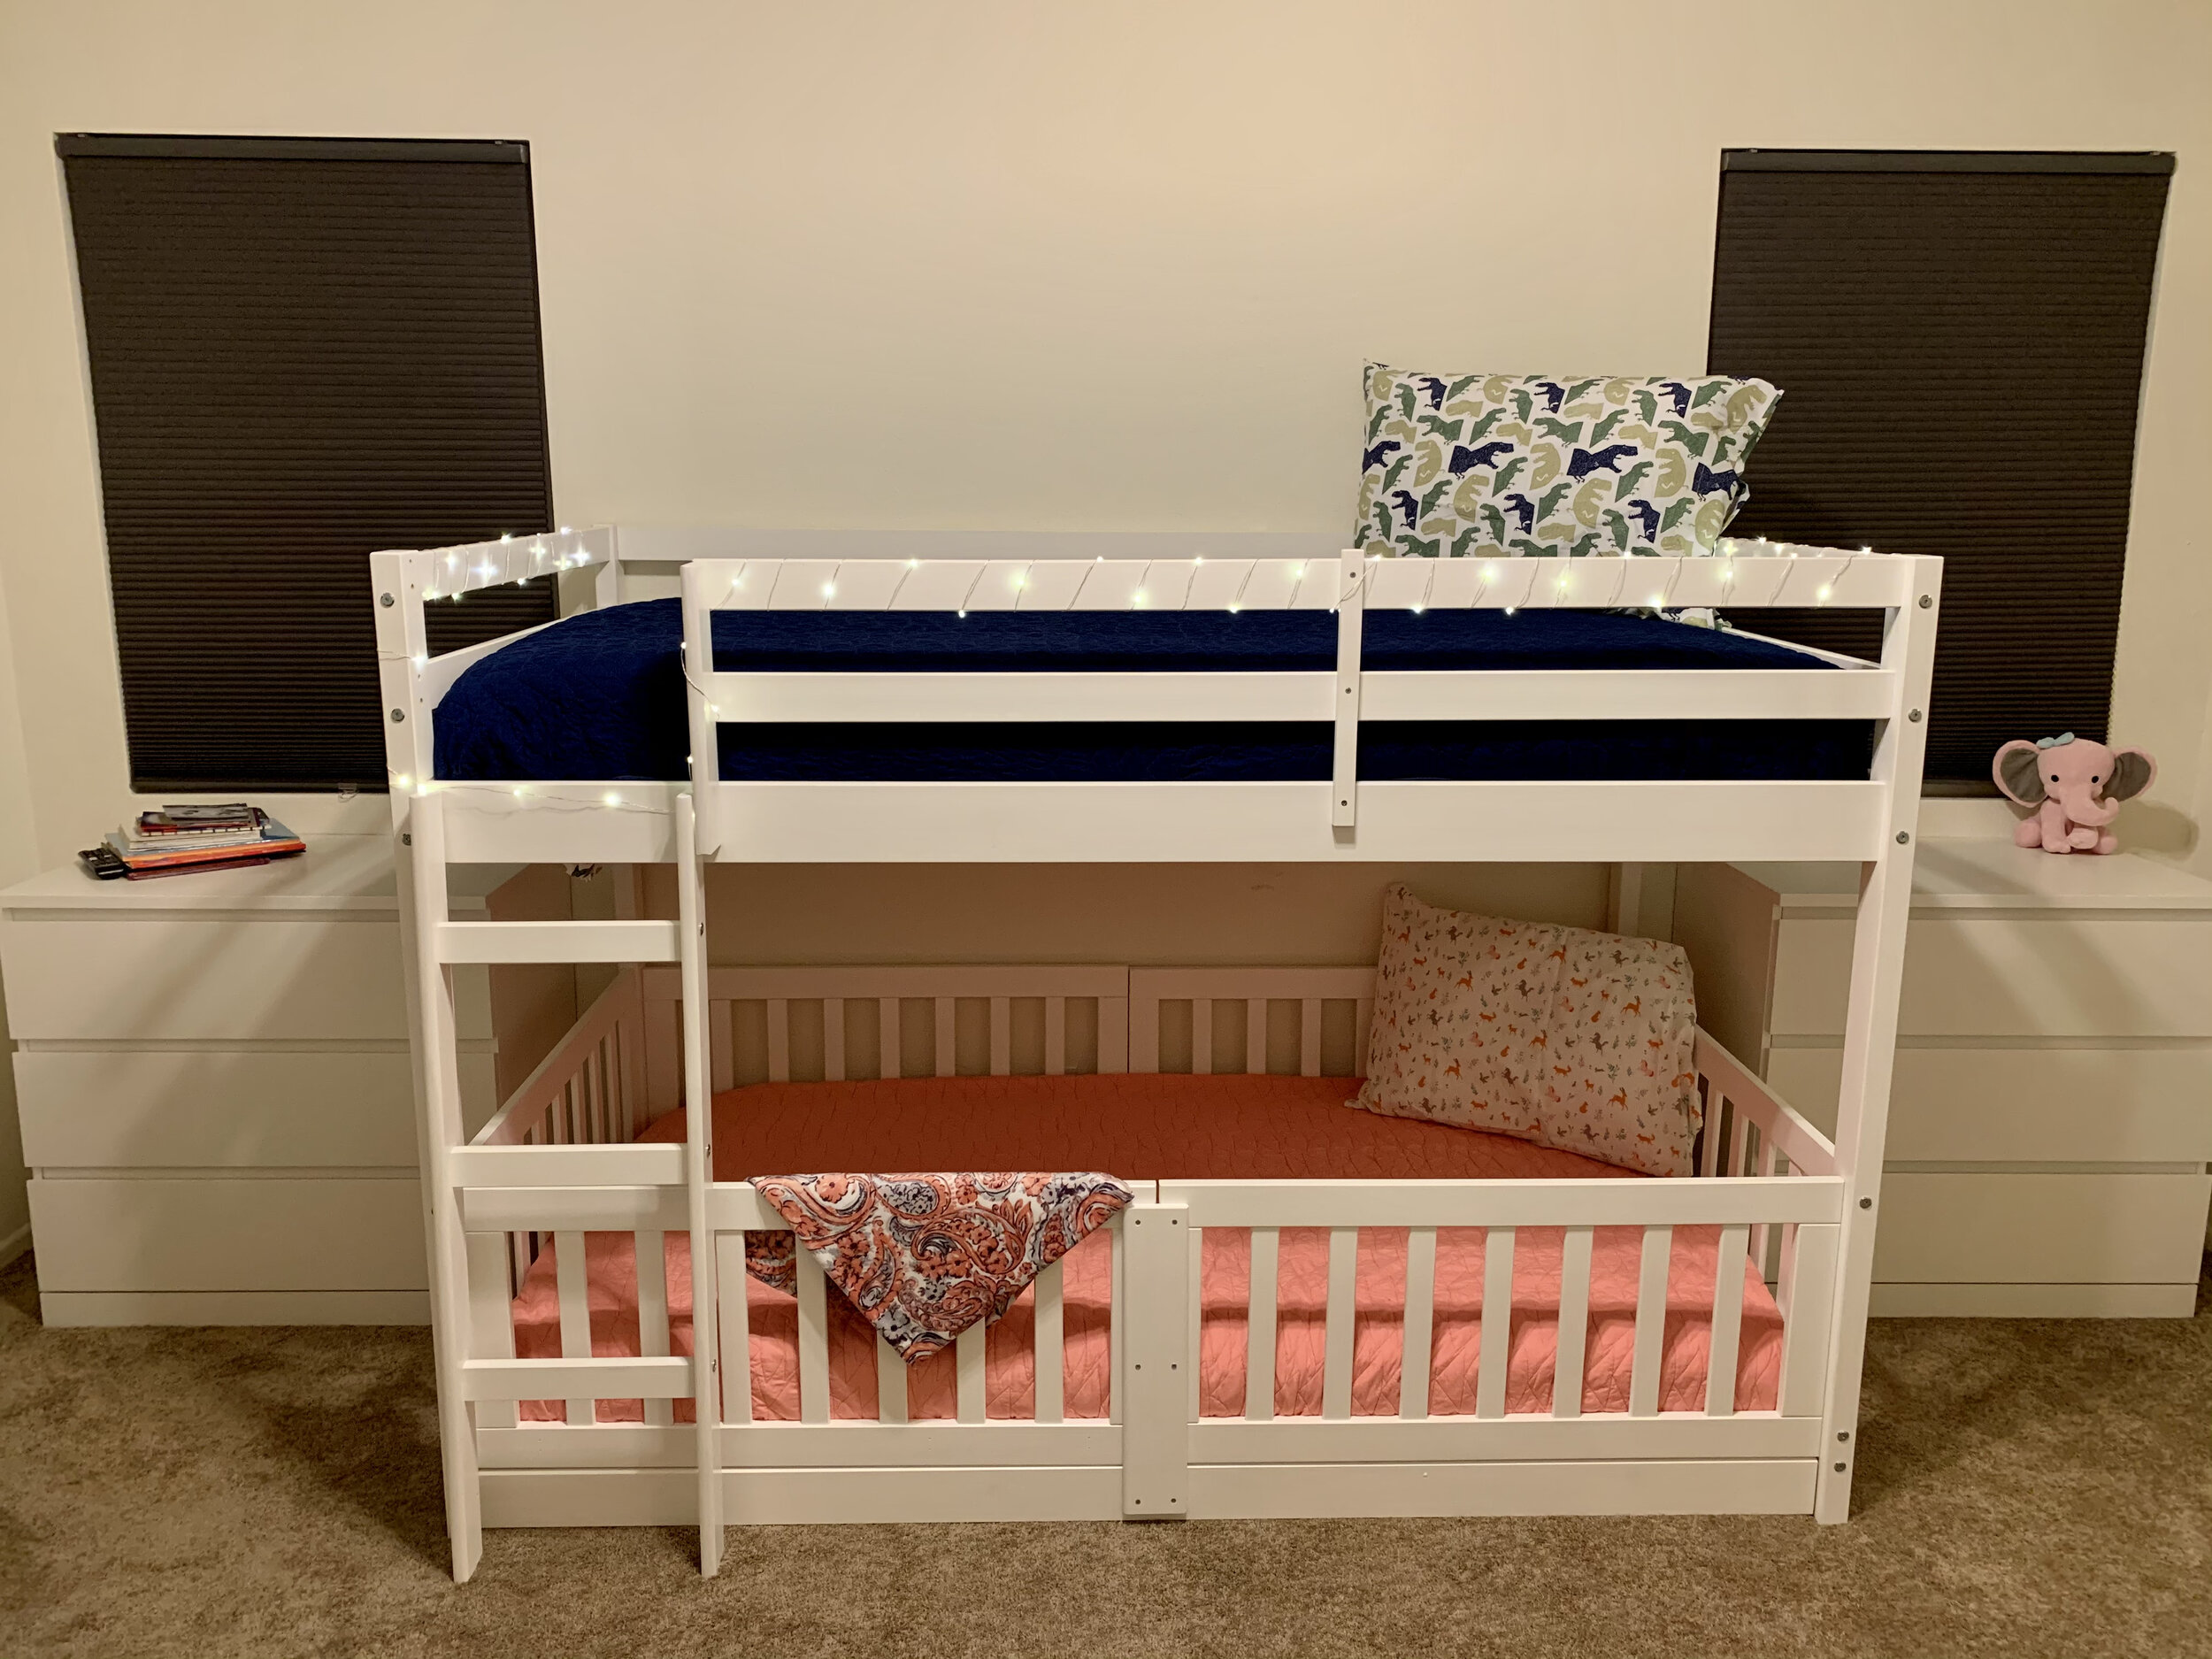
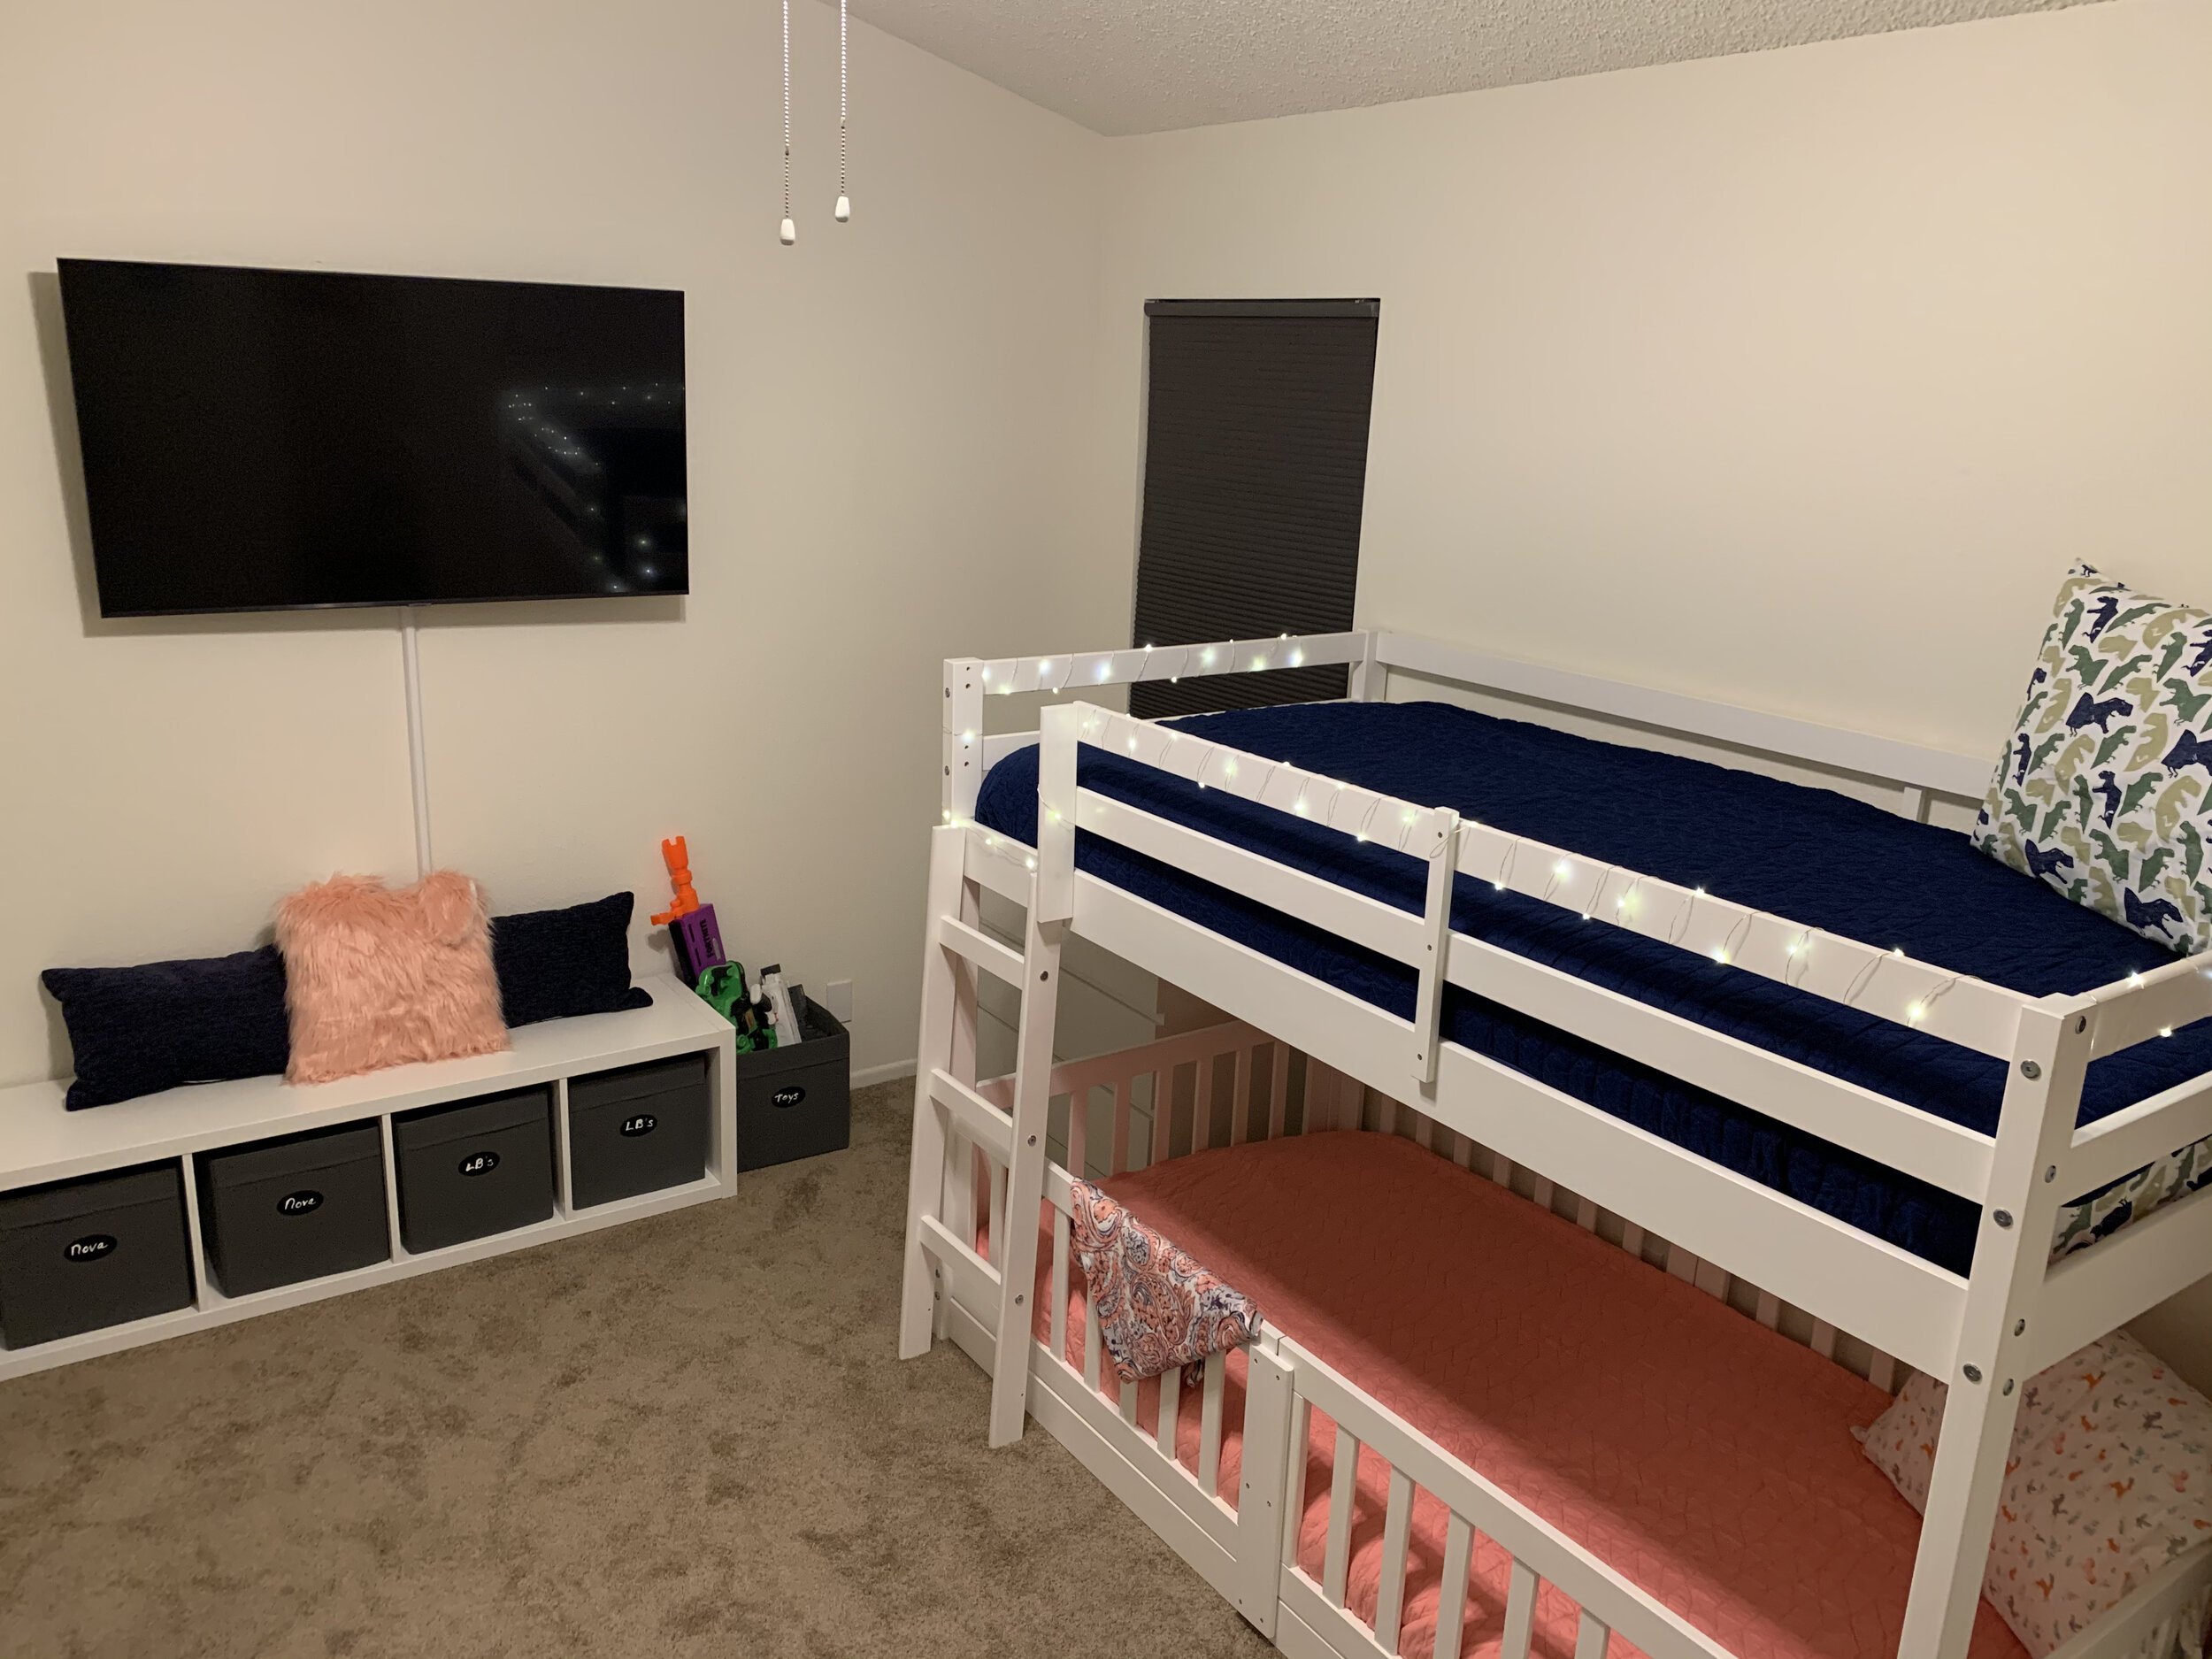
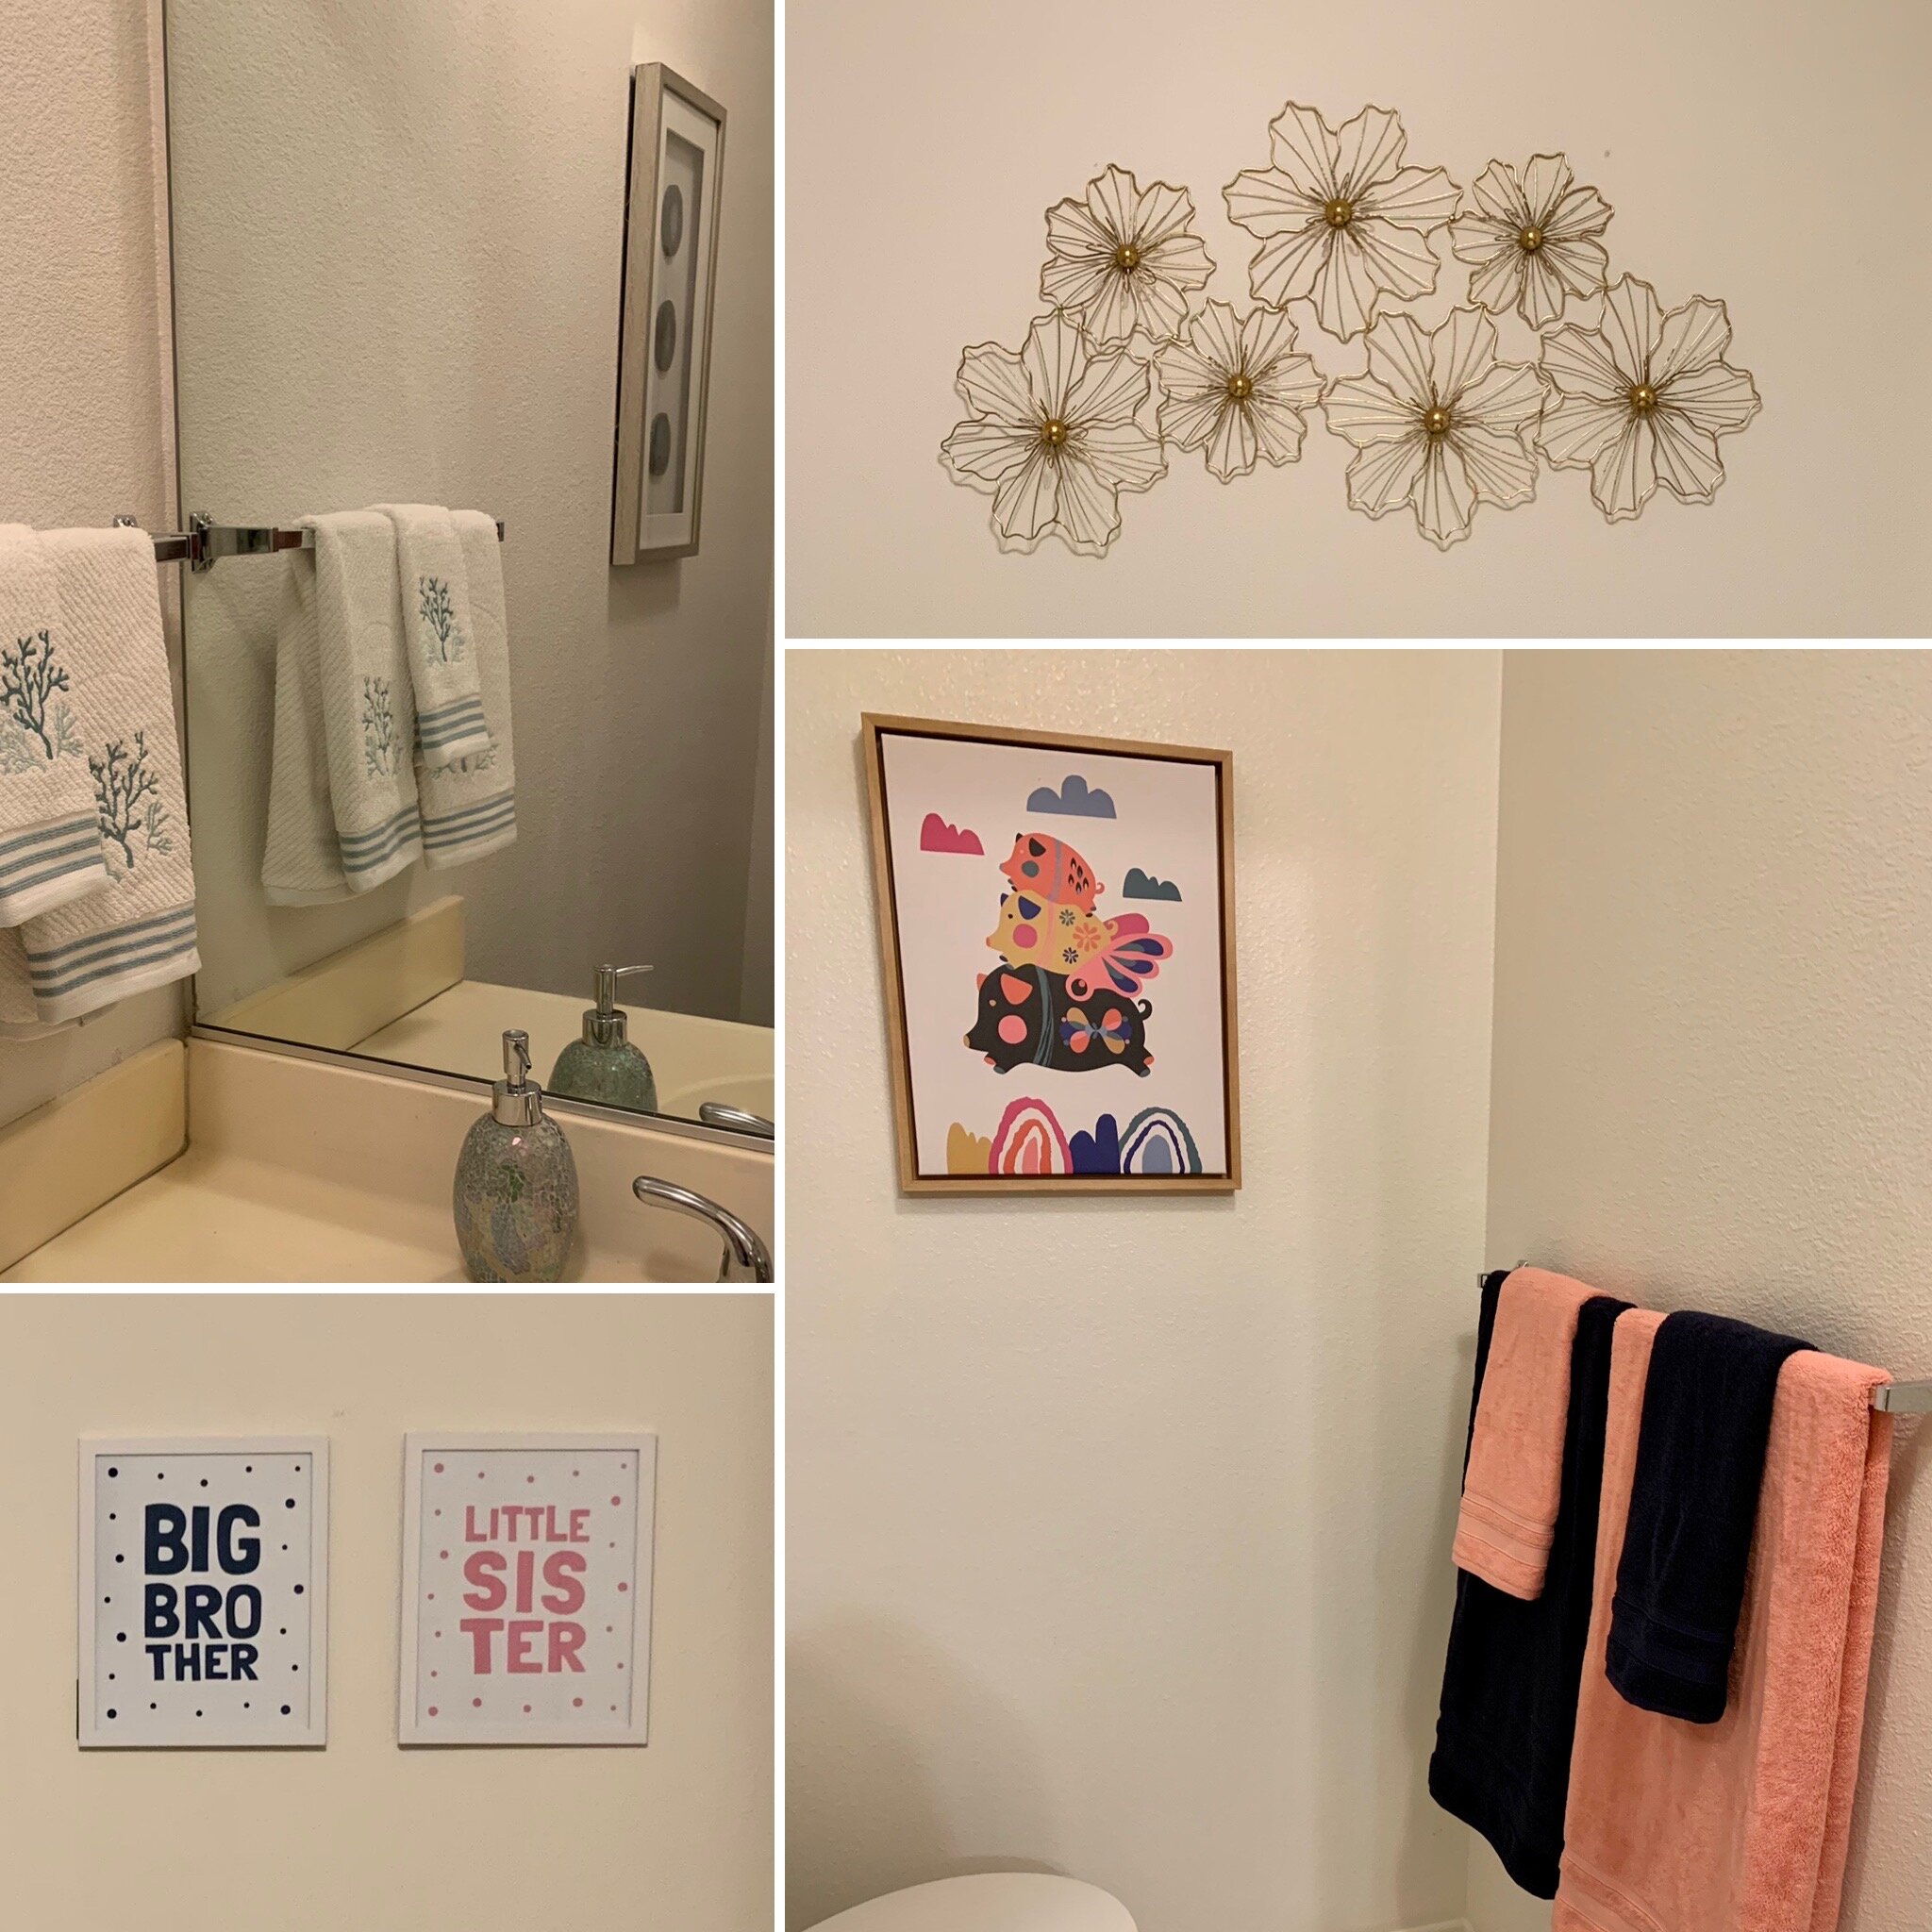
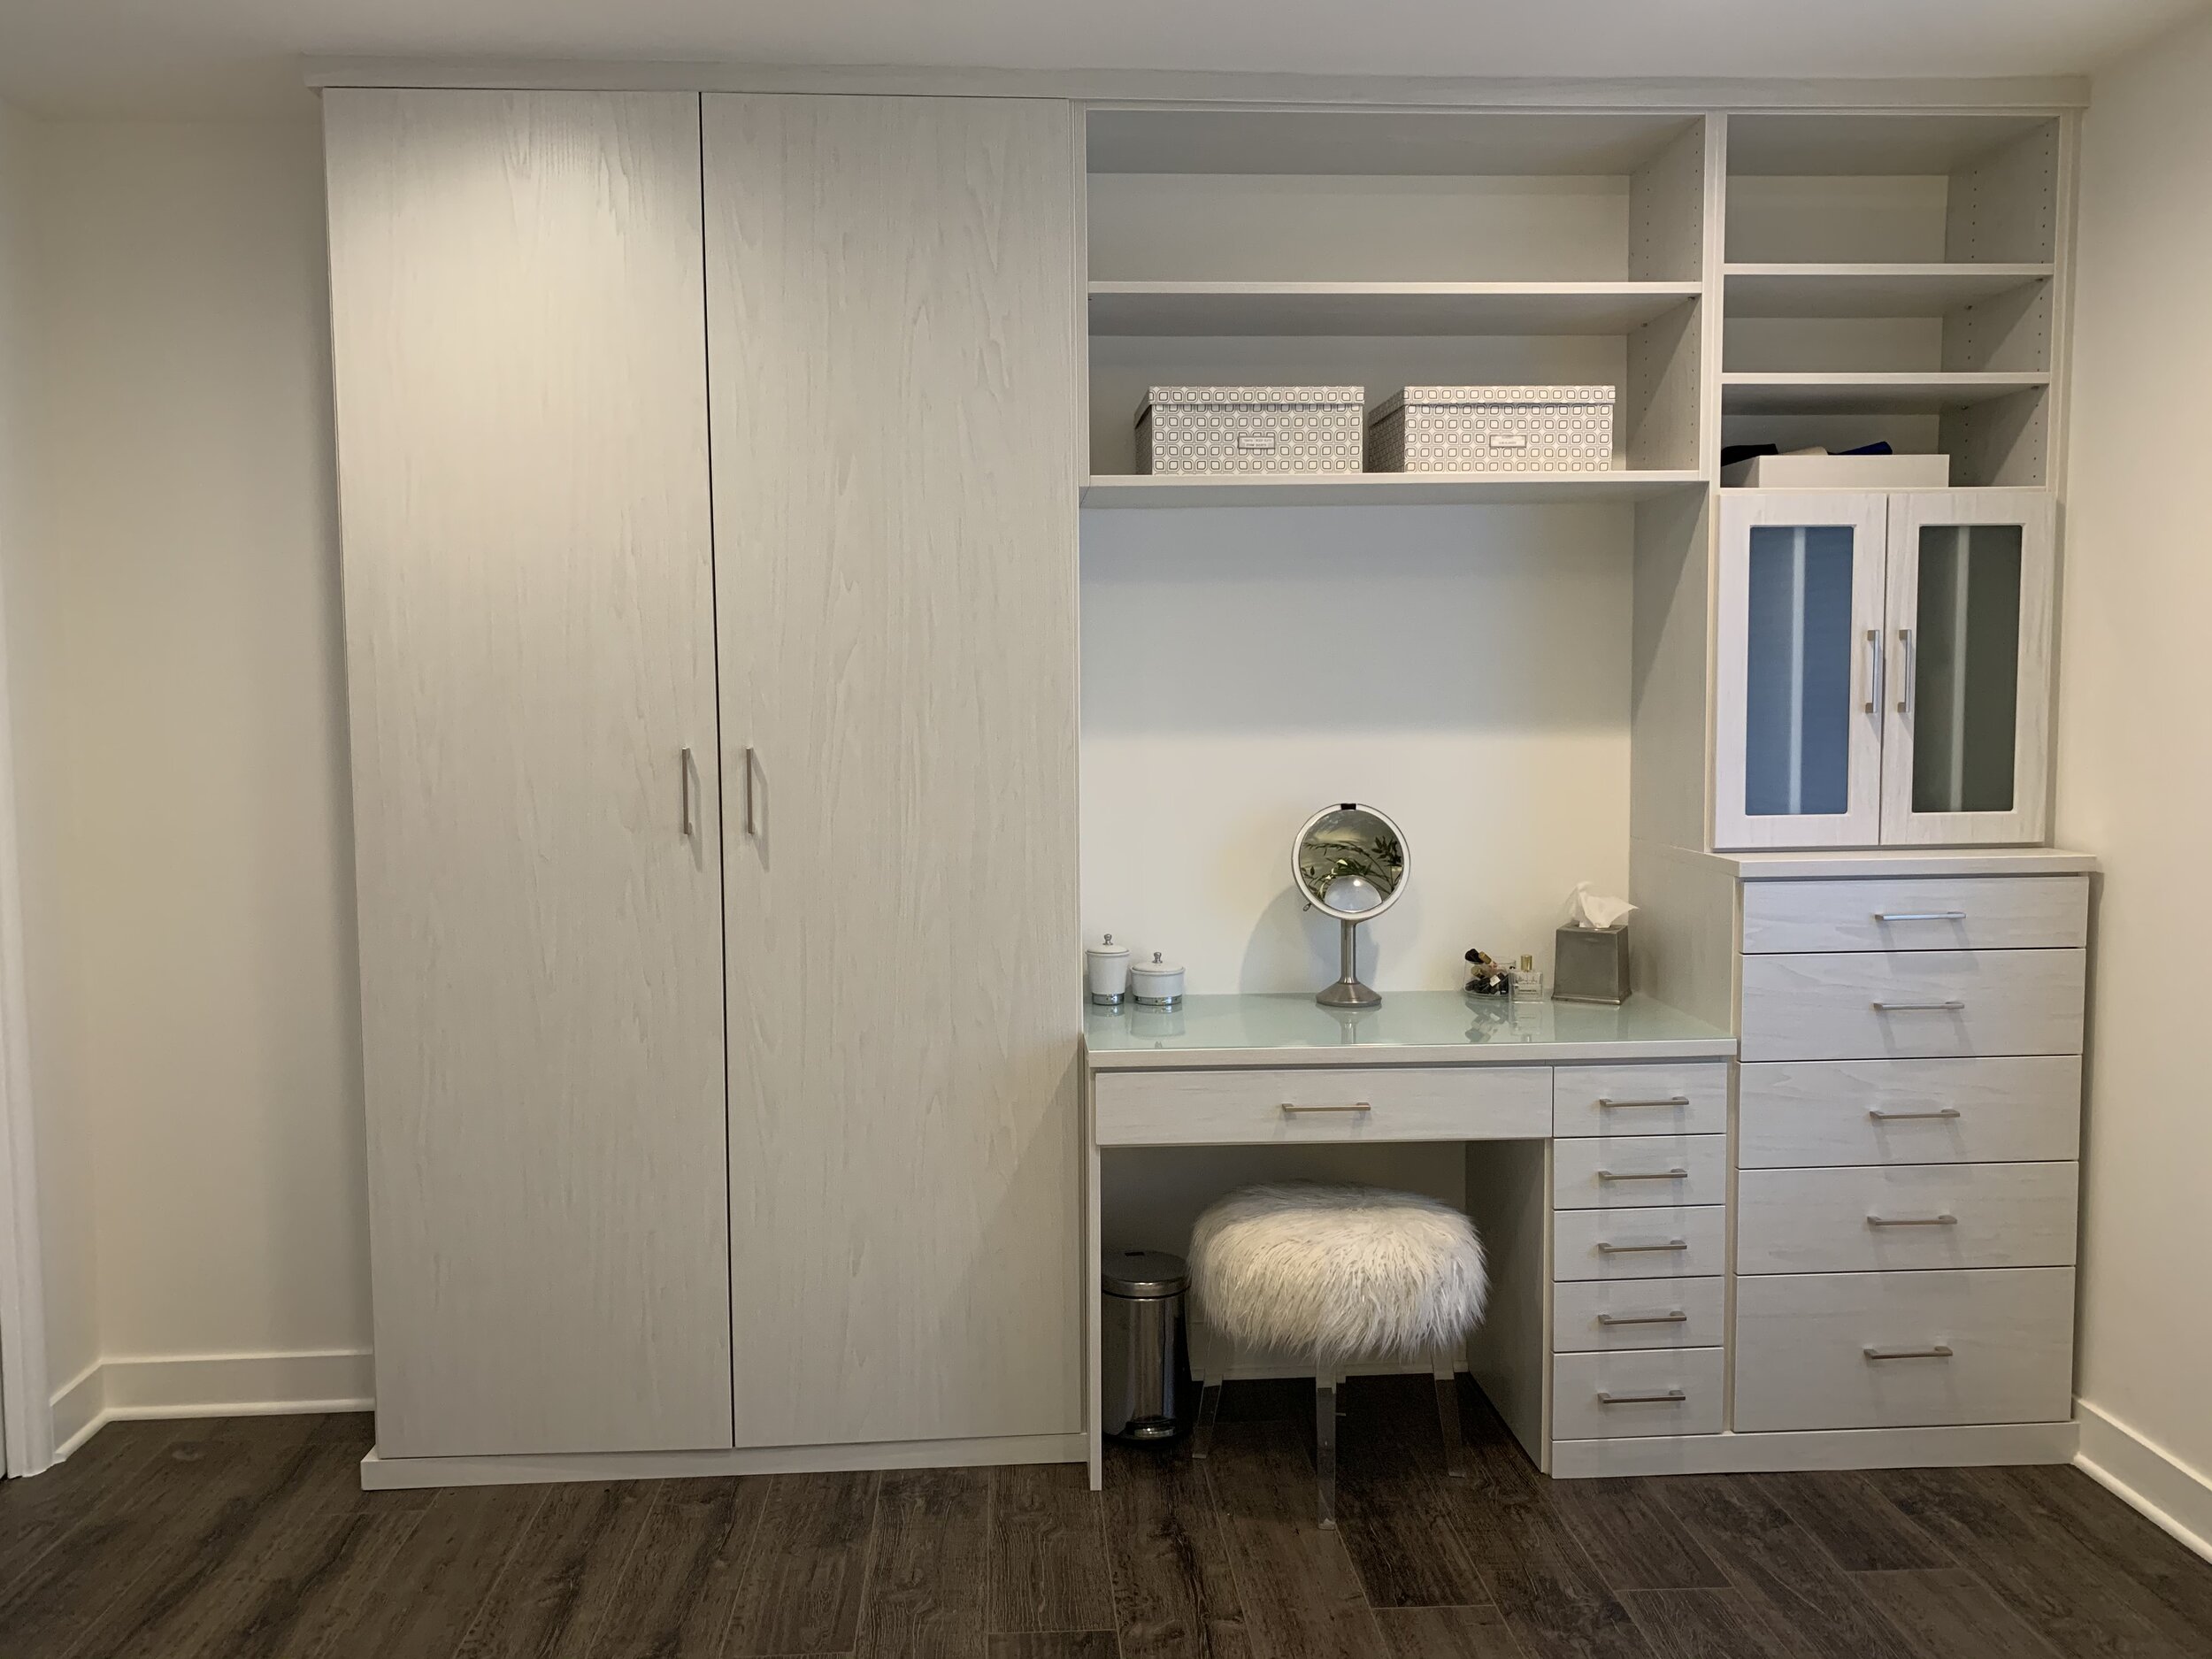
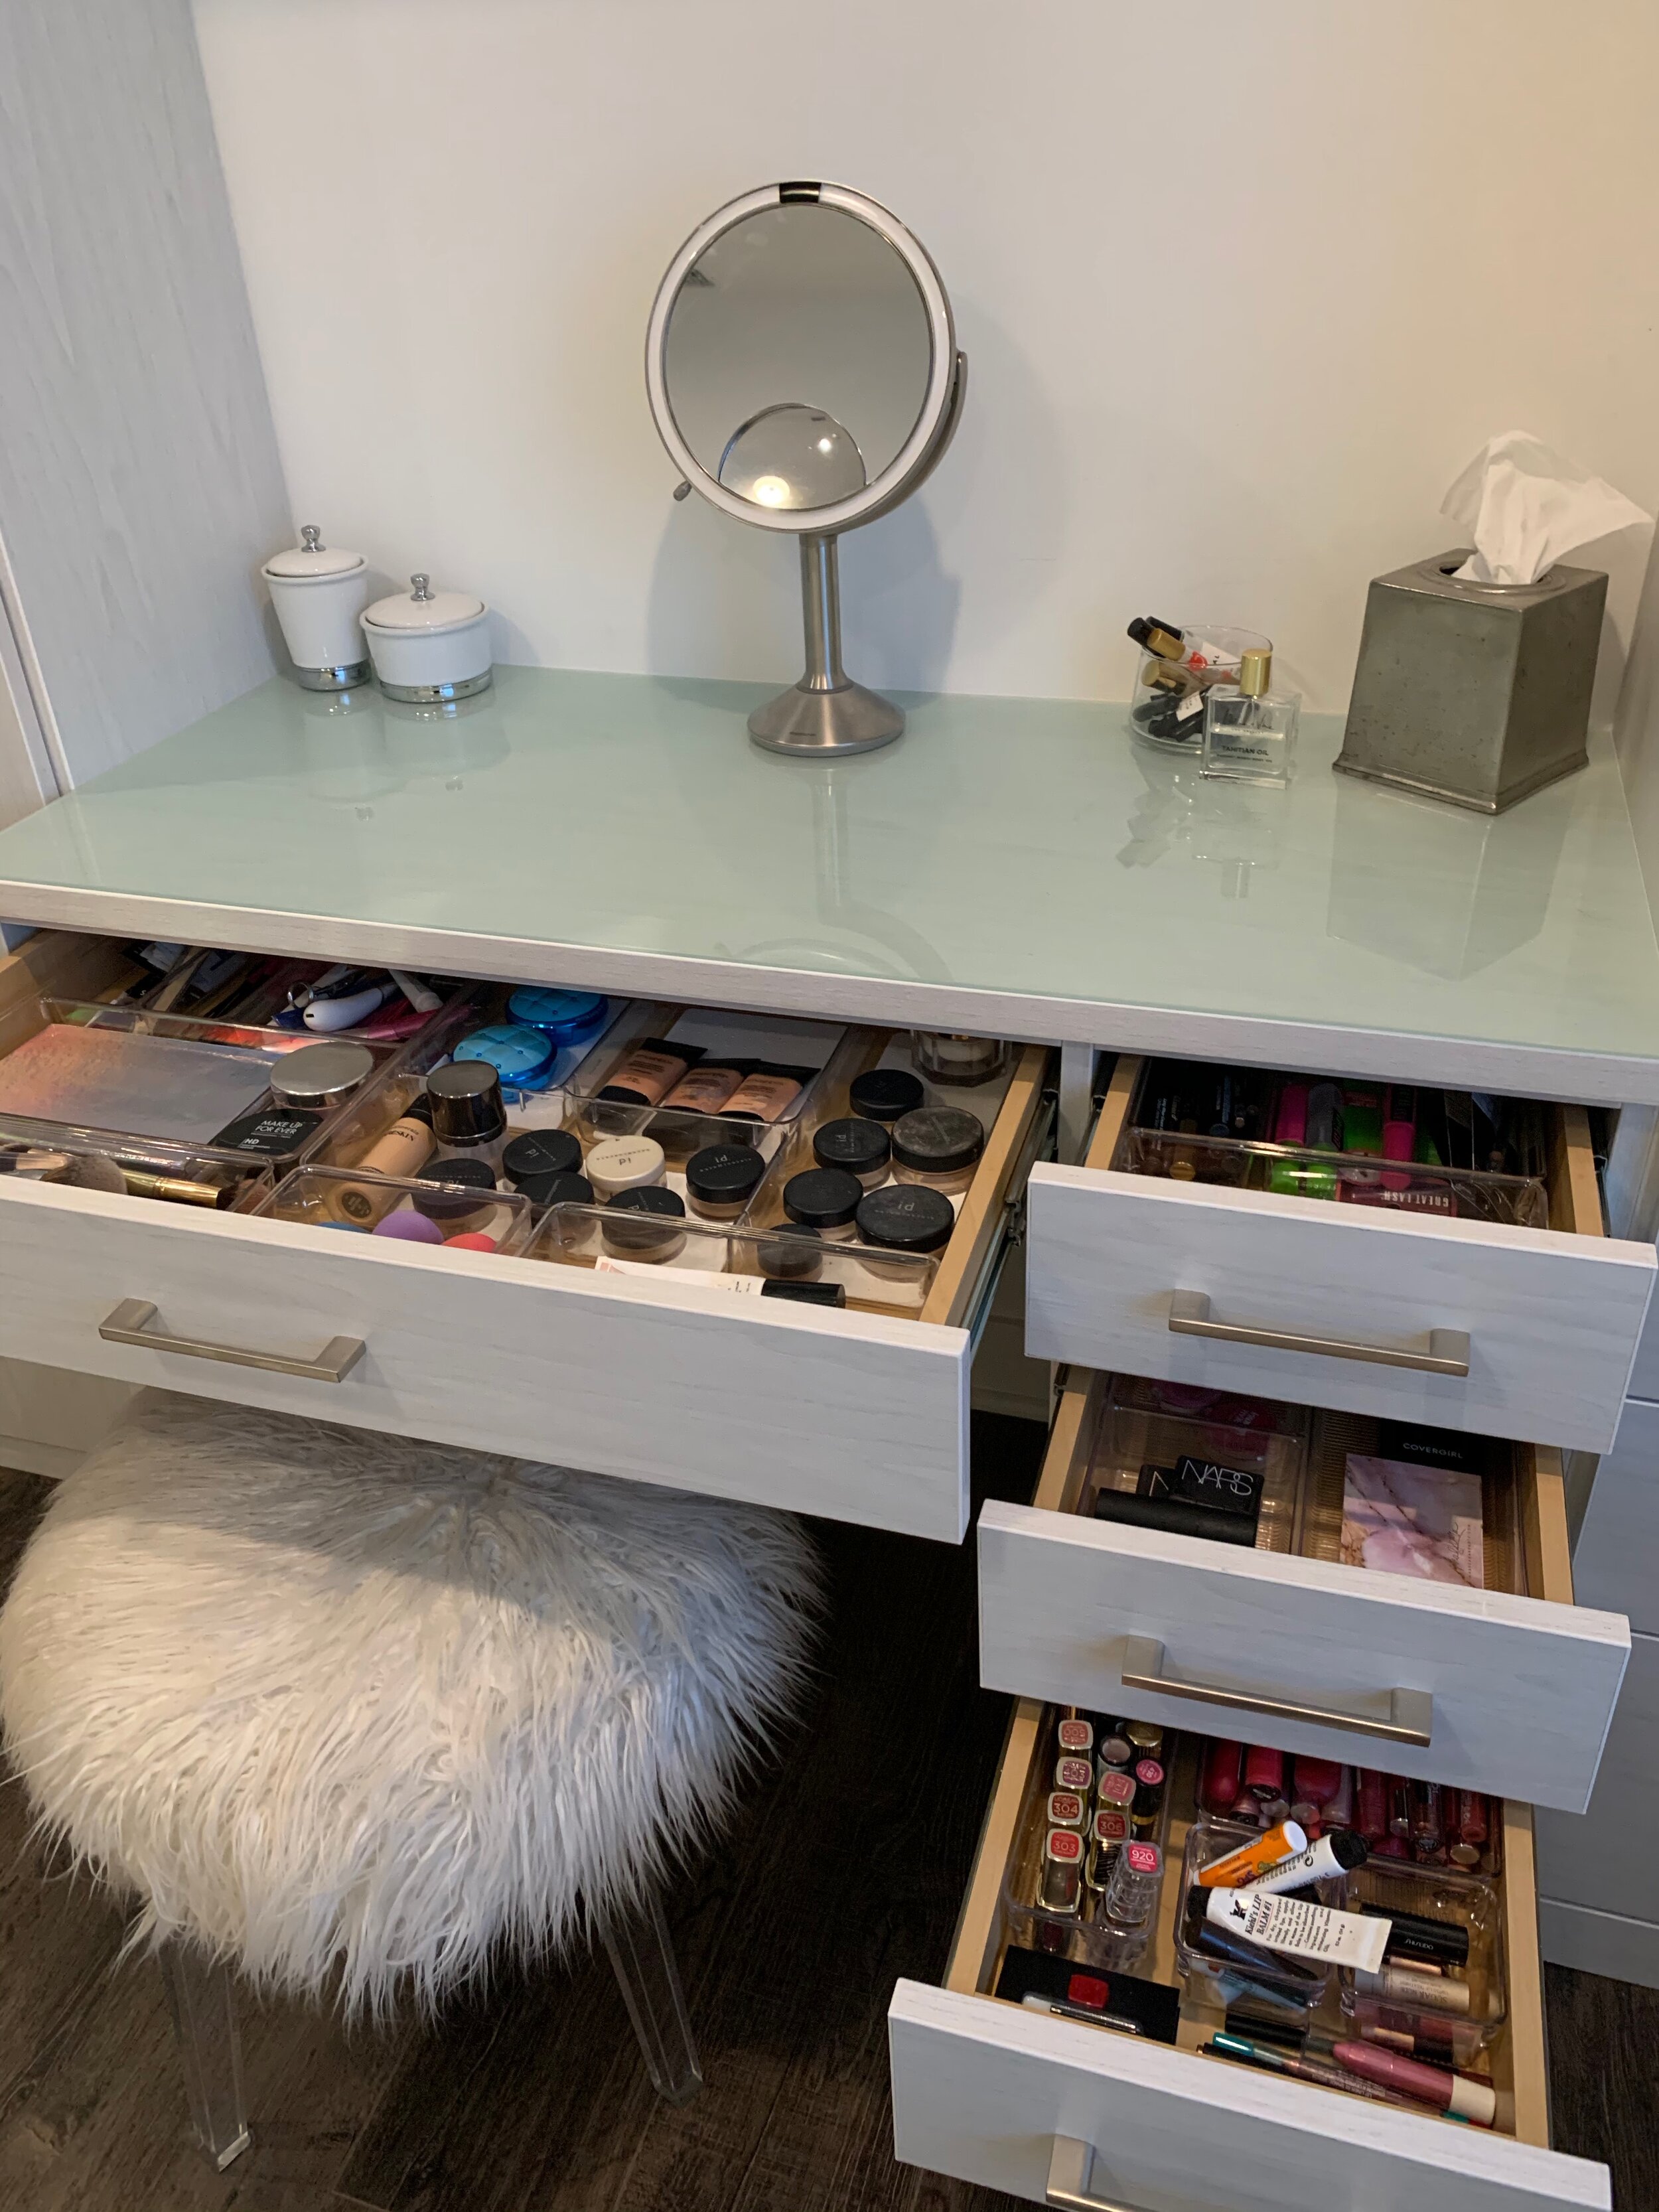
We purchased the couch from Amazon, the bunkbed from Wayfair, the rug at HomeGoods, some accessories from WorldMarket and the bathroom decor at BedBathandBeyond. We also shopped at The Container Store for organizing items, Home Depot for the plant and get the kids bedding at Target.

Comment below if you want to know where something was purchased and it’s not listed above.

How To Declutter Holiday Decorations

The holidays are here and it’s time to decorate! This video is of me helping my client on Long Island, New York get ready for the holiday season by decluttering their Christmas decorations. We go through the Space to Love® 5 step method to simplify the process.

During the video you see my client and I go through two bins, but what you didn’t see is us going through each category pile by pile. During Step 3 - Select, we let go of anything that didn’t work or was broken. Any older decor and kids projects that where no longer displayed for the holidays, but they wanted to keep for sentimental reasons, we added to their memory box. Anything that they no longer wanted and was acceptable for donation, we donated to Angels of Long Island.

During Step 5 - Style, we reused the empty bins and applied labels. Here are some storage ideas for holiday decorations that were not included during the video.

Ornament Storage - The Container Store, Target, BedBath&Beyond, and Amazon.

Holiday Light Storage - The Container Store, Target, BedBath&Beyond, and Amazon.

Wrapping Paper Storage - The Container Store, Target, BedBath&Beyond, and Amazon.

Tree Storage - The Container Store, Target, BedBath&Beyond, and Amazon.

Holiday Decor - The Container Store, Target, BedBath&Beyond, and Amazon.

Most people don’t have time to declutter before the holidays, if this is the case for you then I suggest the following. After decorating take a look around and see what decorations you haven’t used. If you’re not using the holiday decor this year, chances are you won’t use them next year and you can let them go. This will help minimize the clutter from year to year.

Hope you found this helpful and Happy Holidays!!

How to Organize Kitchen Cabinets

I love it when my friends hire me to help them get organized. This friend of mine was going to use her crockpot but couldn’t find the lid…so she called me and said, “Ok, let’s do this organizing thing, the holidays are coming and it’s now or never.” I made a quick video of the process. I hope you find this helpful:)

This video goes through the Space to Love® 5 Step Method on how to organize your kitchen cabinets.

How To Re-purpose Your Garage For Outdoor Living Space

While I was working with this client in Los Angeles on other projects around their house (See living room makeover), they happened to mention “Well, eventually we want to build some kind of storage in the garage, do you think you can help us with that?” Um…yes, please! I love drafting out closets.

They were already using the garage as an outdoor movie room but stuff starting piling up and taking over the space. I can see why they wanted to add storage. It could be challenging to build out the perfect custom storage closet for this garage/movie room but as a professional organizer and decorator, this happens to be one of my favorite kinds of projects. Here is an opportunity for me to create a space that is a perfect fit for my client, their stuff, and their home.

I’m going to walk you through the Space to Love® 5 step method on how to achieve the perfect custom closet. Starting with the first step, Setup. I like to have all the supplies needed beforehand. I make sure I have markers, scissors, boxcutters, gloves, donation bags, recycle bin, trash bags, and post-it notes for labeling categories. We set up fold-out tables to make sure we had room to spread out and be ready for Step 2, Sort.

The sorting process is going through everything and separating them into categories. For this project our first category was “kids’ stuff”, which consisted of large and odd-shaped toys, crafts, and painting supplies. The next category was “travel”, which included suitcases, dog carrier, and travel stroller. The remaining categories were pool supplies, outdoor cushions, and tools. Once everything was sorted we were ready for step 3, Select.

Now it was easy for my client to go through each category, one at a time, and assess the items. This gave them a clear idea of what they had so they could make decisions on what they wanted to keep and what they were ready to let go of. If you skip the sorting process it makes the selection part slower, overwhelming, and almost impossible to complete. Once they finished selecting what was no longer working or needed, these items were then donated, trashed, or recycled. Now we were ready to move on to step 4, Sanitize.

For this project, Step 4, Sanitize, was easy because all of the storage was going to be newly custom-built. However, we did clean out all the bins that we were going to keep and stacked them on the temporary metal shelving until the storage unit was complete. We liked the plastic bins that were being used for the kid’s organization. I’m all for keeping what is working and didn’t want to change them out.

Now for the fun part, Step 5, Style. The goal here was to use the entire right wall to build the custom-fitted storage closet. Also, have additional storage on the opposite wall around the fridge and add a countertop.

I can’t tell you how exciting it is for an organizer to get to create a custom space for their clients. I was able to make the cabinets wide enough to fit all their luggage and outdoor cushions. All the tall awkward toys had their own shelves. I really couldn’t have done this alone. They had an amazing carpenter on hand that was ready to put all this together. He was very patient with me as I went over every detail, even some odd ones…spiders are pretty bad in LA so I wanted to make sure that there were no openings on top of the cabinets for an Arachno-Ville to happen. He customized the top panel to accommodate the sloping ceilings and closed them off. It was important that all the shelves were adjustable and could be changed as their needs changed. Storing fold-up tables can be problematic, so being able to create a gap between the fridge and wall just wide enough to fit their tables was very satisfying for me. Overall I love the way this project came out and my client couldn’t be happier with the end results.

5 Steps to Organizing Your Pantry

It was such a treat to help this organizing client in Los Angeles get their pantry clutter-free and in order. I’m so grateful that they let me film it, and that I get to share it with all of you. By using the Space to Love® 5 step method: Setup, Sort, Select, Sanitize, Style, it makes it easy to breakdown the process so you can get and stay organized. Check out the video below.

As an alternative to watching the video, below is a quick breakdown of the steps to follow so you can get and stay organized.

Step 1, Setup. Before you go to the store to buy bins or start pulling everything out of the pantry it’s important to take a few preparation steps prior to getting started. You want to make sure you have enough room to work and the proper tools are on hand. You will probably need markers, post-its, garbage bags, donations bags, a recycle bin, scissors, and a box cutter. This will make it easier to stay on track.

Step 2, Sort. Start pulling everything out of the pantry and sort items into like categories. Some common category examples are baking, sides and pasta, snacks, canned goods, etc. Use your post-it notes to label your categories for a quicker sorting process. Pro-tip, check all expiration dates before putting into categories.

Step 3, Select. Now that all the items are sorted into like piles it is easier to make decisions on which items you want to keep. You can donate your unwanted items that are not open or expired to your local church or food bank.

Step 4, Sanitize. Before returning all your selected items back into the panty, it’s so important to give those shelves a good scrub down because these areas rarely get the chance to be properly cleaned. Feng Shui tip, all dirt and dust is sha chi (negative energy) and should be removed to promote more positive energy in your home.

Step 5, Style. Most of my clients want to purchase containers and decorative items for the pantry before they even start step 1. However, it’s important to wait until after the sort and selection process because you will have a better understanding of what is going back into your cabinet. Step 5 is the time to take measurements and purchase organizing products such as bins, baskets, etc. Once you’ve bought the bins and baskets for the pantry you’ll want to label them with the different categories. Place your items back in the proper categories and this will help you stay organized.

What do you think? By using these steps will it make it easier to get and stay organized? Comment below.

From Chaos to Comfort: A Living Room Transformation

How many of you have a room in your house that is being used as a storage unit? If you could remove the chaos, what would that room be used for? Now more than ever with the ongoing COVID crisis, I can think of many ideas for extra space: mini gym, meditation, homeschooling, zoom meetings, or a functioning living room for future movie nights.

A recent client of mine in Los Angeles had just moved into their dream home but shortly after was stressed out with the lack of storage. The house was a beautiful Spanish revival that had limitations for their belongings and it was imperative to come up with storage solutions that didn’t involve acquiring a storage unit. That is why their clutter ended up in the living room.

As with all projects, big or small, it is important to visualize what you want to use the space for, how you want it to look, and how it makes you feel. Before we jumped into the 5 step Space to Love® method to getting organized I wanted my client to convey to me what their vision was for the cluttered living room. They envisioned kid sleepovers, out of town family members staying for the weekend, having drinks with friends during game night and movie night with the family. This translated into a large and comfy sectional couch that opened up to a bed. The couch would have a dark-colored fabric that would be more forgiving of kids and pets. This layout also needed to include space for a bar and comfortable seating with side tables. This visualization process allows you to know what you need and is always a big motivator to get started on any project.

After visualizing we went on to assess and prioritize. We did a walkthrough of the entire house and outdoor space to see where, if any, would be an accessible and functional place for storage. I was pleased to learn that they had an unutilized basement. A basement in LA is a rare thing, and this one had ample space to add additional shelving. They had a garage that was being used as an extension of the outdoor space, not for a car. We decided to use one of the walls to build storage cabinets (that will be for another blog). Now, I was able to see where all the items that they wanted to keep would go.

After that, we were ready for the Space to Love® method. For the first step, Setup, we used foldout tables where we could group the like items together and see everything. We created areas in the room for the common categories, such as donations, trash, and recycle. With our post-its and markers ready we moved on to step two, Sorting.

While working through the sorting process I was able to learn a lot about my client. For instance, I could tell what they did for a living and what their hobbies were. This allowed me to come up with an organizational system that would be tailored to their individual needs.

As we continued sorting, everything made their way into specific categories. This allowed them to see which items they had duplicates of, what they forgot they had, and what they weren’t using. I love watching as my clients go through this process because they start to understand what they need, what they want for the future, and what is holding them back. It becomes clear to them how they have changed over the years and what was once important doesn’t have much hold over them anymore. This leads right into step three, Select.

Now that everything is sorted it makes it easier to “pick the best and get rid of the rest”. Here is where they see what is no longer serving or supporting them. This is also an opportunity for them to realize how they have been spending their money and their time. Sometimes feelings like guilt, shame, and regret may come up and bring the process to a halt. This is where having a professional organizer there with you is so important, we help ease the feelings that arise and get you through it. Real change starts to happen during this time. Many ah-ha moments.

After sorting and selecting, the items they decided to keep could be stored in the basement. Which brings us to step four, Sanitize.

We started with the basement. Before we added shelving from Home Depot we made sure we cleaned the area well. Then we put the shelving in place and organized them with items that were not going to be used on a regular basis. We transported the other items that were needed more often out to the garage on temporary shelving until the storage cabinets were built.

Once everything was moved out of the living room we were able to move onto the fifth step, Style. When it comes to living rooms the best place to start is with the couch. We went to The Joneses LA one of my favorite furniture stores in Los Angeles. We brought the measurements with us and presented them to the salesperson and from there we explored various ideas for the couch. We decided on a left side sectional with a chaise lounge that opened up to a kingsize bed. We were able to go through books of swatches to pick the perfect dark-colored fabric. As we perused the showroom we were able to see the different styles of couches and pick the one they liked the best.

Next, we chose to use a console they already owned that worked perfectly for the bar area. As for the window treatments, we went with The Shade Store on Melrose Ave. It was a treat to be able to view all the fabrics and look at the hardware to see how they worked.

We needed to paint the room and ended up choosing this rich dark blue. This color really made a bold statement in this living room and my client fell in love with it. No more boring here.

I love the transformation of this living room. What do you think? Is there a room you would like to transform?


Tween to Teen Bedroom Makeover

While working here in New York I had the privilege to makeover my friend’s daughter’s room. She turned 13 last year and wanted her room to reflect her more grownup self. They grow up so fast! However, at any age, using the Space to Love® 5 step method: Setup, Sort, Select, Sanitize, Stylize™ is easy to help anyone achieve their goals to create the room they visualized and to stay organized.

We started with step 1, Setup. I made sure we had room to work and spread out. You need space to organize. We agreed on using the bed and the top of the dresser to sort items. If this wasn’t an option I always have a folding table on hand. I also have ready in my organizing kit: garbage bags, post-its, markers, scissors, box cutters, and cleaning supplies. Keep these items ready whenever you are taking on any organizing challenge. Continuing with the setup process we established specific areas of the room where items would be placed. Donations in one area and other areas for what she’s keeping, maybes (what she’s not sure of), recyclables, and trash. These are the common categories to start with and you may come up with other categories in step 2, Sort, so have your post-its and marker ready. We then customized categories that tailored to her specific needs, ie, blankets, memorabilia, family games, and products for her soap-making business. I was thankful they had a newly renovated basement with extra storage for these items because she doesn’t need access to them on a daily basis.

Once we had our Setup in place we moved on to step 2, Sort. When starting this step it is so important to remove or take out all the items from the closets, drawers or bins you are working on. Here we began with her makeup drawers and started sorting like items together. This may seem like a tedious step but it was so much easier for her to make a decision on which lipsticks/glosses to keep when they were separated from her eyeliners and blushes. We also sorted the cosmetics by color. Know that as you break the clutter down from a big pile into smaller ones, it streamlines the decision-making process when like items are grouped together.

Which brings us right into step 3, Select. Now that items were sorted she could make decisions with ease by seeing everything separated. At first, she felt overwhelmed until she started seeing like items grouped together. This made it clear to her that she had many duplicate items. At that point, she knew she only wanted to keep two light pink lip glosses instead of five. As we moved on to other areas she could easily tell me which hair products she wanted to keep and what stuffed animals she wanted to donate. By the time we got to her closet,  she was really getting the hang of it by keeping the best and getting rid of the rest. Her old t-shirts didn’t stand a chance.

Before we put anything back we completed step 4, Sanitize. We wiped all surfaces down including the inside of all the drawers. We swept the floor and cleaned inside the closet. The sanitizing process is so important, not only because of the current COVID situation but the idea that you are clearing out the old and negative energy. By sanitizing, you’re not only purifying your space but you’re allowing good things to come into your life. For these reasons it’s important to follow through with sanitizing before moving on to step 5, Stylize.

Step 5, Stylize. This is probably one of my favorite steps. We had so much fun making her ideas come into fruition. She wanted a celestial theme with gold stars and dark blues. We started with paint swatches and simple drawings to figure out the wall layout. Then we moved on to furniture ideas which lead to changing up the floorplan to maximize her space.

For inside the closet we fell in love with the dark blue wallpaper with gold stars. This was peel and stick wallpaper that made it easy for application. That segued into spray painting all the closet shelves and brackets gold.

To keep costs down we purchased the furniture and accessories from Ikea, Homegoods, and Amazon. What also helped with the budget was hanging the wallpaper, painting, and assembling all the furniture ourselves.

Overall I’m thrilled with the way the project came together. More importantly, my friend and her daughter are so happy with their new space.

4 Guilt Traps to Avoid While Decluttering Your Closet

Over the years while working with organizing clients, I’ve realized what impedes the decluttering process the most, and it is the guilt traps. The traps I’m referring to are items that you don’t like or don’t even want but you can’t let go of because of the guilt you feel. I want to point these guilt items out to you so when you start decluttering your closet you can recognize them as they show up and know how to navigate past them quickly.

1 - It was a gift.

“I can’t donate that, my best friend gave it to me for my birthday and she will know if I got rid of it.” In a situation like this one the chances that she’ll remember are highly unlikely. If she did, what would be the worst thing that would happen? I actually have a personal story about this one: A few years back I bought this beautiful amethyst bracelet with gold trim for a friend of mine. About a year later she was showing me some of her new jewelry and I didn’t see the bracelet I got her. I asked her what happened to it and she told me that she appreciated the gift but she only wears silver. I was initially bummed that she didn’t keep it, but then I realized it was more my style than hers. I had forgotten that she didn’t wear gold, oops! At the end of the day I was glad that she got rid of it since she wasn’t going to wear it…and yes, I’m still really good friends with her. I say go ahead and donate those unwanted gifts. I don’t want my friends or family to keep things they don’t like just because it came from me.

2 - It was expensive.

“I paid so much for that dress and it never fit quite right, I know I will never wear it again but I feel bad just donating it” Some of my clients have trouble letting an item go because of the monetary value. If you are having negative thoughts about something in your space, you are still paying the price for it. Think of your energy as a commodity and what that is worth to you? That Badgley Mischka dress will find a new home where it will be worn and loved. For high-end items that you’d like to resell, check out TheRealReal.

3 - It still has the tag on it.

Here’s a good one, you find it on the sale rack, you buy it with excitement for getting such a good deal (even though you know it’s not great but can’t pass it up for the price) and then you never end up wearing it. Sometimes the fun of it is getting things for a bargain. It made you feel good at the time and that was all it was meant for. You really thought you were going to wear it when you left the store but then it just never left your closet. So, you made a mistake with the purchase, don’t make another mistake by keeping it. Every time you look at that unused garment you are being brought down with guilt and your energy is coming down with it. Check out ThredUP. It’s time to let it go.

4 - I’m going to lose the weight.

You are your best self today no matter what you think. Holding on to clothes that you will fit into “one day” when the weight comes may not be the best way to go about it. Perhaps by the time you lose the weight, those items will be out of style or you will be so excited that you want to buy new clothes. I’ve even had former clients that wanted to keep clothes because they were afraid they might put the weight back on. This is a roller coaster ride you want to get off of. Again, we are talking about our feelings and how they affect our energy. I’ve heard time and time again about people who finally lose the weight right after they got rid of the “old skinny jeans”. Weird, but when you hold on to the past you can never have a new and better future.

I can’t say it enough how important it is to only keep the clothes that make you feel amazing. When you look your best you, will feel your best and people will notice. Keep what you love, everything else can go.

There are so many places to donate clothes and household items The Salvation Army, Goodwill, Habitat for Humanity, and Vietnam Veterans of America, check to see who is taking donations at this time during COVID.

Happy decluttering:)

3 Steps to Creating the Dressing Room of Your Dreams

As a professional organizer in Los Angeles, I get to work with some amazing people and spaces. I couldn’t wait to design this dressing room for my client. I’ve been working with her for years and she was moving into a bigger home and we were able to use one of the rooms as a dressing room. At first, we were initially thinking of a stand-alone vanity and armoire but, as I thought it over, I had a vision of a kind of walk-in closet. I was familiar with all of her stuff and knew she would need more space for her accessories and shoes.

Here are the 3 steps I used to create the dressing room of her dreams.

First, you want to declutter. I sound like a broken record because I say this all the time but it is so important to have only what you need, use, and love. Everything else will get in the way of your vision. Start by sorting like with like and then pick the best and get rid of the rest.

Second, you want to take inventory of your items. It’s important to know what you have so that you can create the space that you need. How many shoes, scarves, purses, belts and hats do you have? Also, ask yourself, do I want to hang my t-shirts and jeans or fold them? And, if I fold them, will they be in a drawer or on shelves? Think about the socks, underwear, intimates and pj’s you have. How many drawers will that take up?  How many feet of hanging space do you need? Double-hanging in the closet is a better use of the vertical space if you don’t have too many long hanging items. I also took into consideration all the jewelry she owned. There were many necklaces that needed a home. She also had an ample supply of makeup and a vanity so plenty of drawer space was imperative. This brings us right into the next step.

Third, you want to design the space now that you know what you need. I designed the space and then we hired Inspired Closets to build it out for us. Of course, if you don’t want to do the design part they will do it for you. It was easier for me because I already knew what my client needed. So we looked at the layout of the room and picked the wall that would best be suited for the unit. I drew a sketch of what the unit would potentially look like. Starting with the vanity in the middle and then adding shelves for the shoes and purses to the left. On the right side, I added the drawers. The top one was for her jewelry and the rest for socks, pj’s, workout, etc. I wanted to include these cool pull-outs for hanging jewelry that Inspired Closets had, I added those above the drawers. I added double hanging bars in the closet for all her blouses and she also wanted to hang her jeans. Then I gave the sketch to Inspired Closets and they came out and took the final measurements. My client went down to the showroom and picked the finishes and hardware that she liked. All we were waiting for was the vanity mirror with lights to come. We ordered that separately. Inspired Closets really are a dream to work with.

If you are looking to create a space that makes you want to get up and get dressed in the morning, use these three steps. No matter what size space you have you can create a dressing room or area of your dreams.

Sanitize for a Happy Healthy Life

How clean is clean? Should I wipe that down? Should I wash my hands again?

These are questions I’ve been asking myself for months now and not really finding any answers to; until the other day when I was on a NAPO-LA (National Association of Productivity & Organizing Professionals) zoom chapter meeting. The speaker, Cari Butler went into detail about how to prepare for a disaster and what is needed for protection and sanitizing in our world today.

First off, I’m glad things are finally starting to open up, and as a professional organizer I can go into clients’ homes again, yay! However, having said that, we all want to keep each other safe and know how we can all do our part to contribute. Here is the site that she mentioned about disinfectants and how long it takes for them to work. EPA.gov. If you’re curious to learn about which products are the best and most effective, check it out. I’m thinking I will be carrying around some hydrogen peroxide wipes from now on.

Wash your hands! Ok! Ok! We get it, but is soap good enough? Or should we be using antibacterial soap? Here is an article she shared from the nytimes.com that goes into detail about why regular soap is just fine.

I have to say, when I went to school for Hotel and Restaurant Management one of my classes was on Sanitation. We actually learned the proper way to wash our hands in that class. Of course, it was to prevent cross-contamination e.g., you just touched raw chicken and now you have to prep a salad, you better believe I’m washing my hands for 20 seconds and not forgetting my thumbs. Back then, I wasn’t singing happy birthday in my head I was thinking salmonella and that got me scrubbing! I was working in a catering hall and we used the same bathroom as the quests and a woman was watching me wash my hands and was like “Wow you’re really washing your hands good!” and I remember telling her about my class. Who knew this would be a thing now.

I still get anxiety when I have to go to the store, although, not as bad as it was in back March, but I do feel like a glass of Prosecco does ease the nerves while putting the groceries away. Here is another article she shared that I can relate to uchealth.org about how many things we touch and forget to sanitize. After getting home, I can’t say I haven’t traced my steps back to everything that I touched, and then being obsessed about wiping down my phone, keys, wallet, taking my shoes and hand washing my mask.

To wear a mask or not wear a mask? I’m not going to have that conversation here, but when I can’t properly social distance and have to wear a mask, I do prefer a silk one for the light weight, softness and breathablity during this crazy hot, and humid New York summer. After nine years of living in Los Angeles, I did get spoiled and I won’t even go on about the mosquitoes. My brand of choice for silk masks is lulubdesign.com. If you live in a humid area get one and save the cotton ones for winter. Oh boy, now I’m really thinking about how I was spoiled in LA!

Well, except for the earthquakes and I heard they just had another one. If you need an emergency kit or advice on how to put one together, get in touch with Cari at emergencycafe.com on how to get started. Stay safe out there!

Are You a "Tidying Up" Failure?

I’ve read the The Life-Changing Magic of Tidying Up and had my differences with the book but I was so thrilled that Marie Kondo had brought the profession of organizing into the forefront of so many minds in America. Before Kondo I had to explain what I did for a living, now people are familiar with what I do. I am so grateful for her and the popularity of the book and show.

There has been so much talk about the show on Netflix Tidying Up with Marie Kondo and of course, as a professional organizer here in Los Angeles where the show takes place, I had to see what it was all about. I was also curious to see if there were differences with my Space to Love Method and wanted to compare.

I was excited to watch the first episode, thinking this would be binge worthy for me. There I was, on my couch with my popcorn and Prosecco, I pressed play and soon realized after a few minutes that our methods are, in fact, very different.

I know there is a lot of editing magic and added drama that goes on with these shows but I was cringing when I saw her leave her client in the bedroom with a huge pile of clothes on the bed only armed with “If it brings you joy, keep it if not, thank it and put it in the donation bag”.

I have gotten a lot of feed back about the show and how people are now sleeping on the floor or couch because they couldn’t get through their clothes on the bed.

One of the big parts of The Space to Love Method is we don’t leave clients alone while going through their stuff. This is the part that is always the hardest (emotionally and psychologically) and they need guidance the whole way through. Only after we have worked with clients for a period of time and transferred skills to them, do we feel it would be appropriate to leave them to “let go” on their own.

After this process is over we then put systems in place that are specific to the clients needs. Not everyone is the same, therefore we do not have a cookie cutter formula for all organizing system. This includes folding, we come up with folding systems for the type of clothes and towels that work for the size of the drawers, closets or shelves.

Here is a video with some encouragement for anyone who feels like they are a “Tidying Up” failure. Know that you are not alone.

Comment below with any decluttering and organizing stories you would like to share. We would love to hear from you.

Mid-month Motivator: 5 Tips to Help with Your Broken New Year's Resolutions

How are your resolutions going so far? It’s only two weeks into January and I’m already hearing people verbally beating themselves up because they haven’t stuck with the changes they wanted to make for 2019.

If you’re one of the masses struggling to self-motivate your evolution, if you find yourself falling back into your old habits or giving up your resolution too quickly, here are some reasons why you may not be succeeding:

  1. You don’t have the time.

  2. You didn’t make a plan.

  3. You forgot why you wanted to do it in the first place.

Sound like you? You’re not alone. It turns out, about 45% of us make resolutions but only 8% succeed. But hey, don’t beat yourself up. It is, after all, only two weeks into 2019. You still have 50 whole weeks to steer your goals in the right direction. Here are some tips to help you get back on track from M.J. Ryan’s incredibly helpful book, This Year I Will

  1. Write it down! You are 42% more likely to accomplish your goal just by writing it down. - Easy enough; I like that!

  2. Make it realistic. - Weight loss example: if your goal is to lose 40 lbs this month, then you are setting yourself up for failure. Instead, think of an amount that is truly doable for you. In the past for me, losing 8 lbs in a month was manageable.

  3. “You have to really want it.” - Sure, you want “x”, but have you really thought it out? How far are you willing to go for your goal? Is it something you really want to do? A few years ago, I got it into my head that I was going to climb Kilimanjaro. When I started doing research to make a plan, I realized the journey was going to take more of me than I was ready to invest. Unwilling to make the necessary sacrifices, I took “climb Kilimanjaro” off my yearly bucket list, and made room for new dreams.

  4. “Make a back up plan, not excuses.” Back to my weight loss example - when I was first struggling with my goal, my excuse for not working out was, “I’m just too tired after work to workout.” Instead of giving up, I solved the problem: if I am too tired to get my cardio on after work, I’ll have to do it before I work. I really wanted to lose the weight, so I started going to bed earlier and sacrificed sleeping in to achieve my goal. (Bonus, the morning workout really energized my day instead of sucking the energy out of it!)

  5. Have an accountability partner. I always find it easier to make it to dance or yoga class when I know a friend is meeting me there. Separately, I was able to keep up with a 30-day Arbonne cleanse because my consultant, Kim, was there for me when I needed help. Having an accountability partner breeds solidarity, support, and success.

I hope you find these tips helpful, and I highly encourage you to buy the book! M.J. Ryan goes into great detail about how to make real changes in your life, no matter what you are trying to achieve.

Make 2019 your best year ever!

Don’t give up; YOU GOT THIS!