How to Create More Space in Upper Kitchen Cabinets

As a professional organizer, I know that most people don’t have a lot of time. So I created some quick tip videos to help you get the information you need in just under a few minutes. Here is one on how to create more space in upper kitchen cabinets.

Below are the before and after pictures and links to the products. All you need to do is take everything out of your cabinet, wipe down the shelves, add the museum putty (from Amazon) on all four corners of the base of the riser shelves (I got the shelves at target) and then place the risers in the cabinet and secure in place. Start putting all your items back, with the extra space you will have more room to add items and get to things easier.

Hope you found this helpful. Let us know what you think:)

How To Organize Your Pantry

I love organizing and I love to travel. As a professional organizer, I sometimes get to do both. This pantry was in Malibu, CA. In this video, you may actually be able to hear the ocean in the background.

Pantries are one of the most satisfying areas of the kitchen to organize. It’s amazing how once you declutter and create categories, then put them back into the pantry, what a big difference it makes. It helps you save time, money and be less stressed. When it’s time to cook, shop, or just look for a quick snack you are fully supported by a well-organized panty.

In this video, I go through the Space to Love® 5 Step Method on how to organize your pantry.

Setup, Sort, Select, Sanitize, Style™

4 Quick tips from the video I want to share.

1 - Take everything out.

2 - Create categories for all your items and group them together.

3 - Get rid of everything that is expired.

4 - When putting food into airtight bins cut out the directions, write the expiration date on it and keep it in the bin.

Watch this short video below for the full process.

This is not the first video I have done on organizing a pantry and it probably won’t be my last:) I really can’t help myself!

I hope you found this helpful and we’re always looking for new ways to improve. What organizing tips do you have for the panty that you would like to share? Leave a comment below. We would love to hear from you.

Client Video Testimonial for Space to Love

April fools day:) You thought you were going to get another quick tip from Space to Love....sorry, no organizing tips today but all kidding aside....

Instead, I had the rare privilege of interviewing one of my long time clients and that is no joke! It’s a fact, most people don’t want others to know that they hired a professional organizer let alone talk about it on camera.

Sofia is amazing and one of the first to find and hire me on Yelp. While we had lunch in this beautiful park, we got to talking about all things organized and what we had accomplished over the past 6 years.

I’m so grateful for the time she took out to do this and that she could answer some questions that a lot of potential clients would always ask. Here are some of the things we talk about in the video.

*Once we are organized do you have to keep coming back?

*What is your method?

*Do I have to get rid of everything?

*Are all organizers alike?

*Can I maintain the organization on my own when we are done?

*What about memorabilia?

*Will I feel judged?

*What is the best thing about hiring a professional organizer?

I hope you enjoy this video of us going down memory lane.

Life is a journey, and as you can see from this video, that journey is so much better when organized.

How to Choose Bar Stools for Your Kitchen

Most of the time I am decluttering and organizing with clients but when I get to decorate with them I almost feel like it’s a day off because I love it so much. I was so grateful to work with this client in beautiful Santa Barbara. They had moved in recently and needed help adding a few accessories and pieces of furniture that were missing around the house to make it feel complete.

We started in the kitchen and wanted to add bar stools to her counter height island. We fell in love with these stools from www.furnitureclassics.com. that we saw on-line. Are you looking for some bar stools?

Here are some tips to keep in mind while you’re shopping around.

  1. Measure and measure again, scale is so important and with bar stools you will either need counter height, 24-26” high or bar height 28-30” high.

  2. Make sure the style will work in the space. You can mix styles but make sure they go together.

  3. Try it out…comfort over style? What’s important to you?

Want to see our journey with the bar stools? Check out this video below.

Which one's did you like better? Do you think we went with the best choice? Let us know in the comments, we would love your feedback.

Bar Stool set #1 from www.furnitureclassics.com

Bar Stool set #2 from www.habitathomeandgarden.com

Bar Stool set #3 from www.thebluedoorsb.com

Thanks so much for spending some time with us. See you again soon.

How to Have Better Pot & Pan Placement in Your Kitchen

Did you know that the best place to keep your pots and pans in the kitchen is right by the stove. I know you’re saying, “Of course, where else would you keep them?!”

Yet, so many times I go into a client’s kitchen and other items are in the cabinets right by the stove. This happens time and time again and at no fault of their own. I find that it’s because when they move in they may not be the ones unpacking and that the moving person might not care where the items go or they’re in a rush and put anything anywhere and think the homeowner will change it later.

Well…I hate to say it but that “later” never comes. I know this to be true because when I get into my client’s cabinets and ask, “Are these here for a reason? Because I think I they will be more useful in another area.” The response I hear is usually, “Oh wow, I actually never thought about changing it” or “It was like that when we moved in and we just left it that way” or “I know it’s not working but I didn’t know how to make it better.”

Once I change things around for them they can’t imagine it ever being the other way again.

In this short video we rearrange two cabinets in this kitchen that my client was so thrilled about…sometimes it’s the little things that make a big impact.

What can you switch around in your kitchen today that would make your cooking life a whole lot easier? If you need any suggestions don’t hesitate to reach out to us. We are here to help when you’re ready:)

How to Be More Efficient in The Kitchen

When you think about organizing your kitchen drawers what comes to mind? How would you make improvements? Some might say get better drawer organizers and/or get rid of stuff. This is true but did you think about the items that were in the drawers and where they should be placed within the kitchen?

The drawers were a small part of this overall kitchen organization project but it really made a big impact for this New York client. It’s amazing how many times I am organizing kitchen drawers and see the cooking utensil far from the stove or the junk drawer having the prime real estate and I ask “What made you set it up this way?” nine times out of ten, I hear “We moved in and just put things away and that’s where they stayed.”

I can’t tell you the joy that I get, as a professional organizer, when I rearrange and organize a few things and then my client is like “I wish we had you here sooner or had you here to help us when we moved in!”

Check out this short video where I show you how things can be placed in the kitchen to be more efficient while prepping and cooking your meals.

I hope you found this helpful. Do you have some kitchen hacks that make your life easier? We would love to hear about them. Share in the comments below.

Happy organizing:)

Want to Lose Weight? Start by Organizing Your Fridge:)

Happy New Year!! I’m so happy to see 2020 in the the rear view. While it has been a tough year for most of us I want to stay positive and look to the future.

We all have new year’s resolutions, what’s yours? lose weight? Exercise more? Get out of debt? How about getting organized? I can help you with the last one and combine it with the first.

They say one of the best things you can do when starting a new diet or cleanse is to clear out your fridge and pantry. It gives you the opportunity to get rid of all the unhealthy food items and make room for the good ones. In the video below I help my client clear out her fridge by using the Space to Love® 5 Step Method. Through the process we take everything out, sort “like with like” items and get rid of all unwanted and expired food. This client was not going on a diet but the process is the same. Just by following these simple steps you can created more room for a healthier more organized life.

In the video I show a few things to use to help you stay organized but I want to add on to Step 5 - Style, here are some more items to help keep your refrigerator organized.

Long Bins - Container Store, Target, BedBath&Beyond, and Amazon.

Stackable Drawers & Containers - Container Store, Target, BedBath&Beyond, and Amazon.

Stackable Containers for Leftovers - Container Store, Target, BedBath&Beyond, and Amazon.

Lazy Susan - Container Store, Target, BedBath&Beyond, and Amazon.

Drinks & bottle Holders - Container Store, Target, BedBath&Beyond, and Amazon.

Thanks for reading and watching the video. I hope you found this helpful.

How to Organize Kitchen Cabinets

I love it when my friends hire me to help them get organized. This friend of mine was going to use her crockpot but couldn’t find the lid…so she called me and said, “Ok, let’s do this organizing thing, the holidays are coming and it’s now or never.” I made a quick video of the process. I hope you find this helpful:)

This video goes through the Space to Love® 5 Step Method on how to organize your kitchen cabinets.

5 Steps to Organizing Your Pantry

It was such a treat to help this organizing client in Los Angeles get their pantry clutter-free and in order. I’m so grateful that they let me film it, and that I get to share it with all of you. By using the Space to Love® 5 step method: Setup, Sort, Select, Sanitize, Style, it makes it easy to breakdown the process so you can get and stay organized. Check out the video below.

As an alternative to watching the video, below is a quick breakdown of the steps to follow so you can get and stay organized.

Step 1, Setup. Before you go to the store to buy bins or start pulling everything out of the pantry it’s important to take a few preparation steps prior to getting started. You want to make sure you have enough room to work and the proper tools are on hand. You will probably need markers, post-its, garbage bags, donations bags, a recycle bin, scissors, and a box cutter. This will make it easier to stay on track.

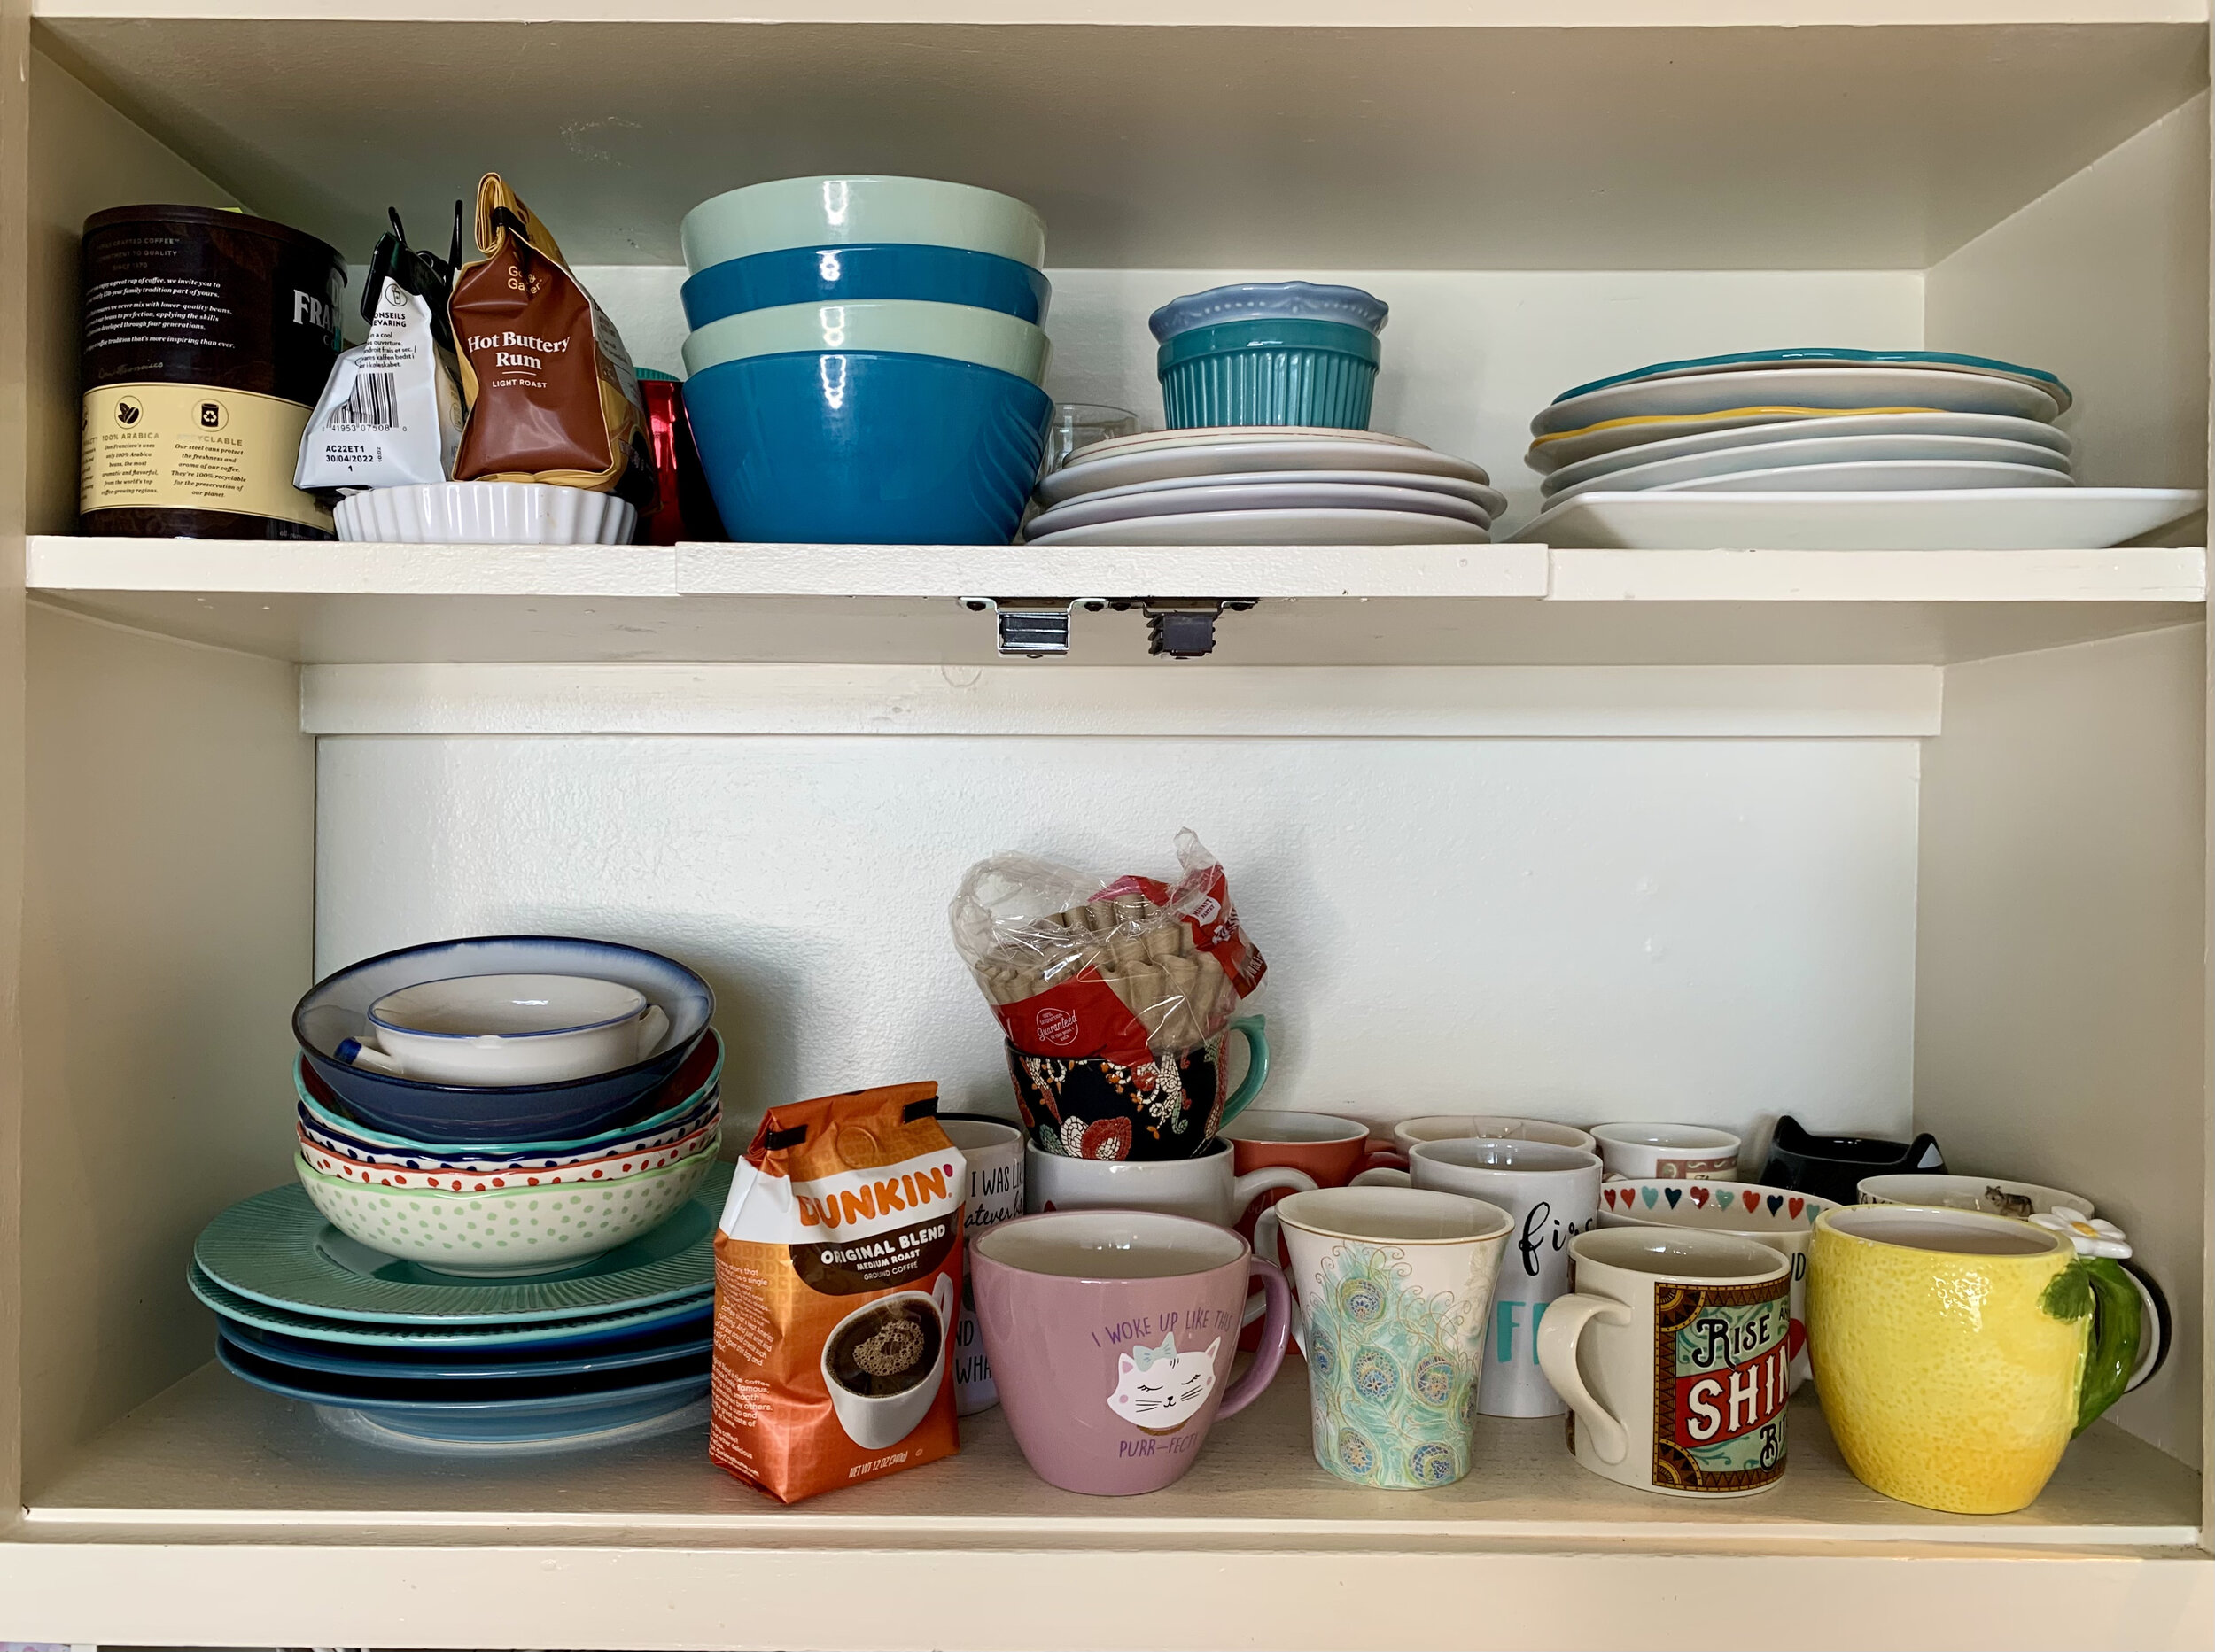
Step 2, Sort. Start pulling everything out of the pantry and sort items into like categories. Some common category examples are baking, sides and pasta, snacks, canned goods, etc. Use your post-it notes to label your categories for a quicker sorting process. Pro-tip, check all expiration dates before putting into categories.

Step 3, Select. Now that all the items are sorted into like piles it is easier to make decisions on which items you want to keep. You can donate your unwanted items that are not open or expired to your local church or food bank.

Step 4, Sanitize. Before returning all your selected items back into the panty, it’s so important to give those shelves a good scrub down because these areas rarely get the chance to be properly cleaned. Feng Shui tip, all dirt and dust is sha chi (negative energy) and should be removed to promote more positive energy in your home.

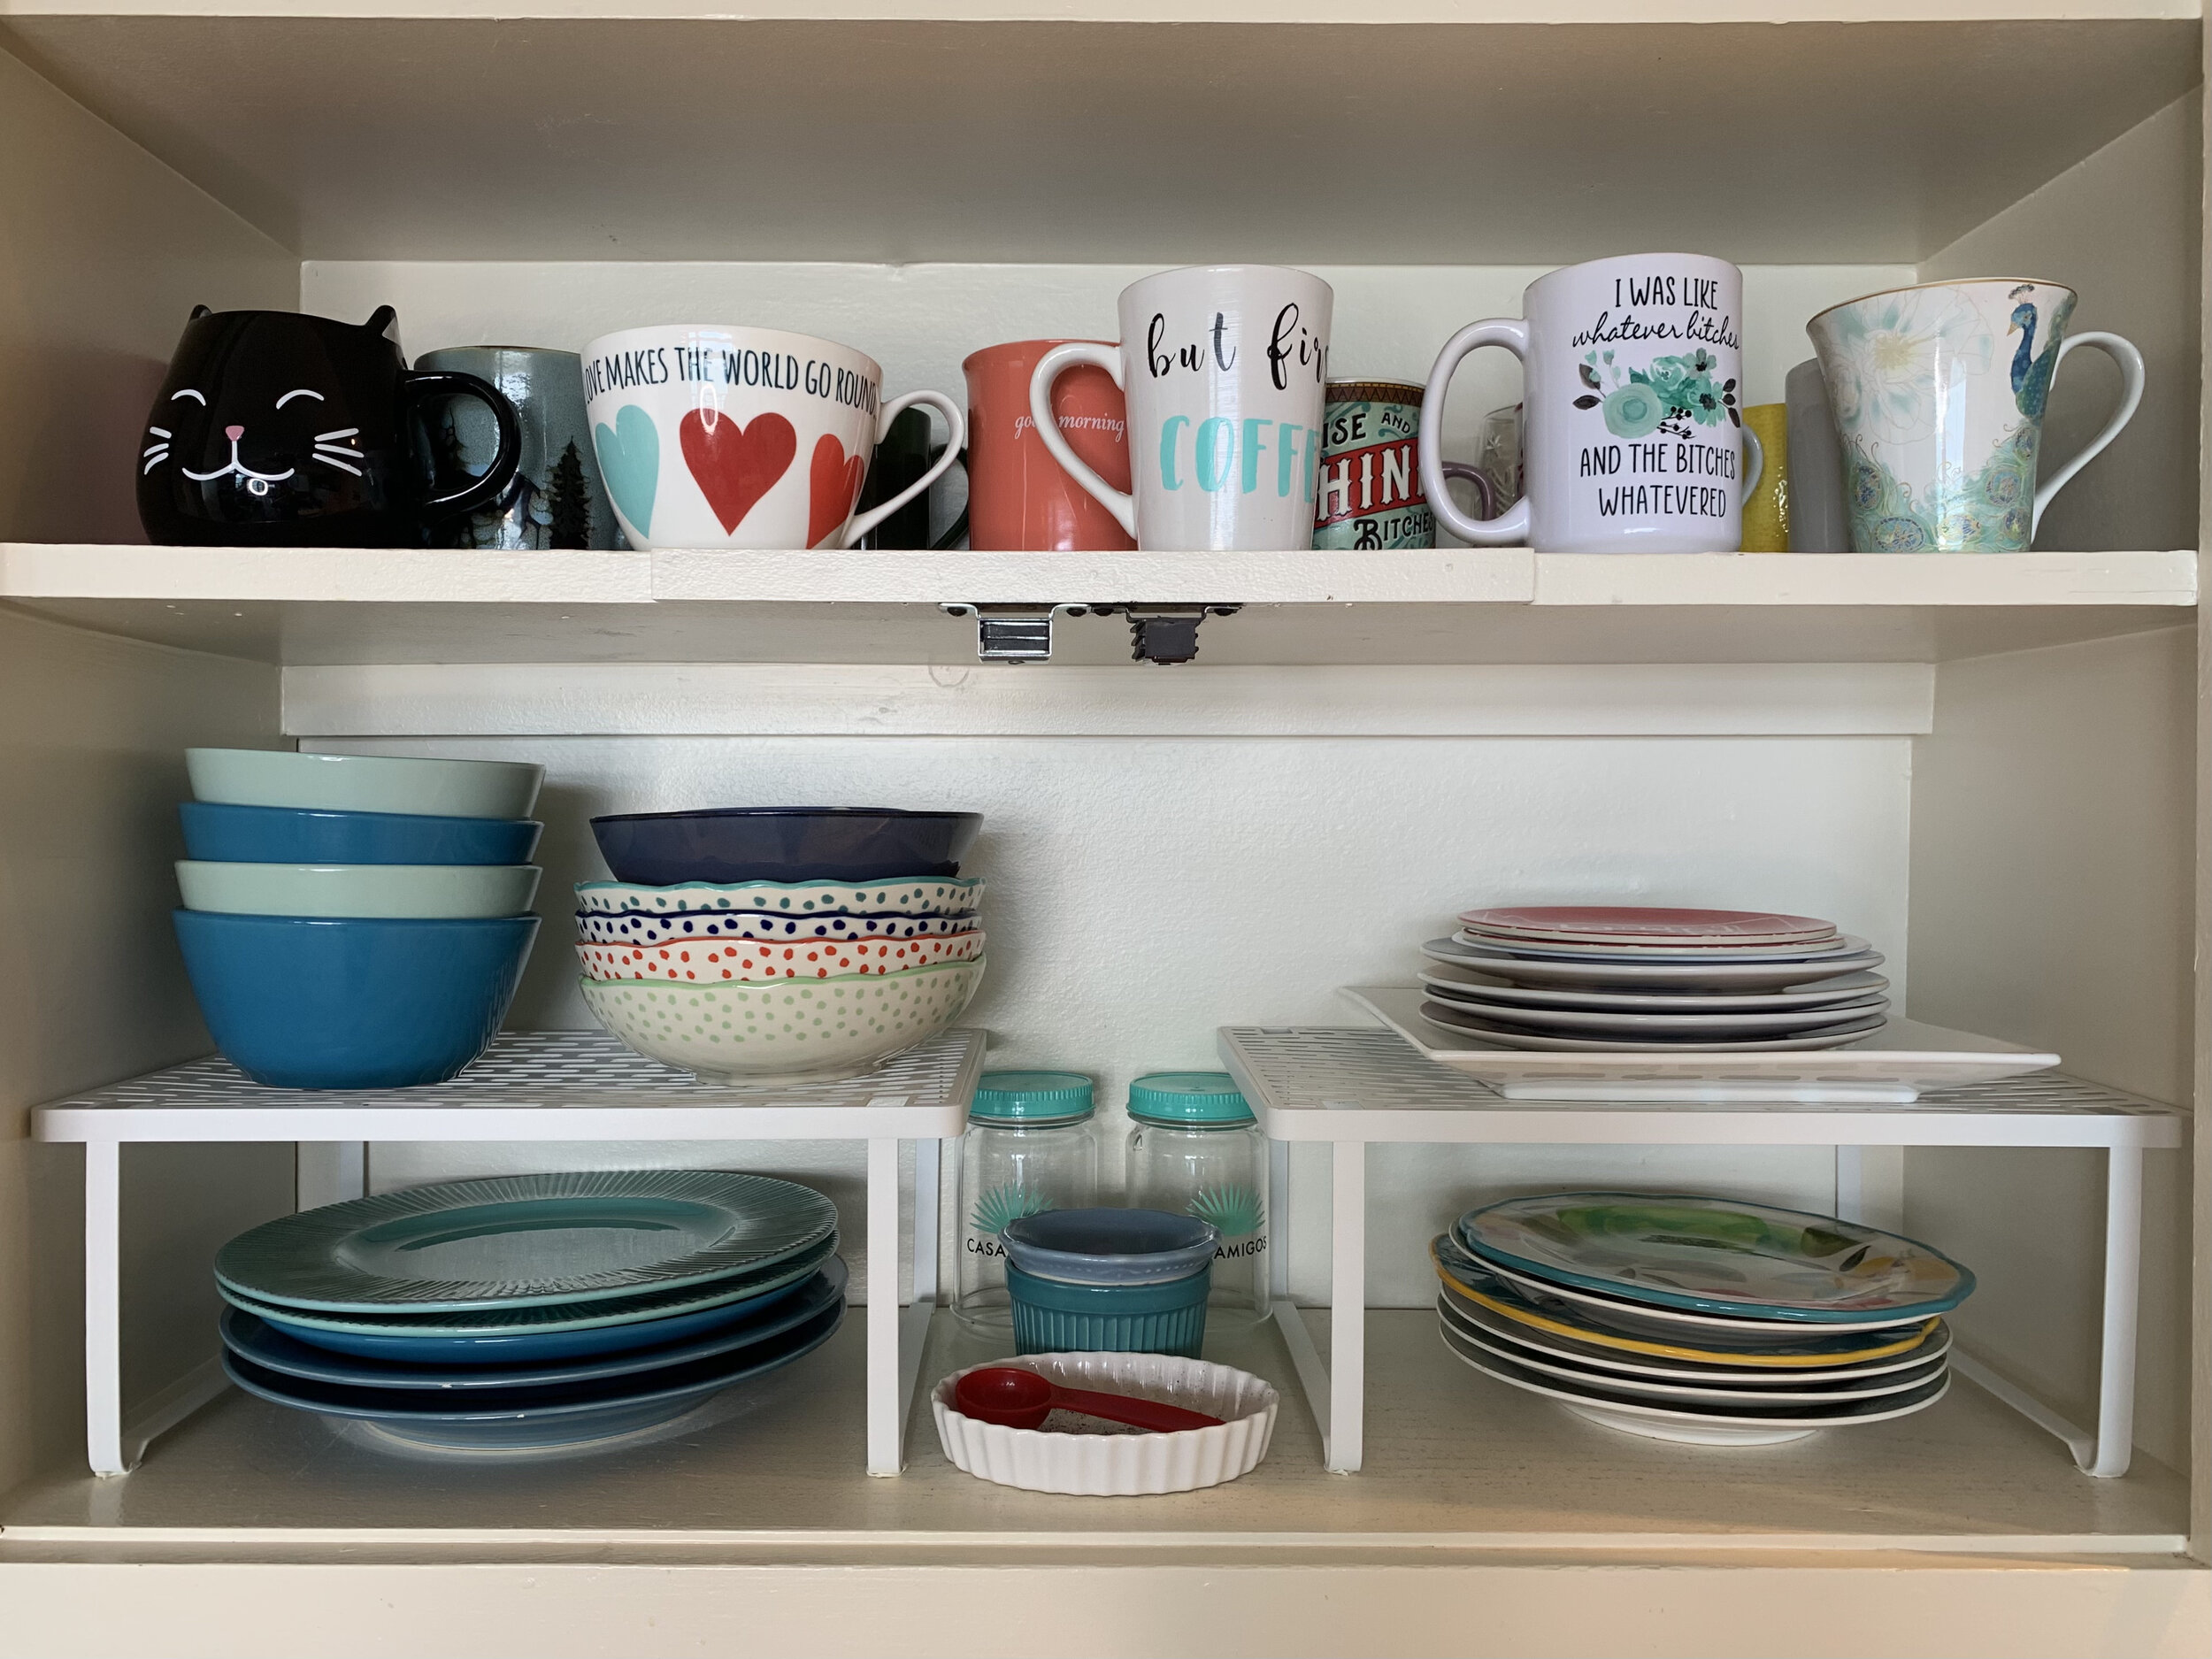
Step 5, Style. Most of my clients want to purchase containers and decorative items for the pantry before they even start step 1. However, it’s important to wait until after the sort and selection process because you will have a better understanding of what is going back into your cabinet. Step 5 is the time to take measurements and purchase organizing products such as bins, baskets, etc. Once you’ve bought the bins and baskets for the pantry you’ll want to label them with the different categories. Place your items back in the proper categories and this will help you stay organized.

What do you think? By using these steps will it make it easier to get and stay organized? Comment below.

Creating More Space

We all want more space, well most of us. Ever the minimalist, I'm in the middle of downsizing from a mid-city 2-bedroom unit to a Culver City studio apartment; I'm just one person. Not like my client in Los Angeles with a growing family, totaling 8 people.

I've been working with this client for a while now. We've put systems in place to maximize every cabinet and drawer with organizers.  We've de-cluttered every thing that was not used or will never be used in the near future. Not one extra ladle took up valuable drawer real estate, not one mismatched plate in sight, no extra bottom pieces to Tupperware without a matching lid...you get my point. 

So on our latest work day, when I arrived to find my client attempting to put items away from her latest Costco run, all I could think of was, "No, no; these items are never going to fit!" We had maximized her space, but still couldn't accommodate her necessary bulk buys.

I'm a problem solver by nature, but boy, did I need to solve a bulk-sized issue that day. I looked around thinking that there had to be a way to make this work. Where could we add shelves or more storage?  My eyes settled on an unoccupied wall in the kitchen, and the answer appeared. After taking measurements, we concluded we would need something less then 13" deep. I knew it would be tricky, but not impossible.

Looking online, Ikea is always a go-to for me. That's where we found this shelving unit  and wouldn't you know it, perfect measurements! I was off to Ikea.

Did I mention that I build Ikea furniture:)

Did I mention that I build Ikea furniture:)

I do love building things. It was so rewarding to haul this unit in, build the structure, and fill it with items conducive to my client's needs!

Before and after close-up - The shelves are a perfect fit!

Before and after close-up - The shelves are a perfect fit!

Before and after wide view - They actually make the kitchen feel bigger!

Before and after wide view - They actually make the kitchen feel bigger!

We created so much usable vertical space! Now there's room for the extra protein powders and baby formula. The kids' lunch boxes have there own space instead of on top of the refrigerator, and the cook books are actually accessible. Paper towels - stored! Napkins - tucked away! Extra pancake mix - bring it on! 

After Picture front view

After Picture front view

The fun add-ons for better organization we used included: clip-on baskets for bread and produce, bottle rack for the wine:) and baskets for linen and party goods.

It was a great workday solving problems and creating more space to love!