How to Organize Desk Drawers

I wanted to do a quick follow-up from my last blog about Organizing Paperwork. The next best thing to do is organize your desk drawers. They go hand in hand.

In this video, you will see how easy it is to get your desk drawers organized using the Space to Love® 5 Step Method. Setup, Select, Sort, Sanitize, Style™.

What did you think? I hope you found this video helpful. We would love your feedback.

How to Organize Paperwork

Ugh! Paperwork is the worst. This is my least favorite thing to organize but somebody has to do it. If you have paper clutter, I’m sorry and here is a simple way to get that mess off of your desk and into the proper place.

Most of the time I’m showing you examples of client homes but since I would be spending more time on the east coast and I had to set up another office there, I thought I would show you the system I created for myself. I will walk you through how to set up a filing system for yourself using the Space to Love® 5 Step Method to getting and staying organized.

Step 1 - Set up, you will need Post-it notes, a marker, cleaning supplies, file folders (left), trash, recycle, shred pile and a label maker.

Step 2 - Sort, Bring all your paperwork together to start forming your macro categories. Some examples of your macro categories could be House, Work and Personal. Once you figure out what the big categories are then you break them down into micro categories. Let’s say for your House category, you will separate the Water bill, Electric bill, House Repairs etc. Then with your Personal category, smaller categories might be Health Insurance, Car Insurance, Kids, Vital Records. I added a Work Category because I lot of us are working from home and it is good to keep personal and work separate.

Step 3 - Select, for paperwork the selection process is different then clothes or other house hold objects. Some of the papers or notebooks you are going through could be from old classes or seminars that you took. I know your will feel like you need to keep them and reference them but if you haven’ t looked at them in a couple of months or even years chances are you will not need them. When selecting keep in mind what you can access on-line, whether it be with bills and statements or info that Siri can tell you in a few seconds that would take you hours to find in your old notes. This is where you really try to see how much paperwork you can let go of.

Step 4 - Sanitize, get out your cleaning supplies and wipe down the desk and your computer. It always feels good the clean and it’s easier when everything is out of your way.

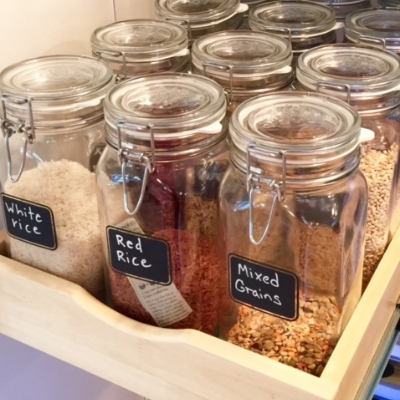
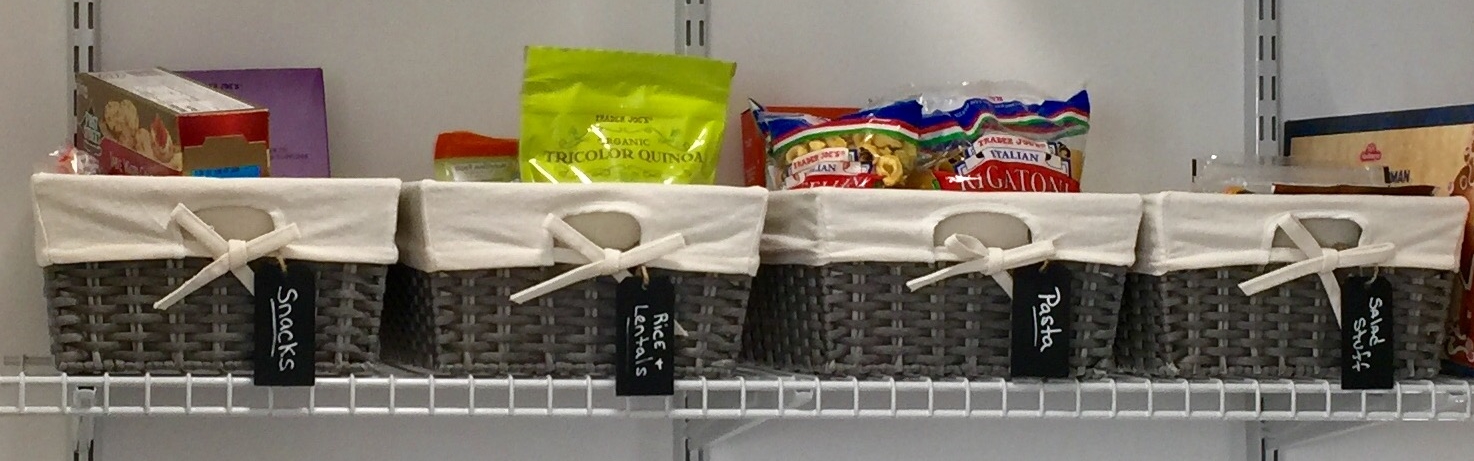
Step 5 - Style, this is personal and you have to see how many files you are left with and how much space you have and need. I used this filing system from The Container Store because I do like the way it looks and I wanted it open so I can see all my folders. If you wanted a closed option this is one of my go-to’s for my clients. However, you may need a bigger option like this if you have more paperwork. With any option you will need to have hanging folders, to be used for you macro categories.

I hope you found this useful and we would love to hear what you think.

If you are struggling to get organized don’t hesitate to reach out. We’re here to help:)

Time to Digitize

For years I have been helping clients around the Los Angeles area get rid of the clutter and belongings that no longer serve them. But what about personal keepsakes that could still bring joy but are inaccessible and unusable, specifically, the videos and photos rendered obsolete by our fast-moving technology?

Some of you may know that my sister is not well. Her battle with cancer has been devastating, and she will never be the same again. I don’t want to live in the past, but I desperately want to watch the home video of us from when we went to Hawaii. Of course, it is a VHS tape and I don’t own a VCR anymore. I know why I’m keeping it, even though I cannot watch it, and that is the spark for this blog post.

This is where Jeremy Suede from I.O.Solutions comes in. I know Jeremy from NAPO so it was a no-brainer to use his services. Here’s what he did for me:

1 - Converted all VHS tapes into iMovies on my external hard drive.

2 - Transferred all CDs (old photos and headshots) and DVDs (old short films from my acting days) onto my external hard drive.

3 - Transferred all items on my big, old, heavy hard drive to my sleek, new, mega-memory G Drive, then cleared the antiquated device so it could be donated.

I now have all my “stuff” in/on a 4.33” x 3.23” x 0.43” box/hard drive and can access it anytime I want.

Jeremy and I at NAPO-LA’s Monthly Meeting.

Jeremy and I at NAPO-LA’s Monthly Meeting.

How it works…I called Jeremy and he met me at a Starbucks in the Valley, (which was closer to me then his office), where I handed over my precious items. I have to say, when he was walking away with all my memorabilia I had a pit in my stomach thinking, what if he never comes back?!

To put my ‘fear of lack’ to bed, Jeremy did in fact return 2 weeks later with all my “stuff” on my G Drive. I paid him a very reasonable fee through Venmo and we parted ways.

As soon as I got home I plugged my hard drive into my computer and cried like a baby watching the video of my sister and I from over 20 years ago. I couldn’t have been happier.

My sister and I in Hawaii, early 90’s.

My sister and I in Hawaii, early 90’s.

Cautionary tale: Jeremy told me that had I waited any longer, the tapes could have deteriorated and the footage would have been lost forever. I am so grateful I have a physical reminder of a magical memory with my sister.

If you have memories that brings you joy, I urge you to digitize. Whether via hard drive or uploading to your cloud, you can keep more stuff in less space, and have it in a vastly more accessible way. Less clutter, more joy. Win-Win!

I’m thinking this would be a great gift this holiday season: a gift certificate to I.O.Solutions!

Don’t let the past clutter up your present.

I hope you create new wonderful memories this holiday season with your family and friends.

Happy Holidays!

5 Ways to Label Your Stuff

Labeling is the last step in the organizing process. It happens after you've set aside time for dedicated de-cluttering, after going through all your things and getting rid of the stuff you don't want or use, after you're left only with the things you need, use and love. The label goes on after your trip to The Container Store for a stylish upgraded storage solution, and after every item in the process has been nestled in a location that is intuitive to your lifestyle. Now. Now is the time. All you have to do is label.

As a professional organizer in LA, I know that if you label your stuff, it will save you time and aggravation. Here are some ways to get you started with the final step in organizing, labeling: 

Easily the least-tedious and hand-touched way to label is to utilize containers with blank labels already on them. I love using these Jars (above) in the pantry; they have a clean look and they're air-tight to keep your food fresh. Tip - Cut out the directions from your favorite pantry items and place it in the jar with the expiration date on it.

Sticker labels are another way to go. I like using the chalkboard type for easy re-purposing, and I use them just about everywhere: kitchen, bedroom closets, hallway closets, etc.

Hanging labels are great when you can't use labels with adhesives. I often use the chalkboard gift tags but there are tons of different types. I primarily use hanging labels for baskets, but they also come in handy at parties to label beverage servers, favors, etc.

Of course, I cannot get through this blog without talking about my organizing companion, the P-Touch. I got my first label maker over 10 years and I still use it. It's great for canisters in the pantry, folders for the filing cabinet, for craft bins and drawers. The P-Touch-80 is easy to use and it's light weight. And 10 years. That's longer than most of my relationships.

About a year ago I upgraded to Brother P-Touch D400AD - don't worry, P-Touch-80 is thankful for the shared workload. The P-Touch D400AD offers more personality then the P-Touch-80, boasting nifty boarders, basic clip-art-like pictures, and a variety of fonts. If my clients are game, I ask them to choose the pictures and boarders to personalize their space. 

Of course, if you don't want to get too fancy, you can just print on address labels and call it a day. I employ this method for larger jobs for efficiency and to avoid hand cramps, and to corporate clients for a more professional, less personal touch.

In the end it doesn't matter what method you choose, but take my word as a professional organizer; labeling your items will make your day-to-day life easier: imaging finding exactly what you are looking for in the first place you look for it, every time.

Find this helpful? 

I'm always looking for knew ways to label things. 

Have a great method? I'd love to hear it! Thoughts on labeling? Leave them below! 

Thanks for reading, and happy organizing!