DIY Window Treatments

I thought I would take a break from the organizing and decluttering tips and share some decorating ones.

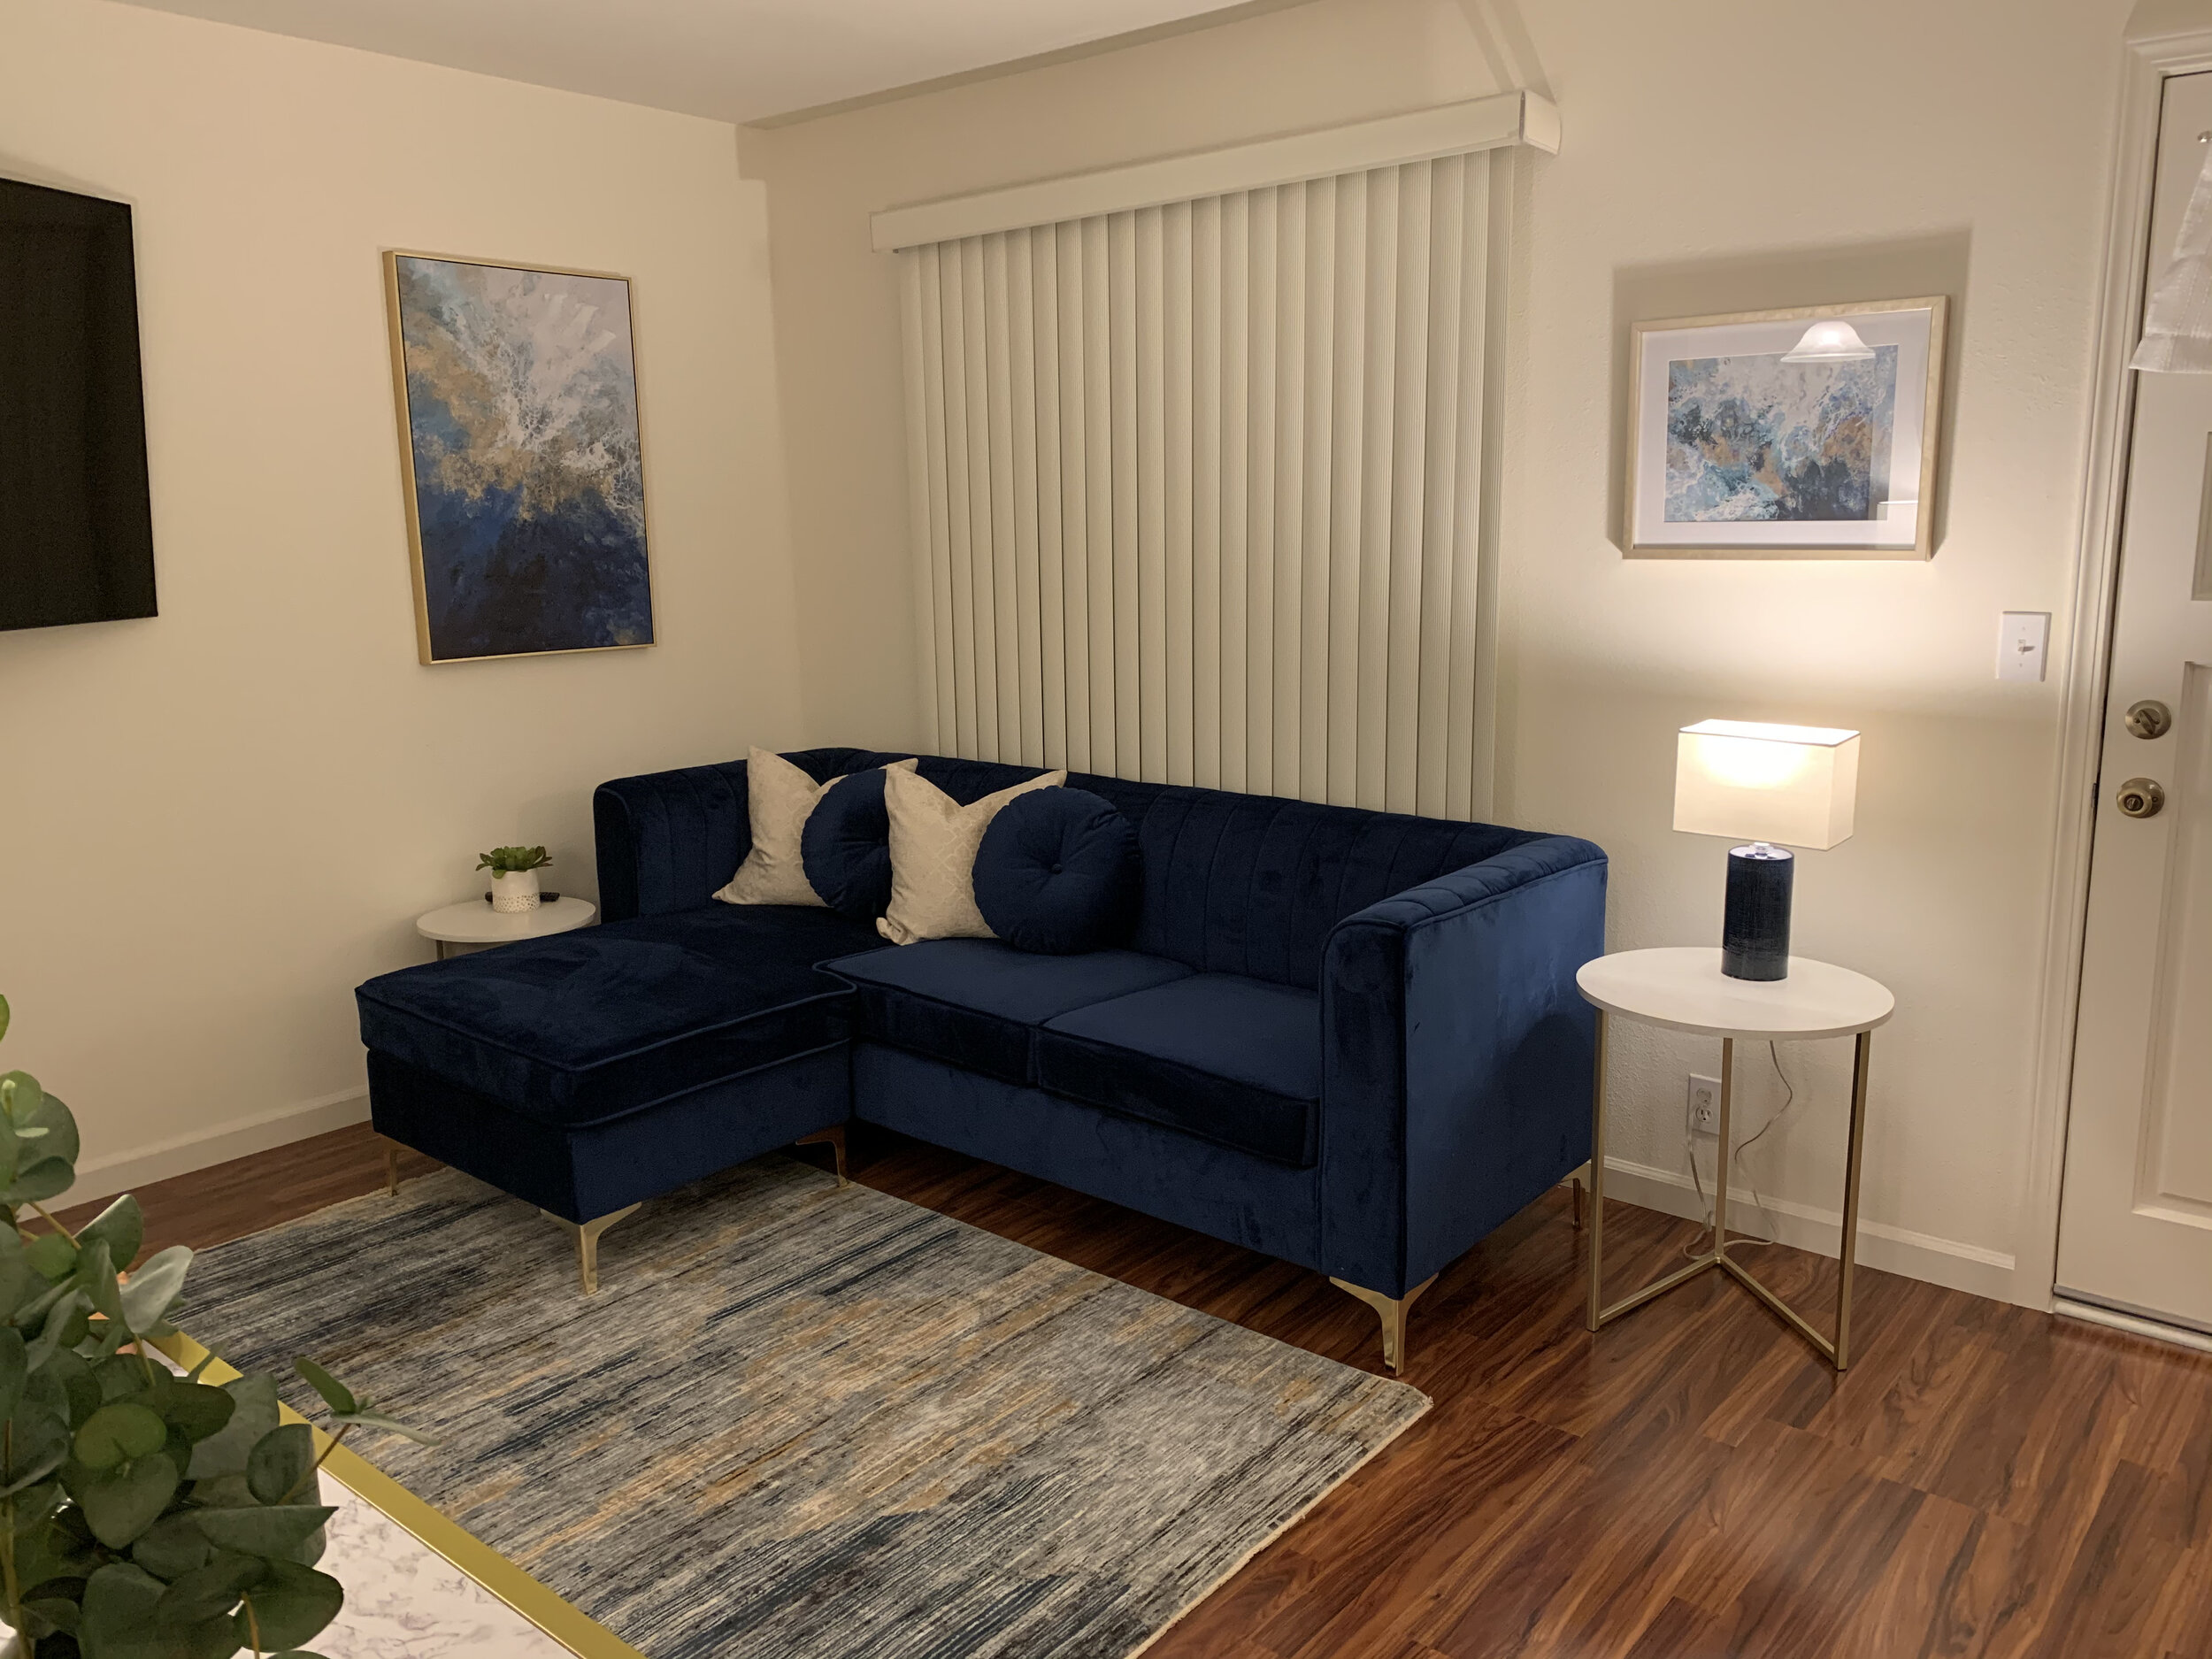
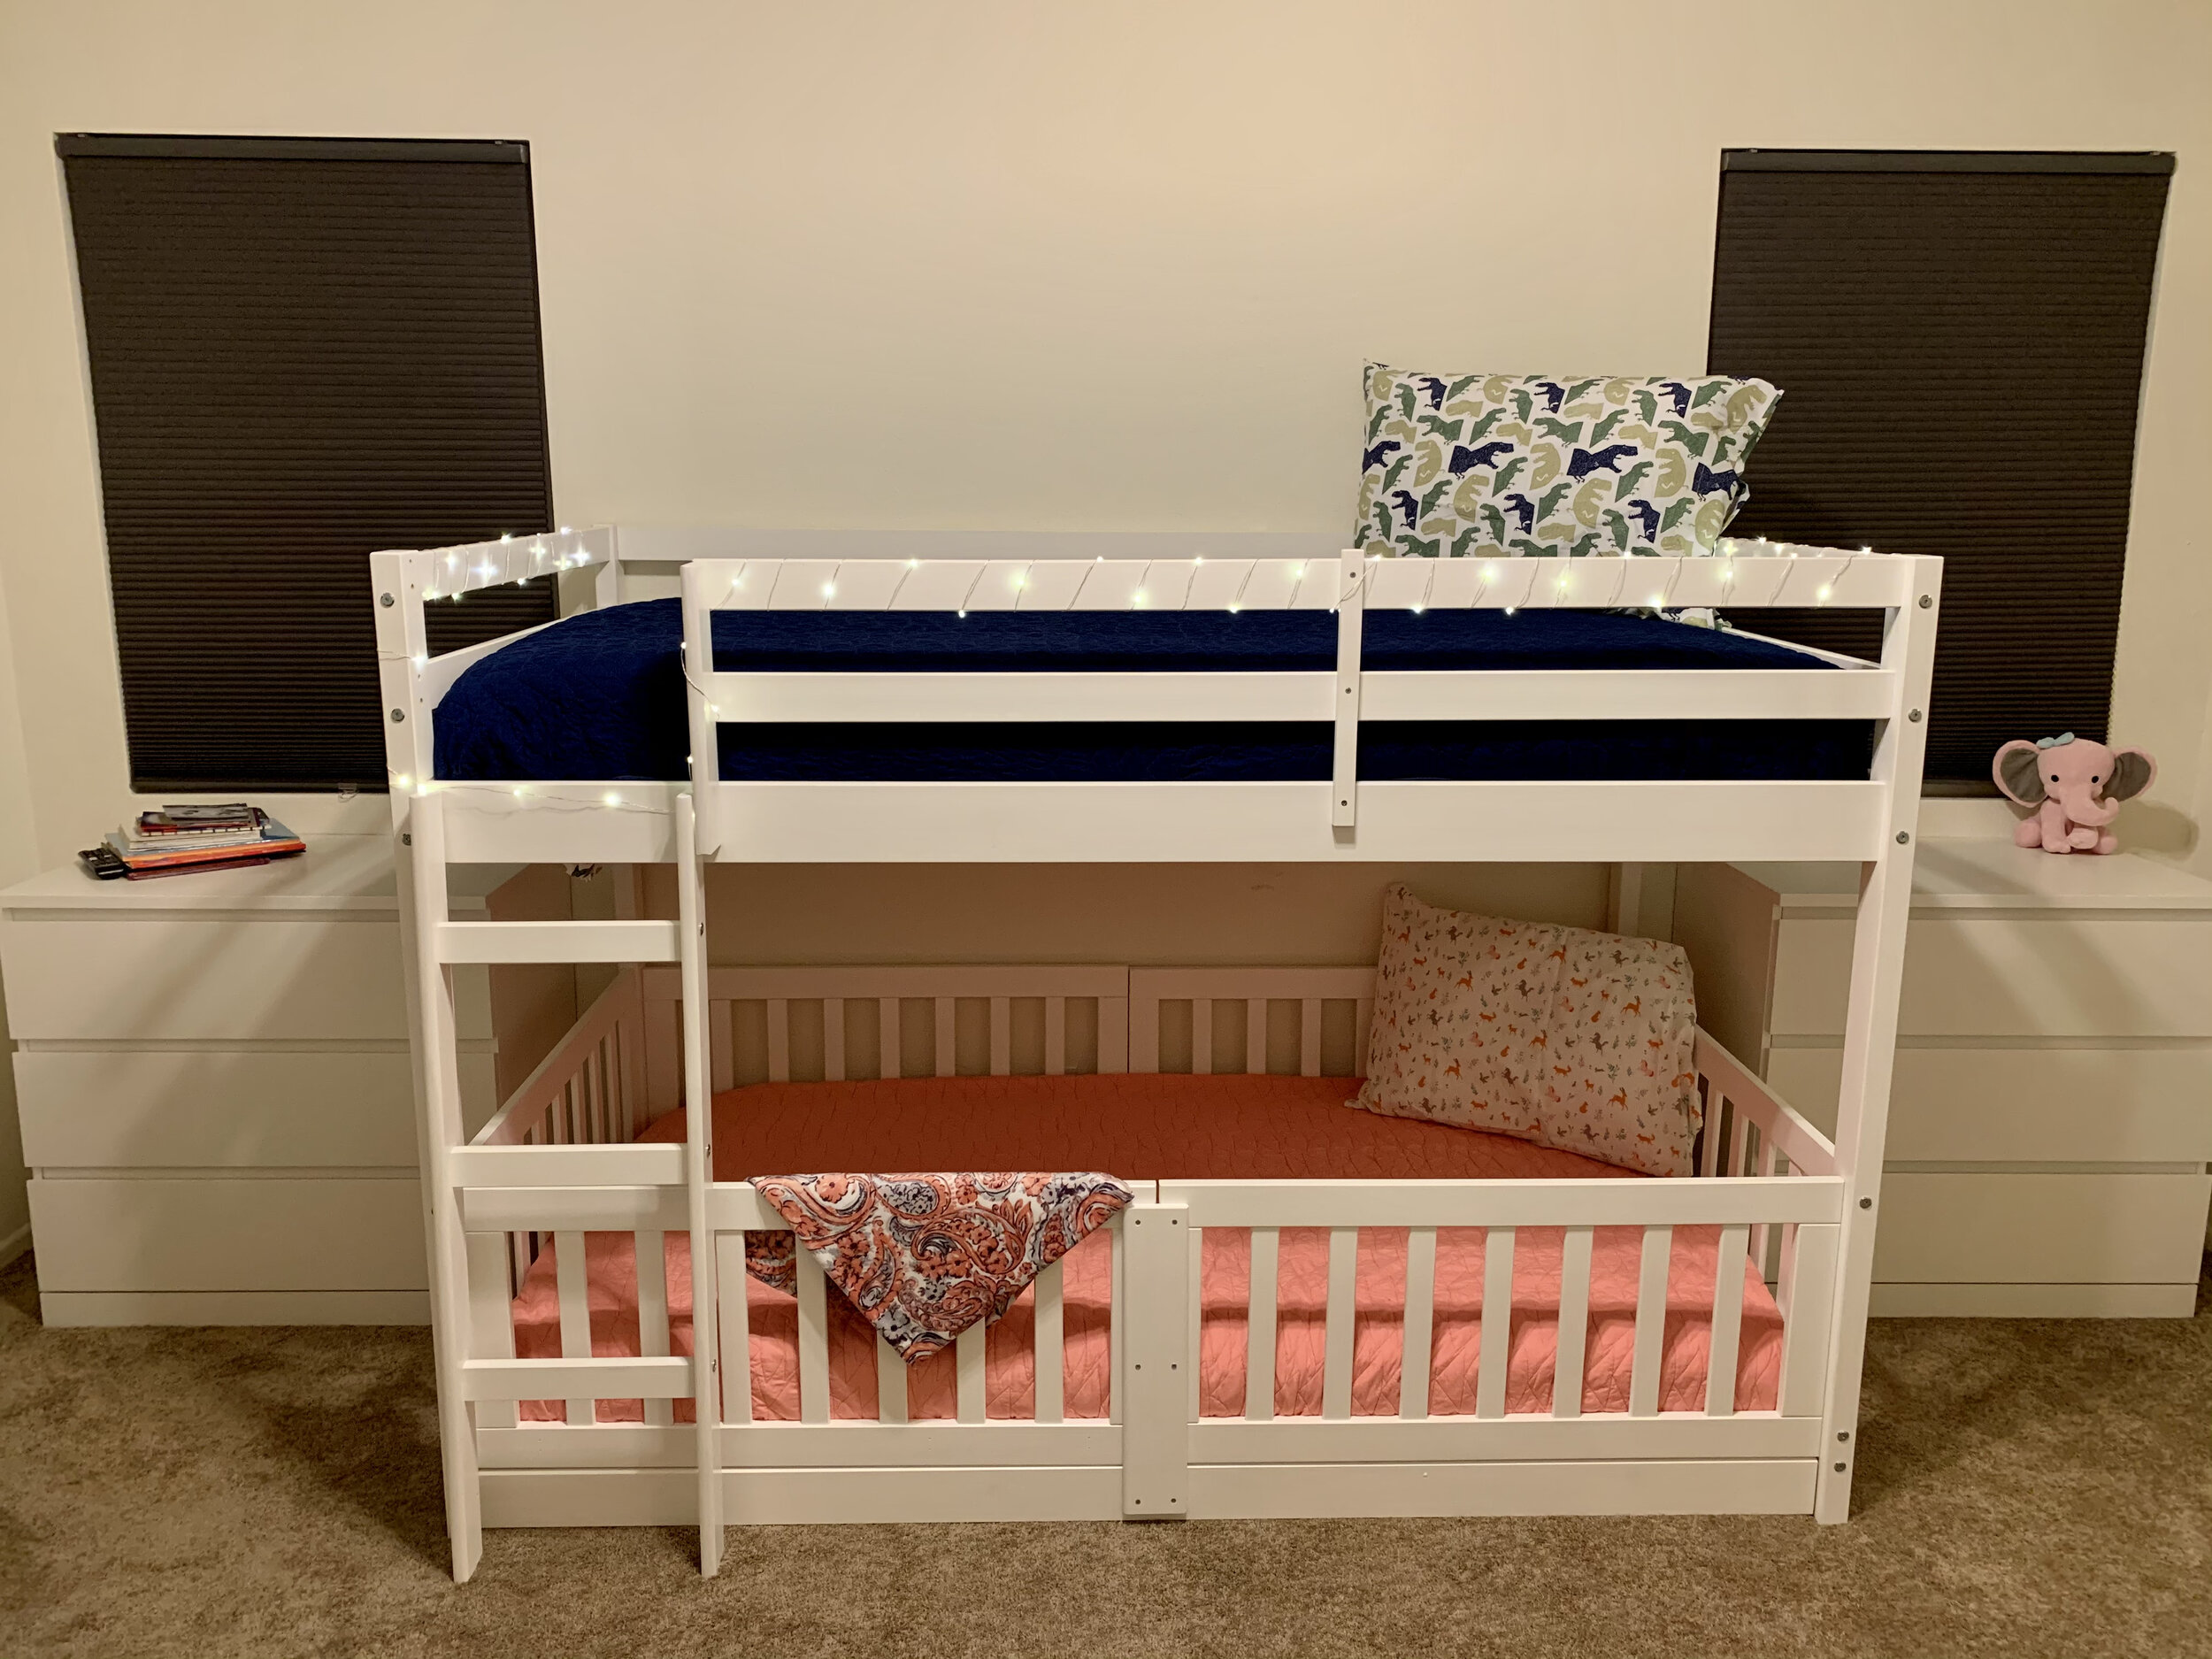
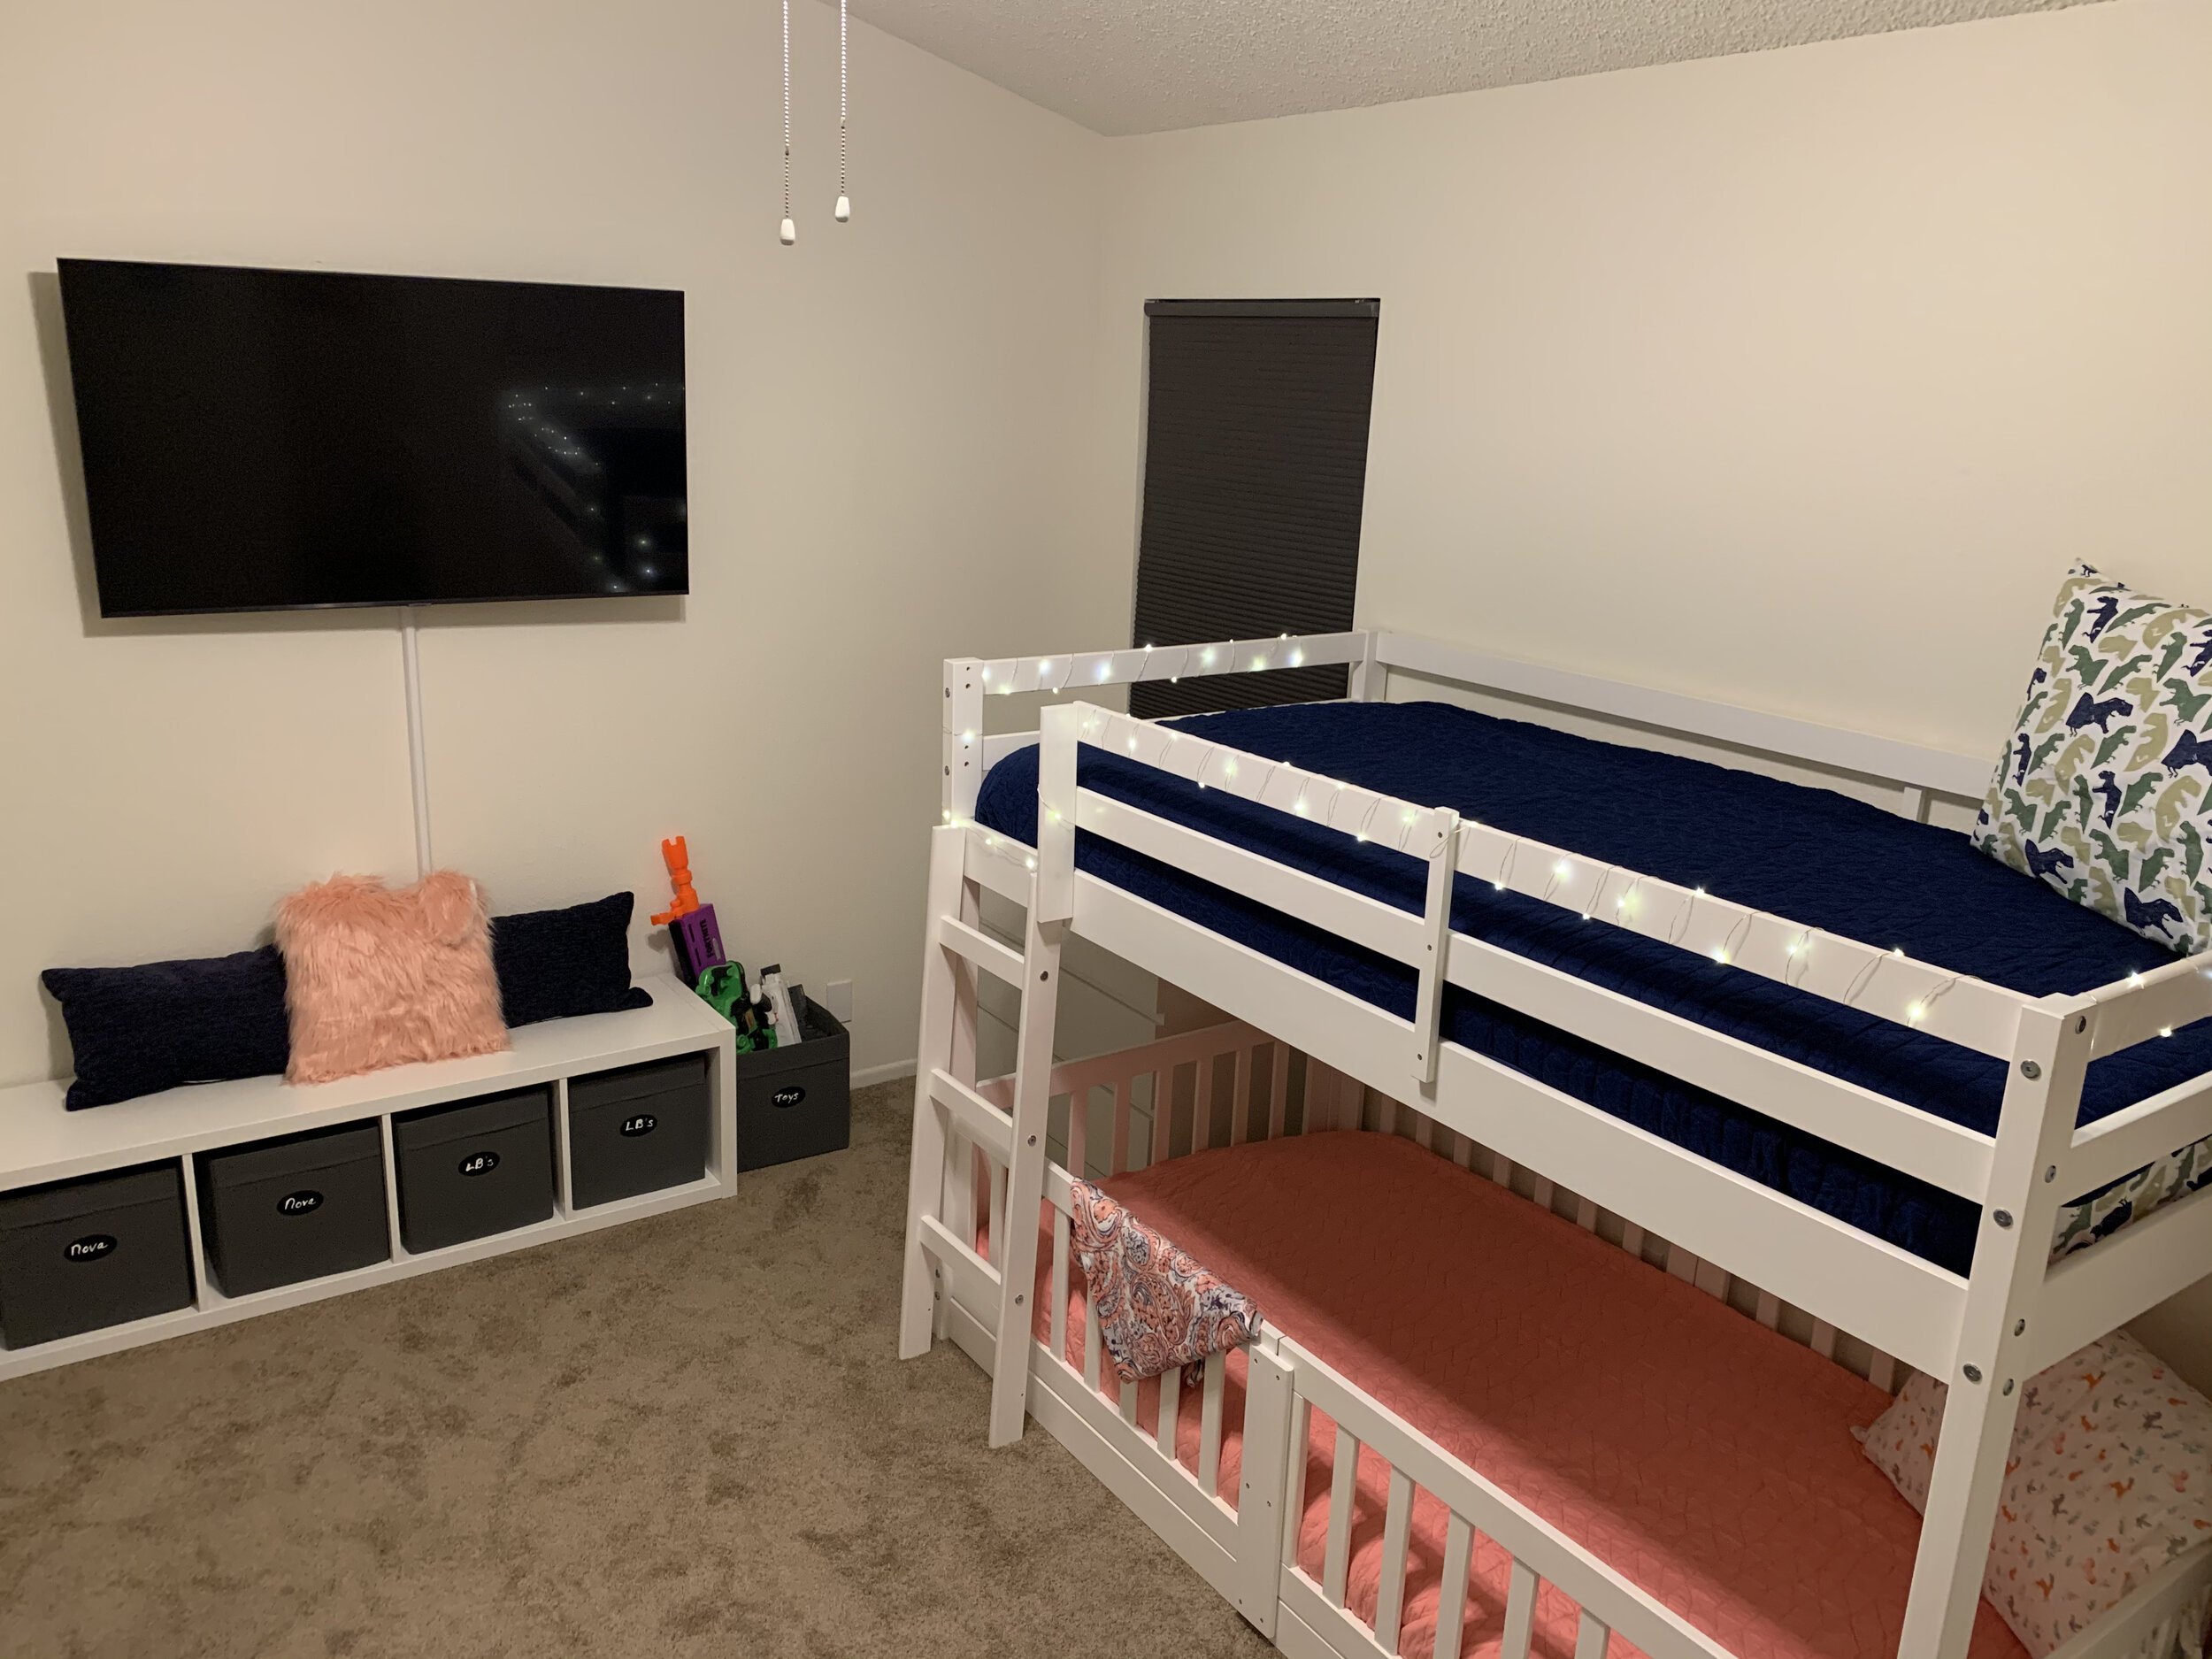
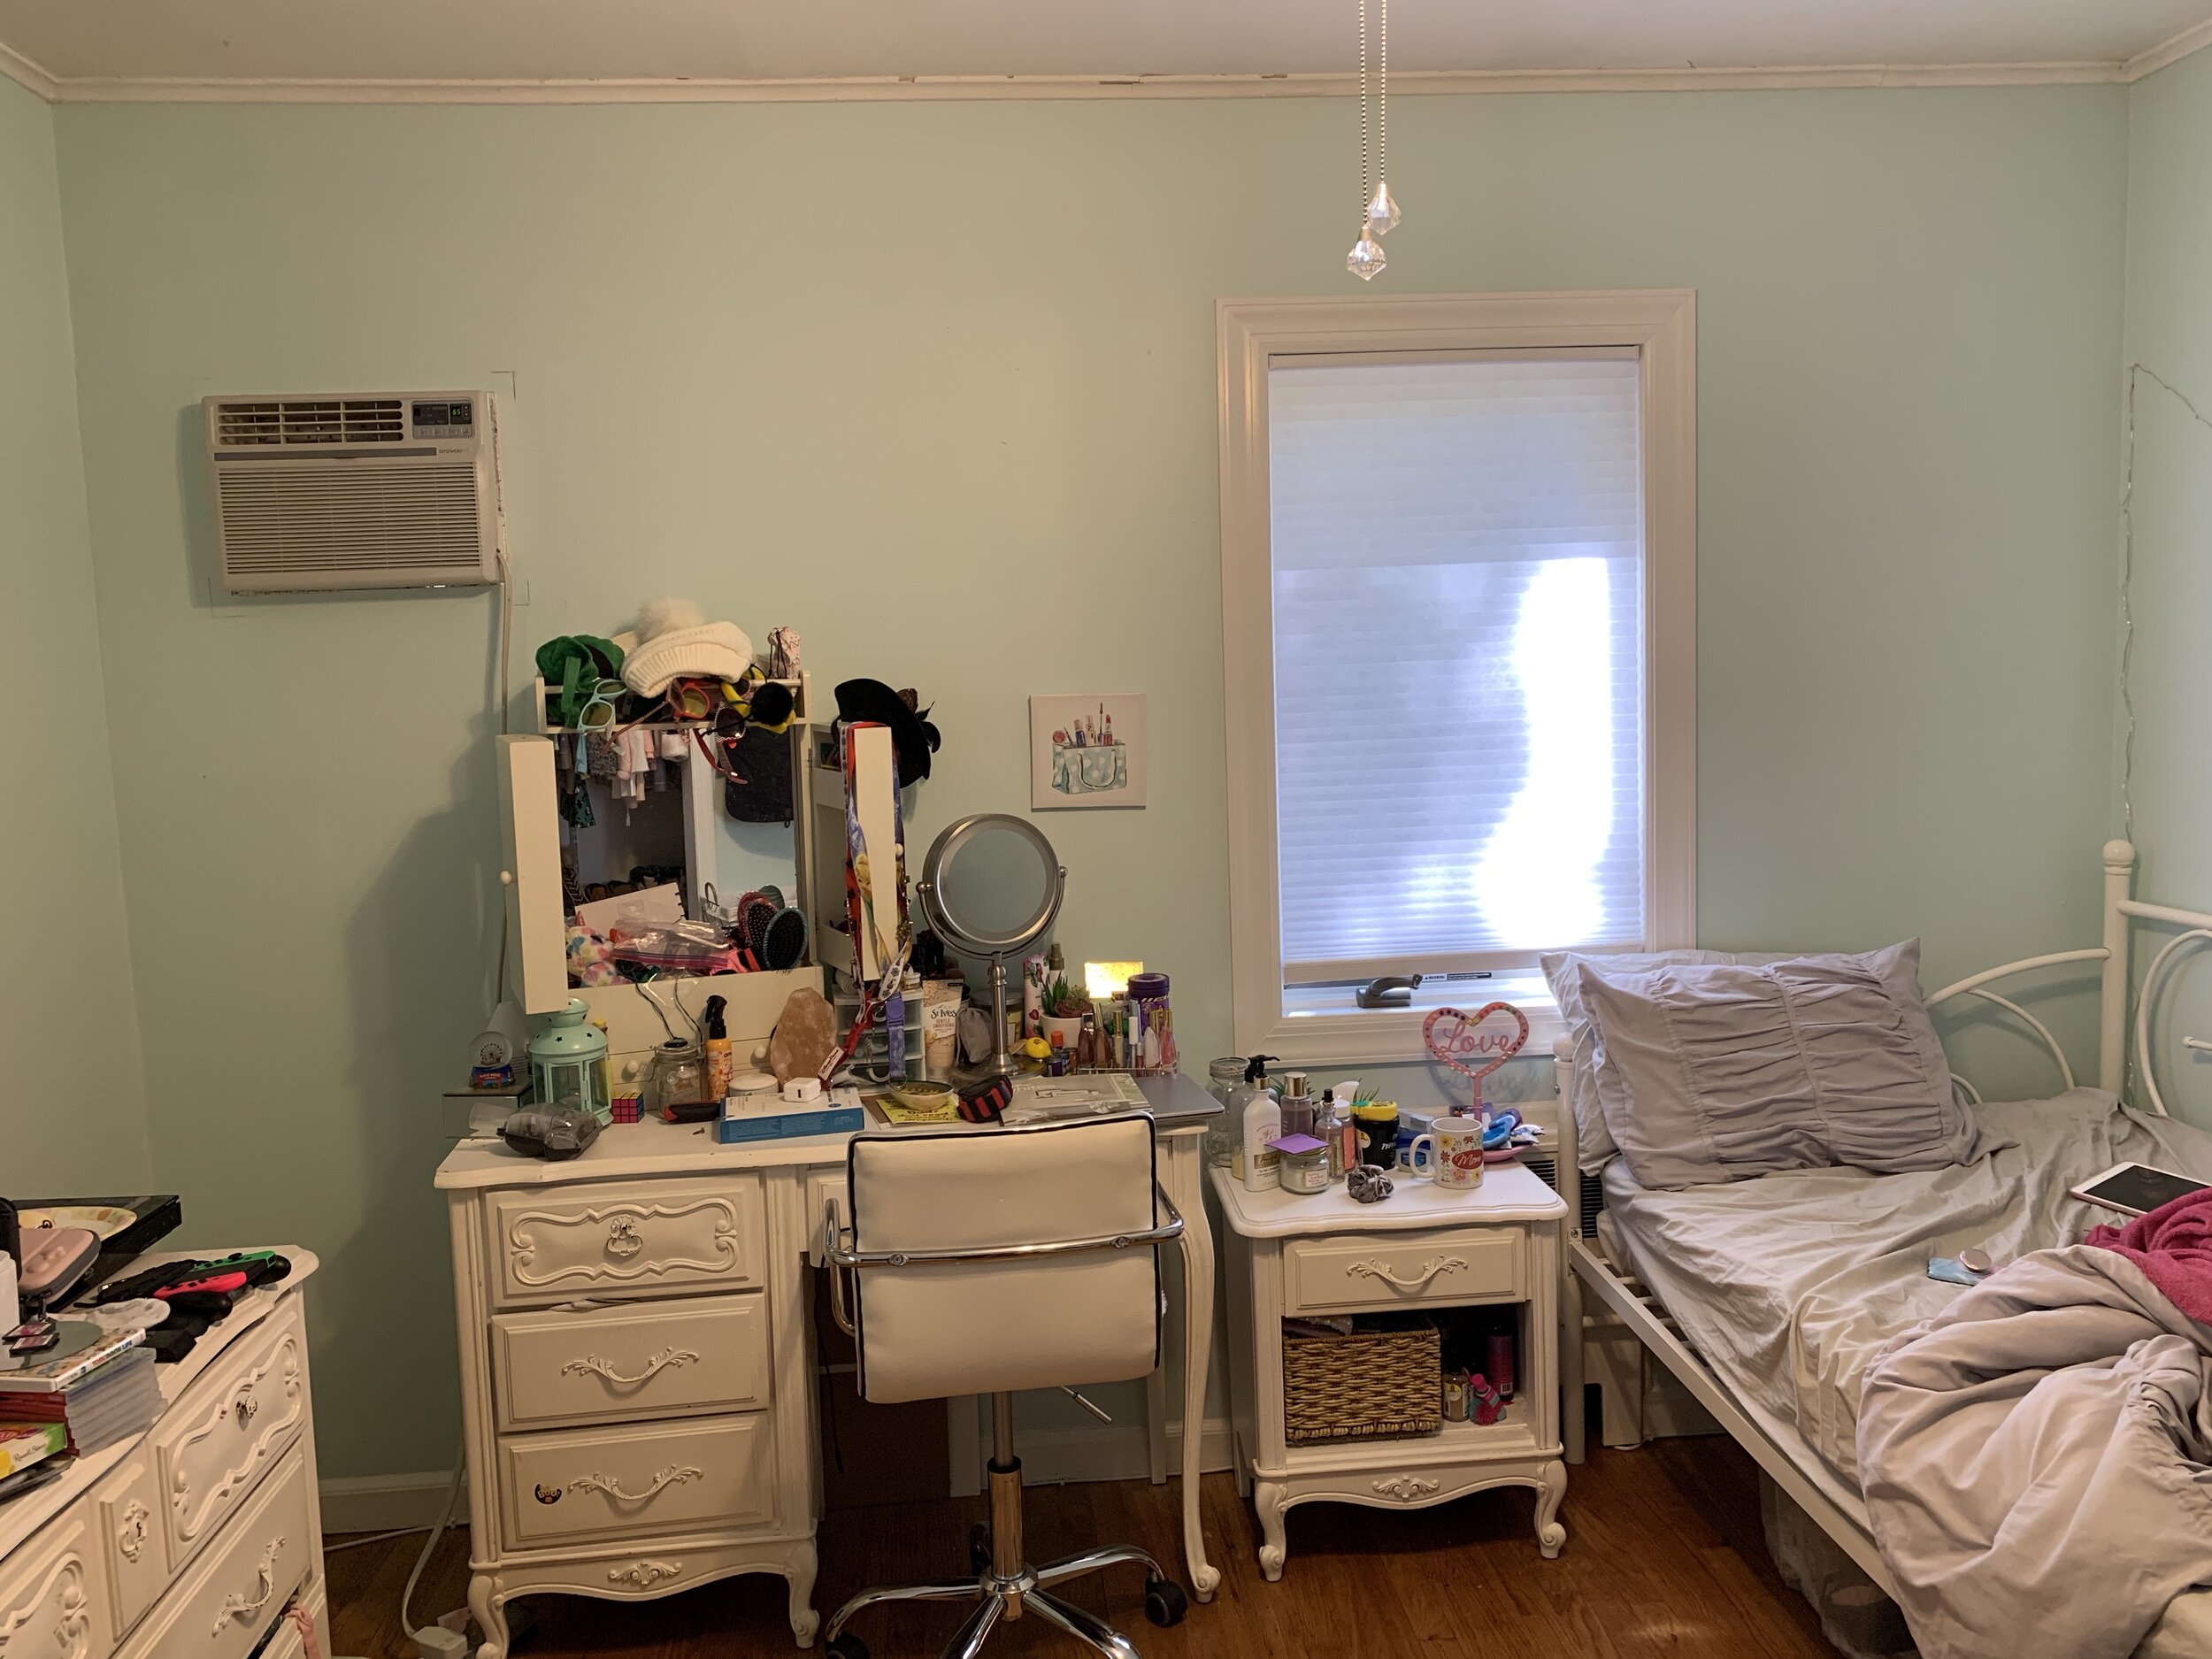
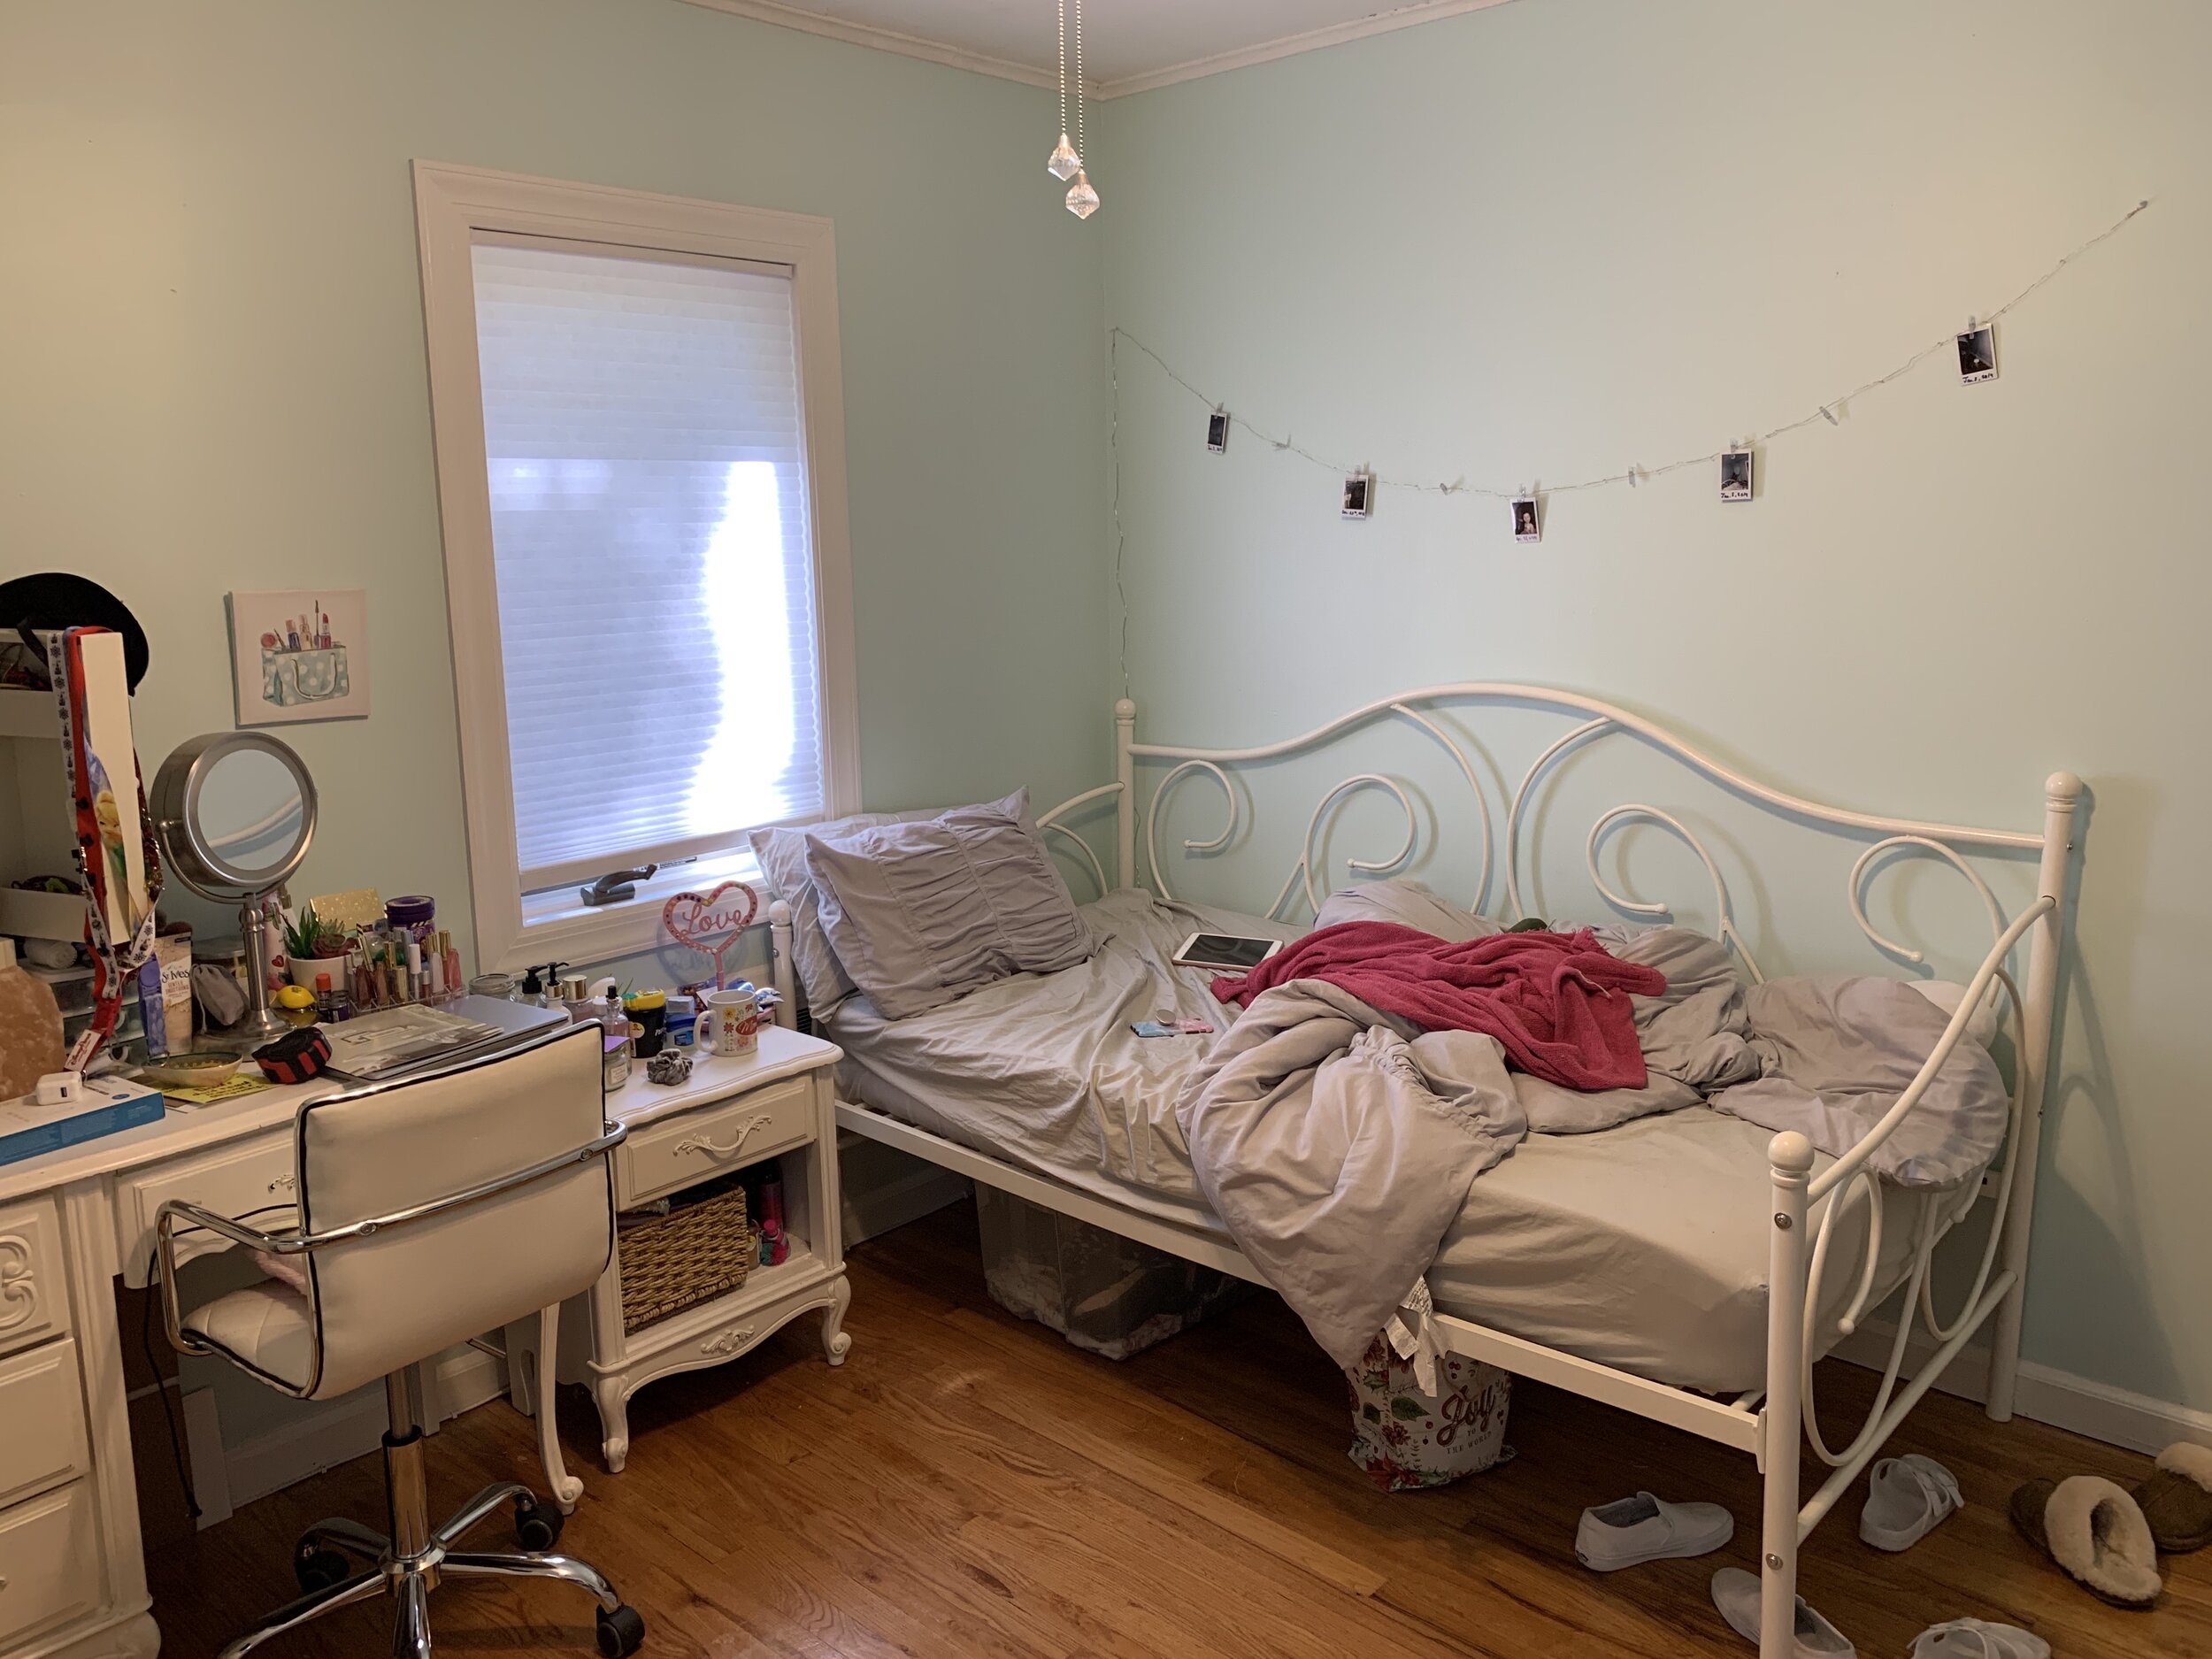
Curtains, blinds, or shades can make or break a room and be a quick and easy way to changing up the decor and enhance any space. Not only for decor, but they are also crucial for the amount of light you want in the room. For kitchens, you want the room as bright as possible and the opposite it true for the bedroom.

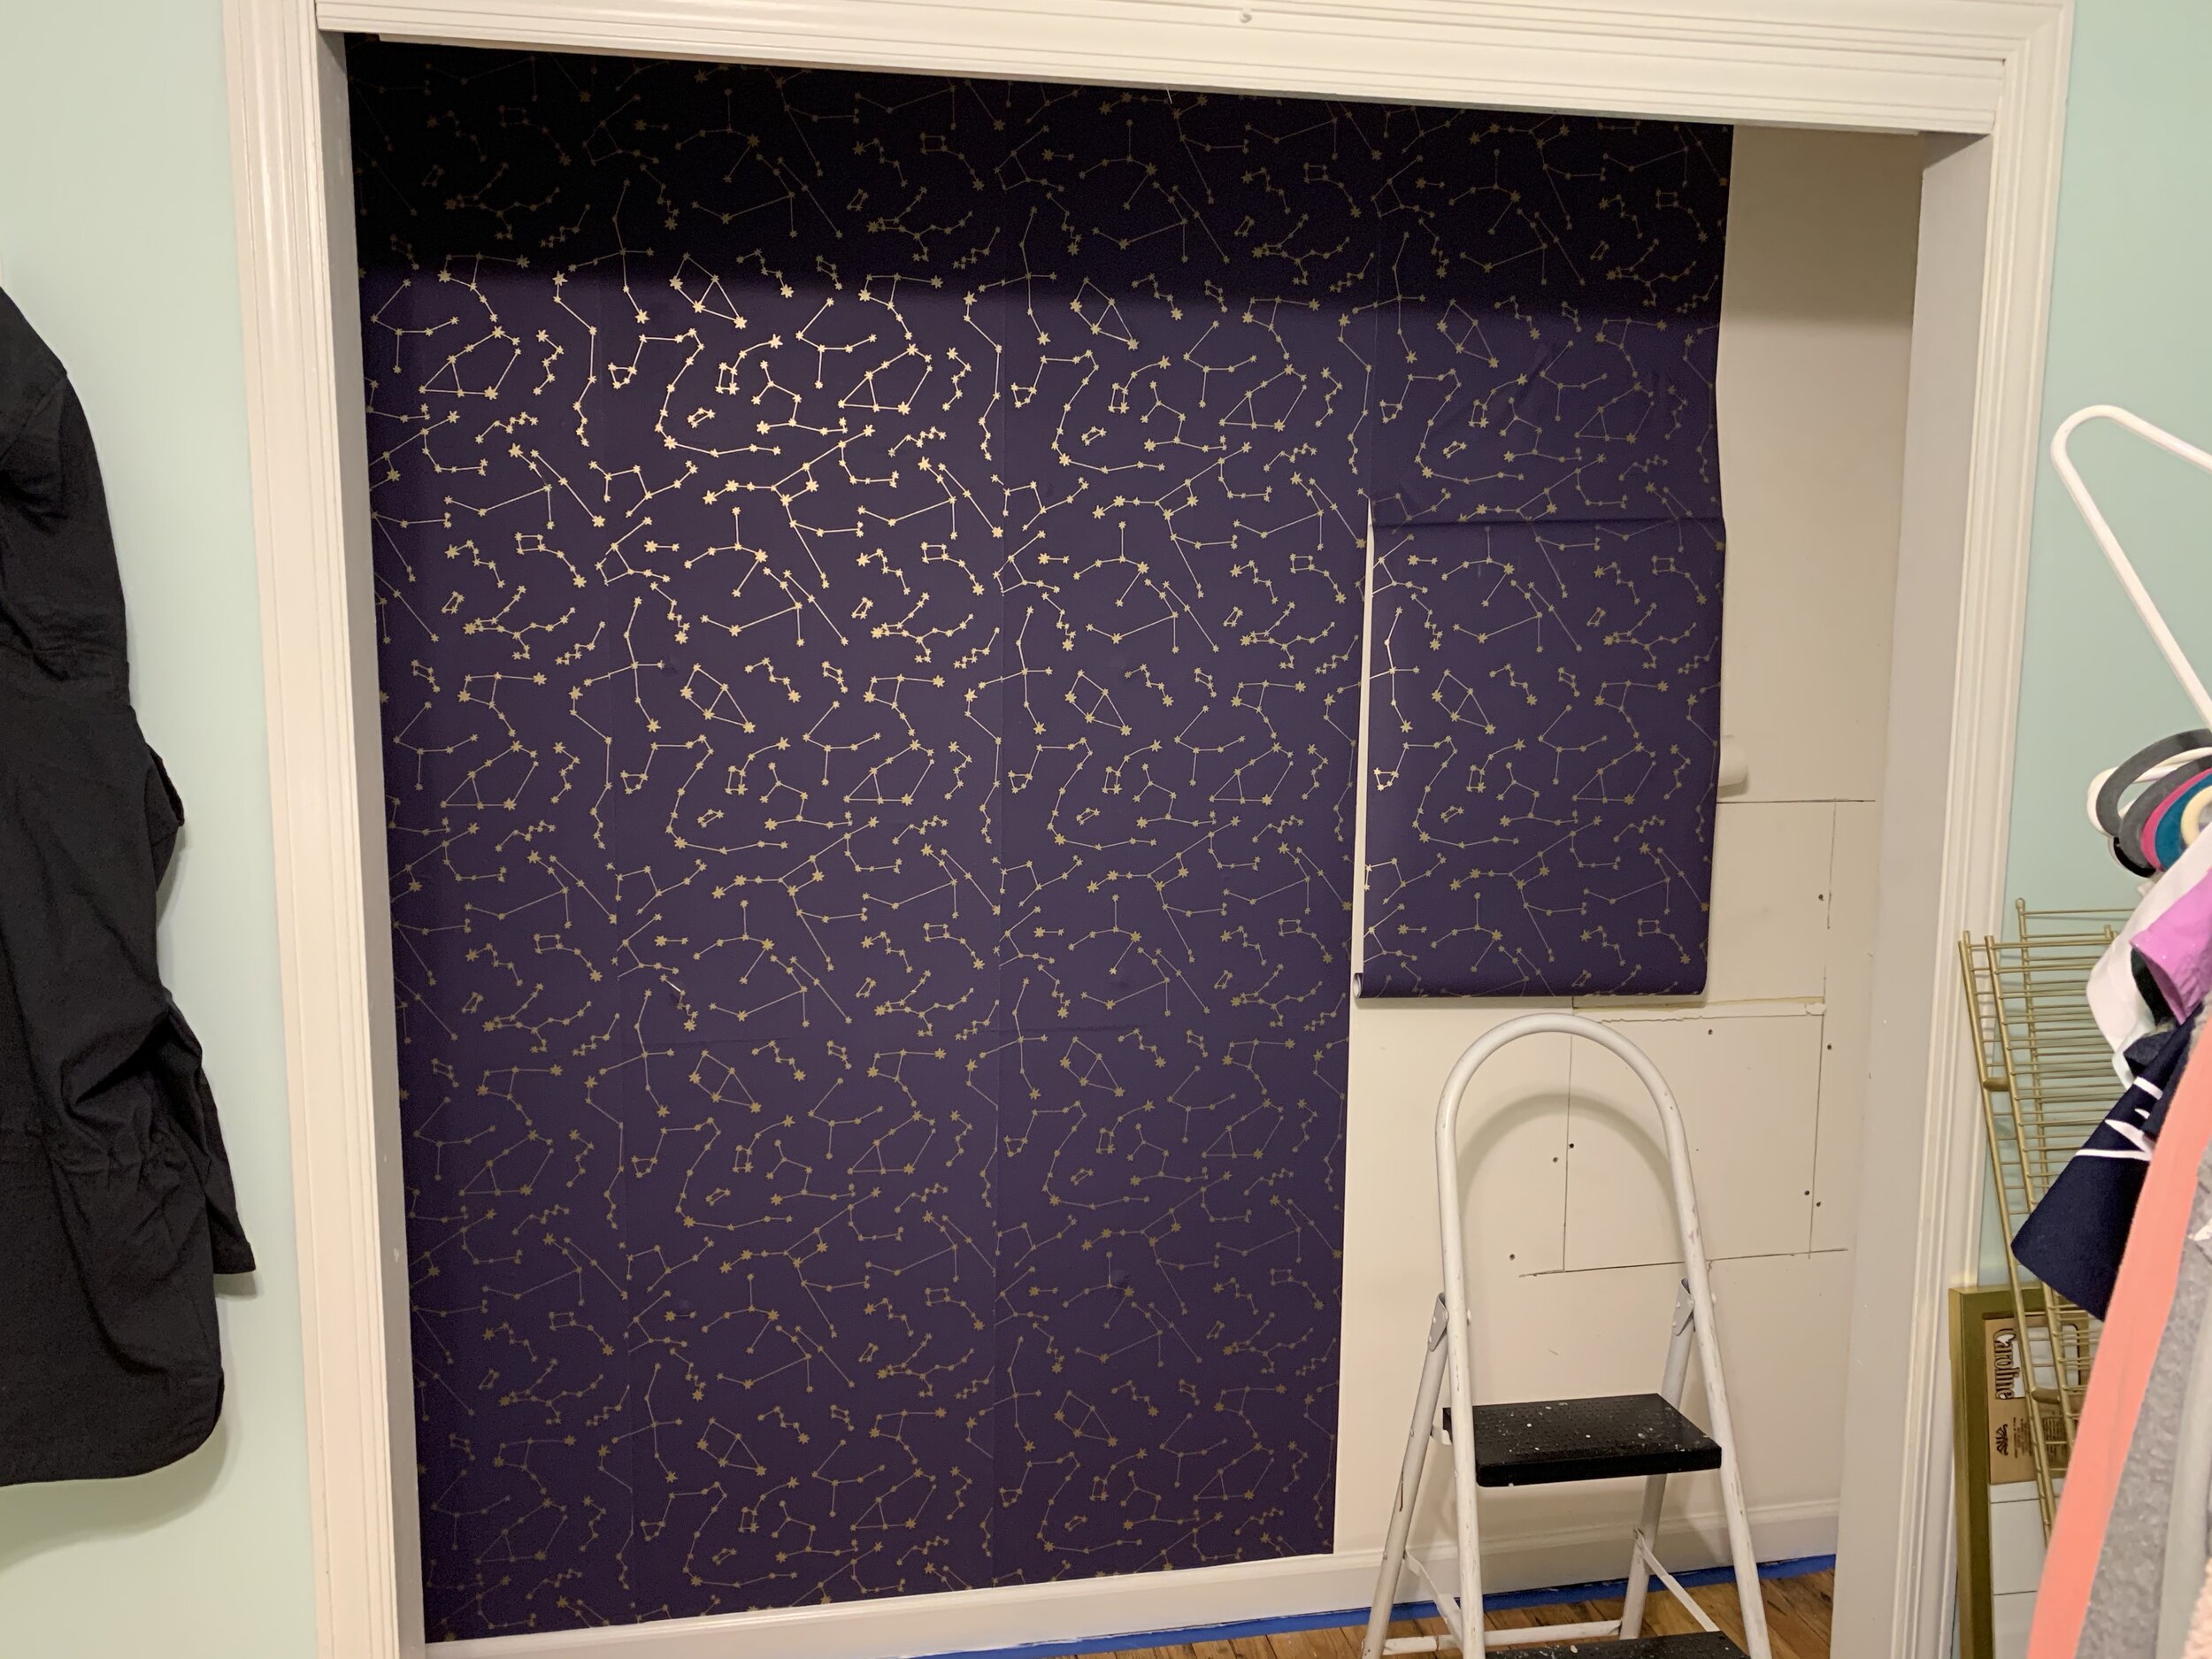
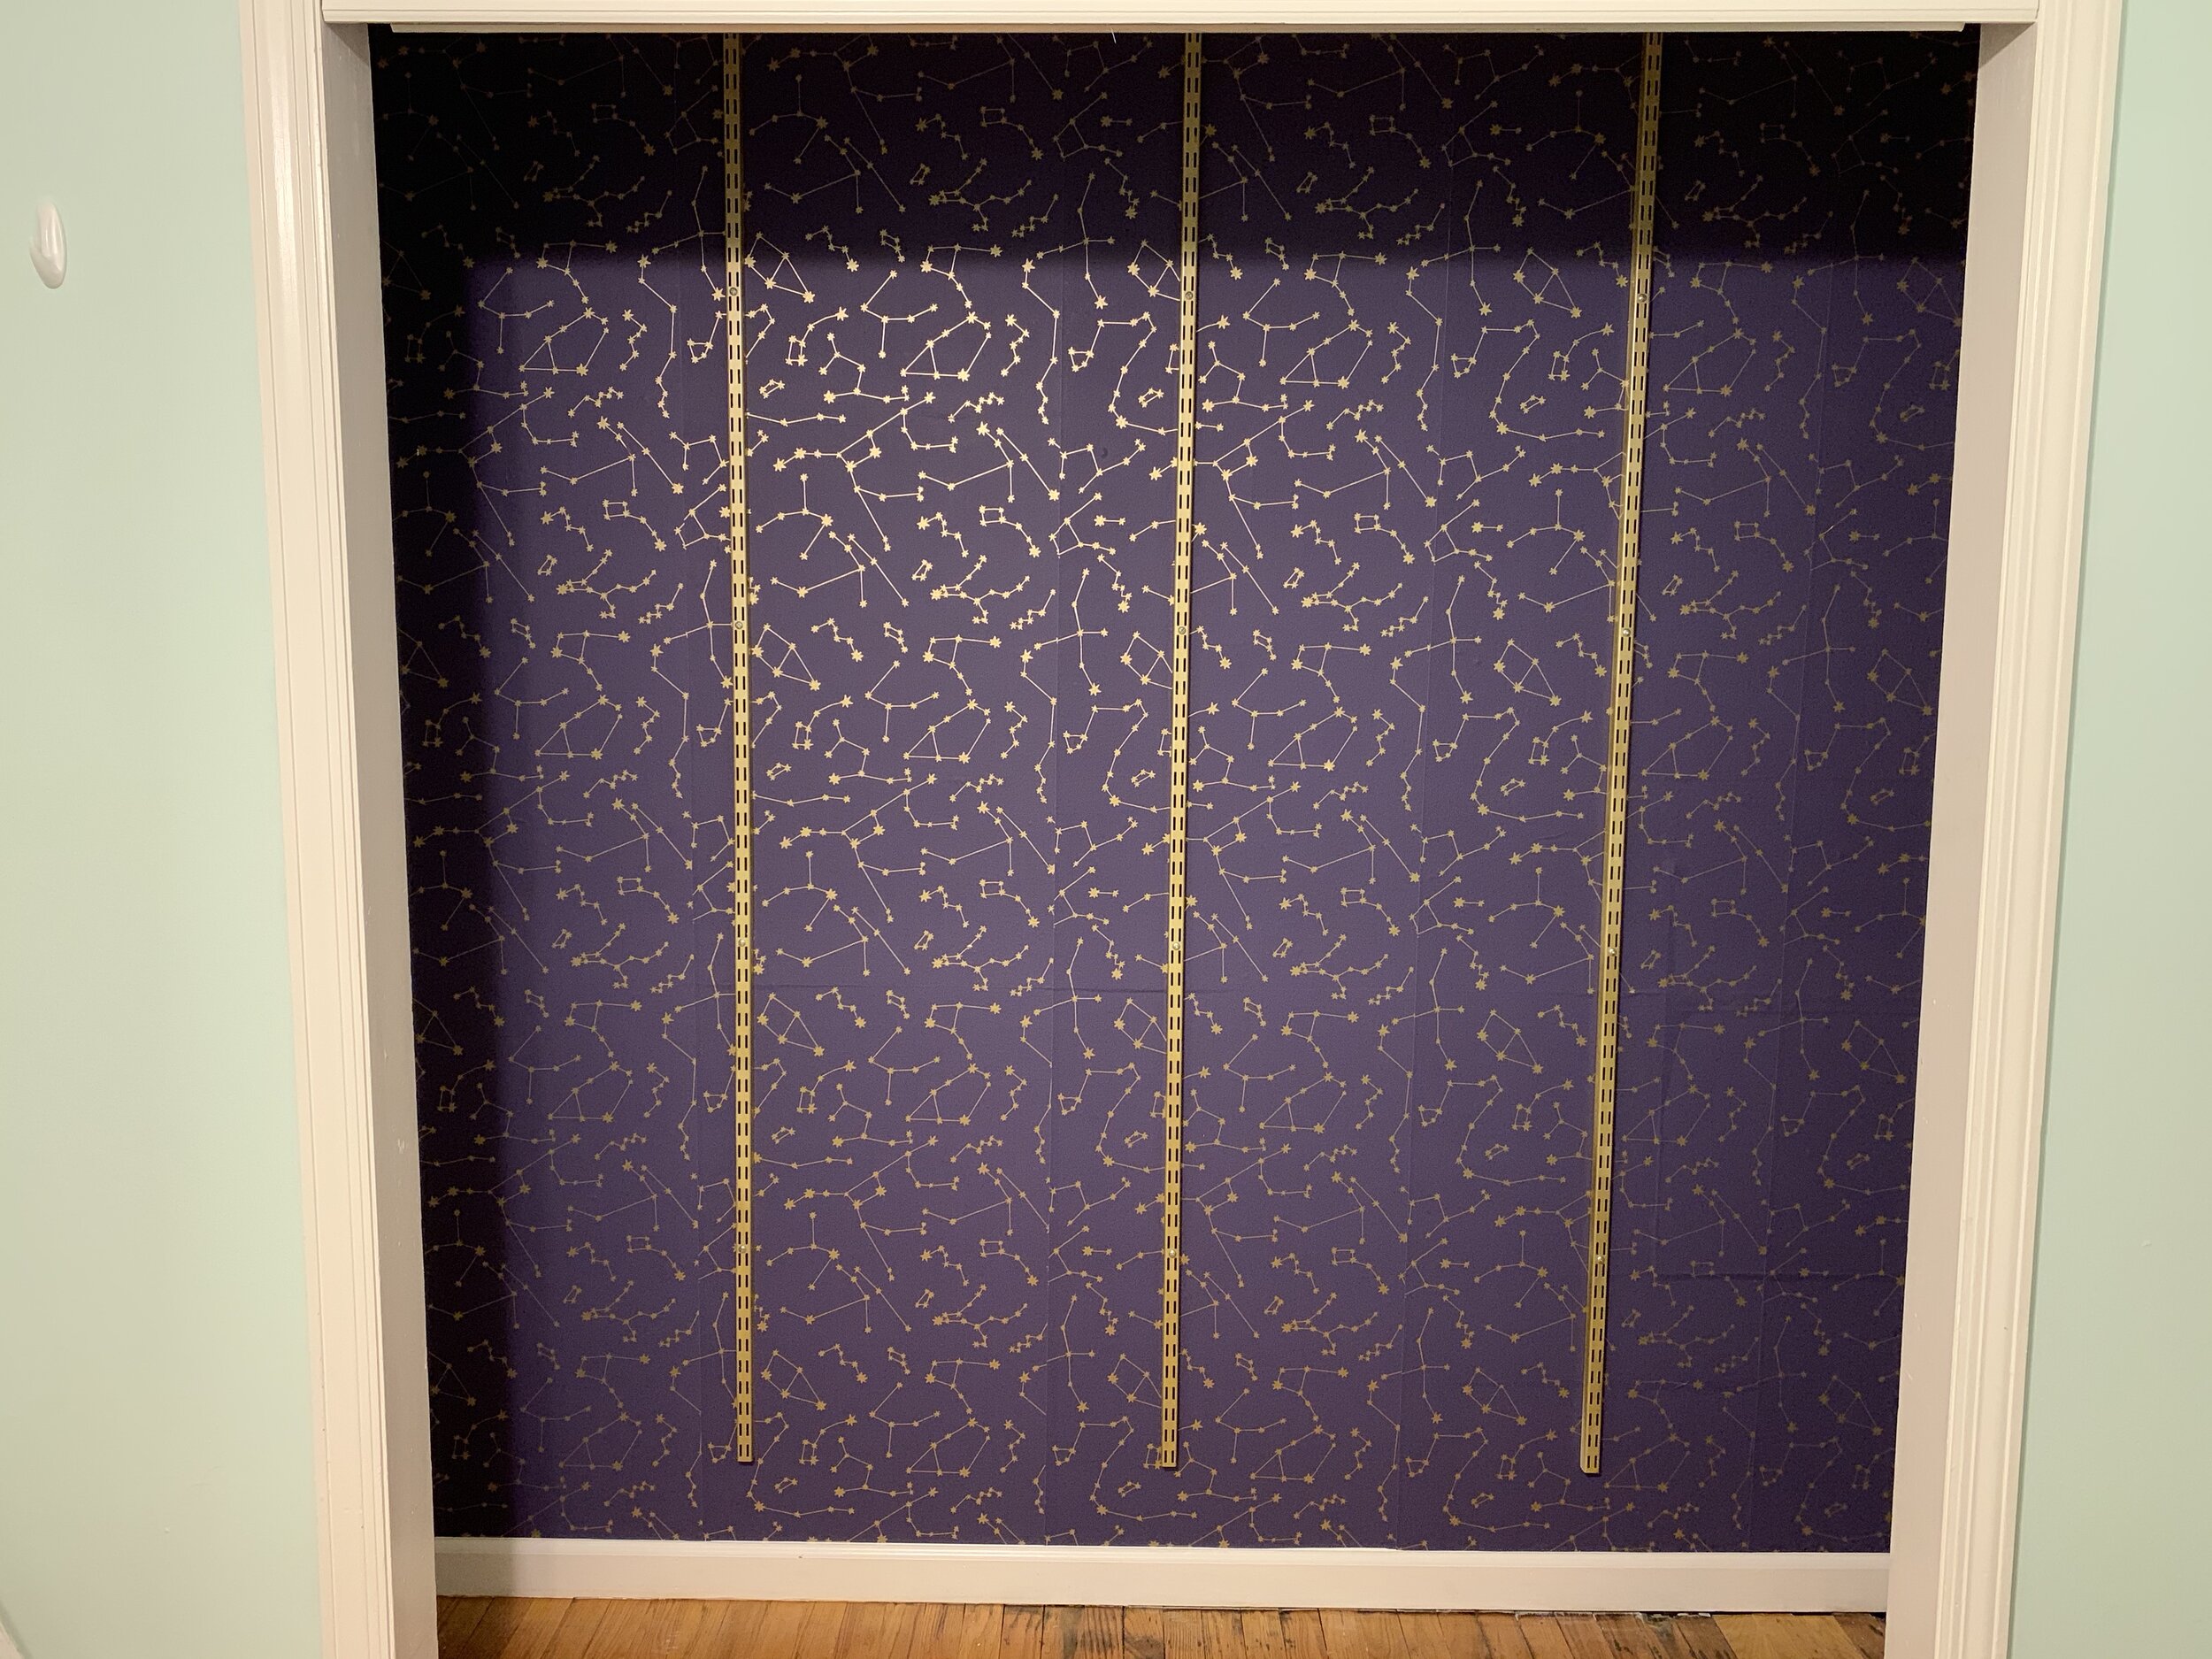
I wanted to share these two videos on how to show easy ways to put up window treatments. I loved the way they came out and hope you do too.

How do you feel about your window treatments? Do you think you will try one of these projects to change up your space? We would love to hear about it, and please share your pictures. We love a good before and after photo:) Happy decorating!

Client Video Testimonial for Space to Love

April fools day:) You thought you were going to get another quick tip from Space to Love....sorry, no organizing tips today but all kidding aside....

Instead, I had the rare privilege of interviewing one of my long time clients and that is no joke! It’s a fact, most people don’t want others to know that they hired a professional organizer let alone talk about it on camera.

Sofia is amazing and one of the first to find and hire me on Yelp. While we had lunch in this beautiful park, we got to talking about all things organized and what we had accomplished over the past 6 years.

I’m so grateful for the time she took out to do this and that she could answer some questions that a lot of potential clients would always ask. Here are some of the things we talk about in the video.

*Once we are organized do you have to keep coming back?

*What is your method?

*Do I have to get rid of everything?

*Are all organizers alike?

*Can I maintain the organization on my own when we are done?

*What about memorabilia?

*Will I feel judged?

*What is the best thing about hiring a professional organizer?

I hope you enjoy this video of us going down memory lane.

Life is a journey, and as you can see from this video, that journey is so much better when organized.

A Move-in Ready Apartment

As a professional organizer I’m usually helping people get rid of stuff but for this client I was buying all their stuff for the two bedroom, two bath apartment that they were moving into. It brought me back to 2014 when I was staging homes in Costa Mesa and we had to purchase everything from living room decor to bathmats.

This project was fun yet challenging because we had a tight budget, we were ordering furniture on-line, and only had one week while I was in LA to put it all together. Normally you would order something on Amazon or Wayfair and it shows up at your doorstep in a couple of days or you run into Target for a few items and be on your way. However, as we all know during Covid, it was delayed deliveries and lines that were an hour long before you even got into the store.

So this made my tight schedule a little more of a challenge. To help the situation I made sure to purchase items with the shortest delivery times and I created a shopping list for each room. From there, I broke down the room lists to each store I would need to go to and get only what was on the list. This helped me stay on track…it’s hard to go into HomeGoods and not get distracted. This also ensured that each room would be complete before I left to go back to New York.

We purchased the couch from Amazon, the bunkbed from Wayfair, the rug at HomeGoods, some accessories from WorldMarket and the bathroom decor at BedBathandBeyond. We also shopped at The Container Store for organizing items, Home Depot for the plant and get the kids bedding at Target.

Comment below if you want to know where something was purchased and it’s not listed above.

Tween to Teen Bedroom Makeover

While working here in New York I had the privilege to makeover my friend’s daughter’s room. She turned 13 last year and wanted her room to reflect her more grownup self. They grow up so fast! However, at any age, using the Space to Love® 5 step method: Setup, Sort, Select, Sanitize, Stylize™ is easy to help anyone achieve their goals to create the room they visualized and to stay organized.

We started with step 1, Setup. I made sure we had room to work and spread out. You need space to organize. We agreed on using the bed and the top of the dresser to sort items. If this wasn’t an option I always have a folding table on hand. I also have ready in my organizing kit: garbage bags, post-its, markers, scissors, box cutters, and cleaning supplies. Keep these items ready whenever you are taking on any organizing challenge. Continuing with the setup process we established specific areas of the room where items would be placed. Donations in one area and other areas for what she’s keeping, maybes (what she’s not sure of), recyclables, and trash. These are the common categories to start with and you may come up with other categories in step 2, Sort, so have your post-its and marker ready. We then customized categories that tailored to her specific needs, ie, blankets, memorabilia, family games, and products for her soap-making business. I was thankful they had a newly renovated basement with extra storage for these items because she doesn’t need access to them on a daily basis.

Once we had our Setup in place we moved on to step 2, Sort. When starting this step it is so important to remove or take out all the items from the closets, drawers or bins you are working on. Here we began with her makeup drawers and started sorting like items together. This may seem like a tedious step but it was so much easier for her to make a decision on which lipsticks/glosses to keep when they were separated from her eyeliners and blushes. We also sorted the cosmetics by color. Know that as you break the clutter down from a big pile into smaller ones, it streamlines the decision-making process when like items are grouped together.

Which brings us right into step 3, Select. Now that items were sorted she could make decisions with ease by seeing everything separated. At first, she felt overwhelmed until she started seeing like items grouped together. This made it clear to her that she had many duplicate items. At that point, she knew she only wanted to keep two light pink lip glosses instead of five. As we moved on to other areas she could easily tell me which hair products she wanted to keep and what stuffed animals she wanted to donate. By the time we got to her closet,  she was really getting the hang of it by keeping the best and getting rid of the rest. Her old t-shirts didn’t stand a chance.

Before we put anything back we completed step 4, Sanitize. We wiped all surfaces down including the inside of all the drawers. We swept the floor and cleaned inside the closet. The sanitizing process is so important, not only because of the current COVID situation but the idea that you are clearing out the old and negative energy. By sanitizing, you’re not only purifying your space but you’re allowing good things to come into your life. For these reasons it’s important to follow through with sanitizing before moving on to step 5, Stylize.

Step 5, Stylize. This is probably one of my favorite steps. We had so much fun making her ideas come into fruition. She wanted a celestial theme with gold stars and dark blues. We started with paint swatches and simple drawings to figure out the wall layout. Then we moved on to furniture ideas which lead to changing up the floorplan to maximize her space.

For inside the closet we fell in love with the dark blue wallpaper with gold stars. This was peel and stick wallpaper that made it easy for application. That segued into spray painting all the closet shelves and brackets gold.

To keep costs down we purchased the furniture and accessories from Ikea, Homegoods, and Amazon. What also helped with the budget was hanging the wallpaper, painting, and assembling all the furniture ourselves.

Overall I’m thrilled with the way the project came together. More importantly, my friend and her daughter are so happy with their new space.